Onboard to Zenoti Payments (Stripe)
Zenoti Payments integrates with Stripe to offer secure and seamless payment processing for your business. This guide walks you through the onboarding steps. Once completed, you will be able to:
Create a merchant account through KYC/KYB verification.
Link multiple centers operating under the same legal entity.
Add and verify bank accounts to enable seamless payouts.
Configure payment settings for each center, including accepted payment methods, statement descriptors, and bank account mapping.
Key terms
Merchant Account: A specialized business account that allows organizations to accept and process electronic payments. It links the business with payment processors and financial institutions.
Payout: The process of transferring settled funds from your merchant account to a linked business bank account.
Payout Bank Account: The designated bank account that receives payout transfers.
KYC (Know Your Customer) or KYB (Know Your Business): Regulatory verification process required to establish a merchant account and confirm business identity.
Statement descriptor: The name or description that appears on a customer’s credit or debit card statement after a transaction. It should be easily recognizable to prevent confusion or potential chargebacks.
Payout descriptor: The label that appears on the business’s bank statement when funds are transferred from Adyen. It helps identify the source of the payout.
Overview of the onboarding process
The onboarding process involves two key components:
KYC or KYB Verification – Establishes the merchant account, which acts as the business's identity for secure payment processing.
Center Configuration – Allows businesses to customize payment preferences or settings per center, including accepted payment methods, statement and payout descriptors, and risk rules.
How it works?
Complete KYC or KYB verification.
Link multiple centers under one merchant account.
Customize payment preferences per center.
Prerequisites
Ensure the following before starting the onboarding:
A legally registered business entity with valid documentation.
Information about business owners and decision makers.
Bank account details for receiving payouts.
Verified address and contact details for each center.
Access requirement: You must have permission to configure payment options. Zenoti enables this by default for Manager and Owner roles due to the sensitivity of the data involved.
Managing multiple centers: Center Managers can link centers they have access to.
Steps for business onboarding
To onboard a business, follow the below steps:
Navigate to Configuration, from either the center or organization level.
Select Payments.
On the Payments page, click Payment processor onboarding under Process payments.
Select Zenoti Payments(Stripe express) as the Payment Processor.
Click Start setup.

Enter your Email address, Business Registration Number and click Continue.
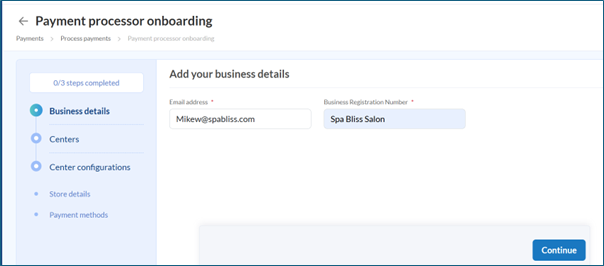
Complete the business onboarding steps on Stripe.
Note
After you submit your details, Stripe redirects you back to Zenoti to continue the onboarding process.
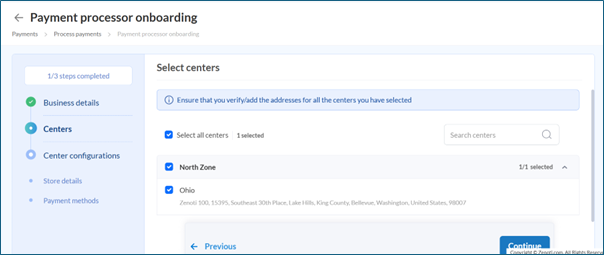
Select all centers that belong to the same legal entity and click Continue.
Note
Please note that if you link multiple centers under one business account, payouts from all centers will be aggregated and paid to a single bank account. There will be no separate payouts per center.
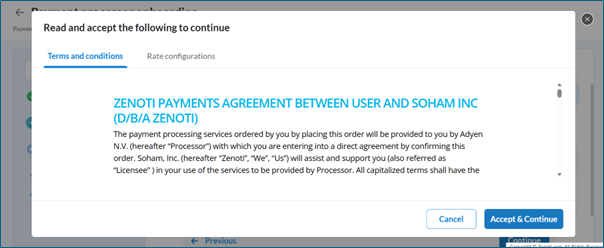
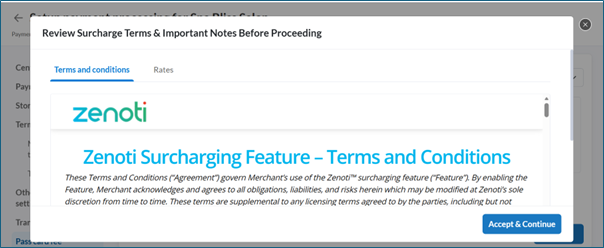
Review the Terms and conditions and click Accept & Continue.
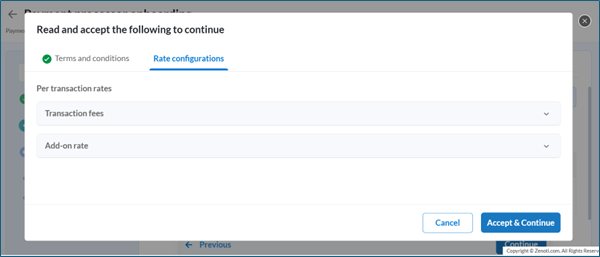
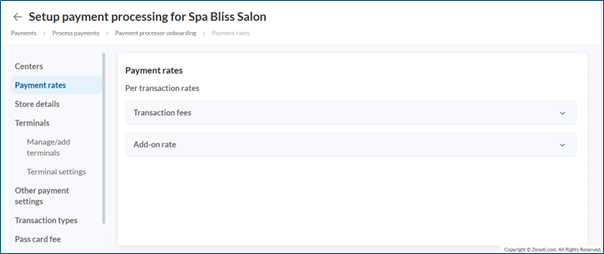
Review the Rates applicable for the centers and click Accept & Continue.
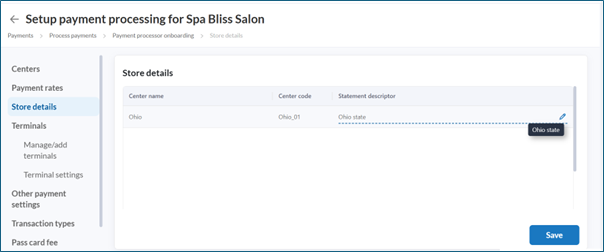
Update the Statement descriptor for each center under Store details and click Save & Continue.
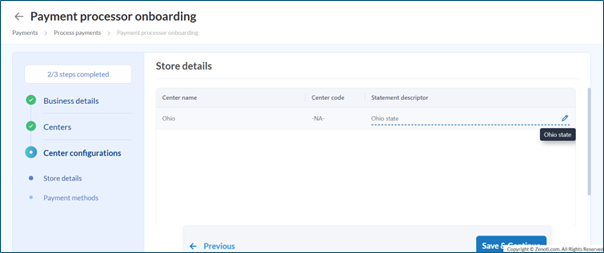
Note
The statement descriptor appears on your customer’s card statement after a transaction.
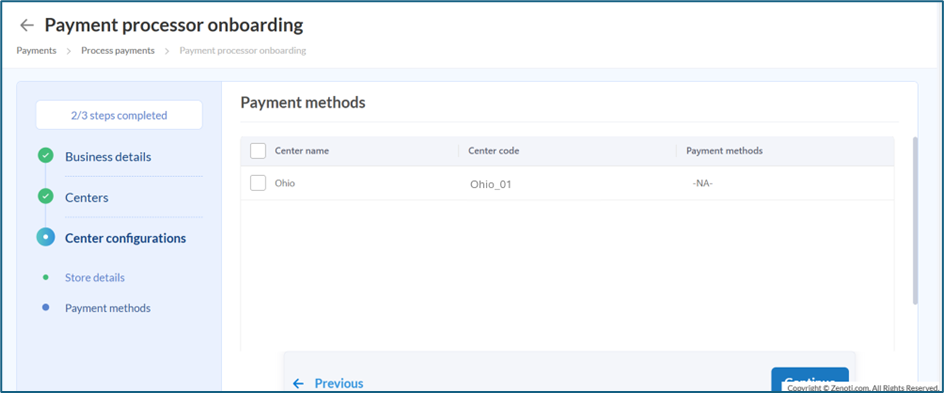
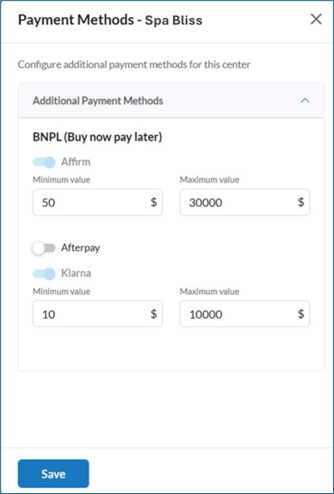
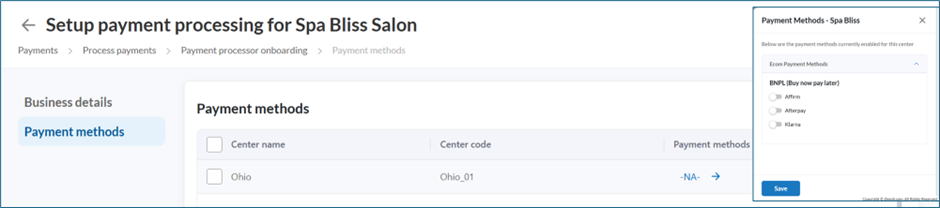
Review the additional payment methods available for your business and click Continue.
Note
Card payment methods (such as Visa, Mastercard, and Amex) are enabled by default for all businesses. This screen allows you to enable additional payment methods based on availability.
Configure terminals if your business uses card terminals.
Note
Terminal availability and configuration depends on the country and business setup.
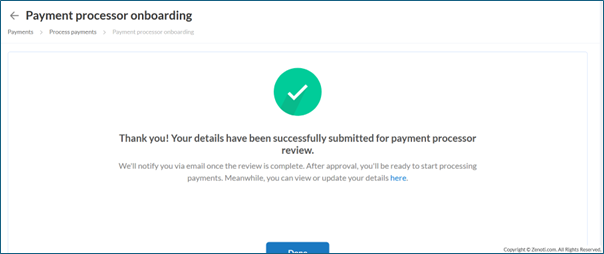
Click Done after you see the confirmation message that your details were submitted for review.
View and manage existing Stripe businesses
To view Stripe businesses already onboarded:
Navigate to Configuration > Payments > Process Payments.
Click Payment processor onboarding.
On the Payment processors page, click the carat icon.
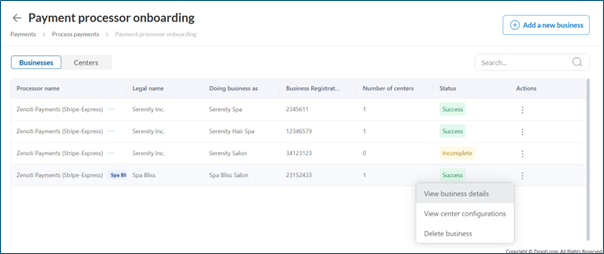
Under the Businesses tab, locate the required business.
Click 3-dots in the Actions column.
Select View business details to view and update Business details and Payment methods.
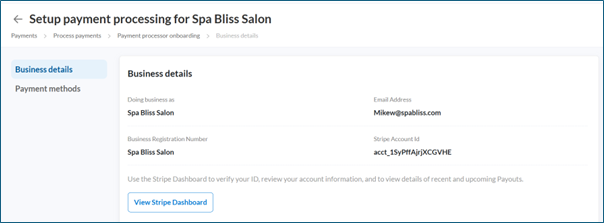
Note
You can view your Stripe dashboard at any time by clicking View Stripe Dashboard.
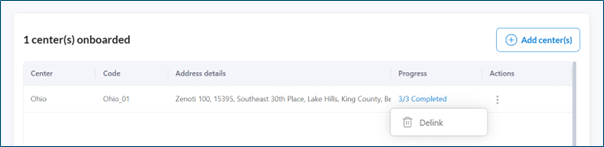
Select View center configurations, to view the details, delink a center or add centers.
View Payment rates.
Update Statement descriptor under Store details.
Manage/add terminals and review Terminal settings under Terminals tab.
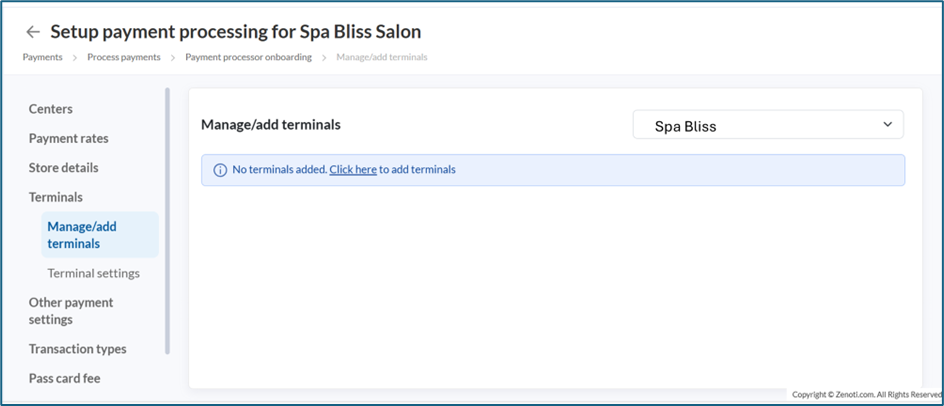
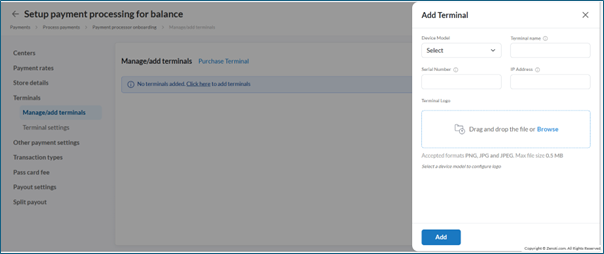
Adding a new terminal To add a card terminal to your center, follow these steps:
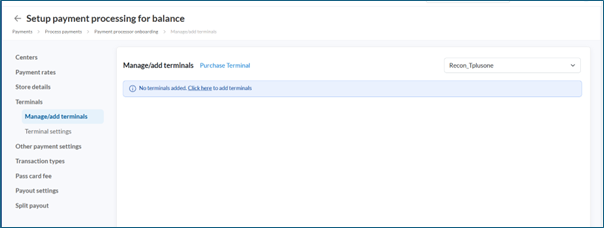
On the Manage/add terminals page, click Click here to add a terminal.
Note
You can also purchase a new terminal by clicking the Purchase Terminal link (see Purchase Terminal). This redirects you to the Zenoti Payments device ordering page where you can select and order terminals available for your region.
In the Add Terminal dialog, fill in the following details:
Field
Description
Device Model
Select the terminal model from the dropdown (example, Verifone P400Plus, Verifone e285).
Terminal name
Enter a friendly name to identify the terminal (example, "Reception POS").
Serial Number
Enter the serial number printed on the physical device. This must exactly match the device's registered serial number.
IP Address
Enter the terminal's IP address on your local network (example, 192.168.0.101).
Terminal Logo
(Optional) Upload a logo image for the terminal. Drag and drop or click Browse to upload. Accepted formats: PNG, JPG, JPEG. Max file size: 0.5 MB.
After filling in the details, review the information and click Add.
Note
The required logo dimensions vary by device model. For example:
Verifone P400Plus: 320 × 450 px
Verifone e285: 240 × 284 px
If the uploaded image does not meet the required dimensions, an error message will indicate the expected size. Resize the image accordingly before re-uploading.
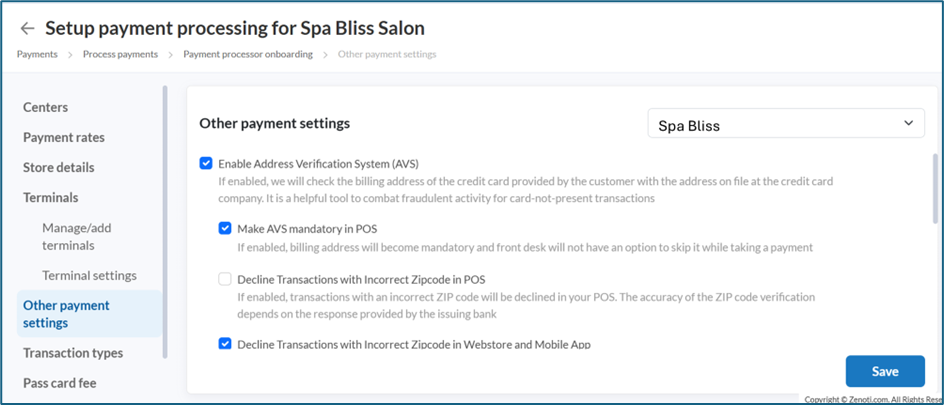
Enable required settings under Other payment settings and click Save.
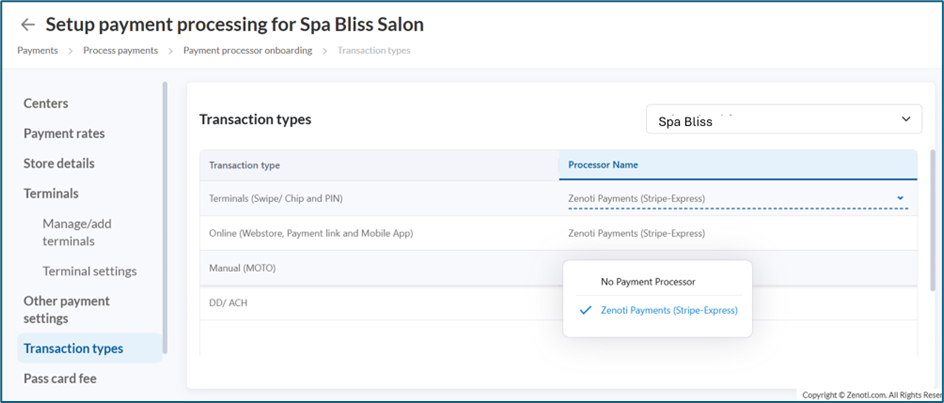
Review and update Transaction types.
This section is applicable when more than one payment processor is enabled for a location. Select the appropriate payment processor for each transaction type. Note that if no payment processor is selected for a transaction type, users will not be able to perform those transactions.
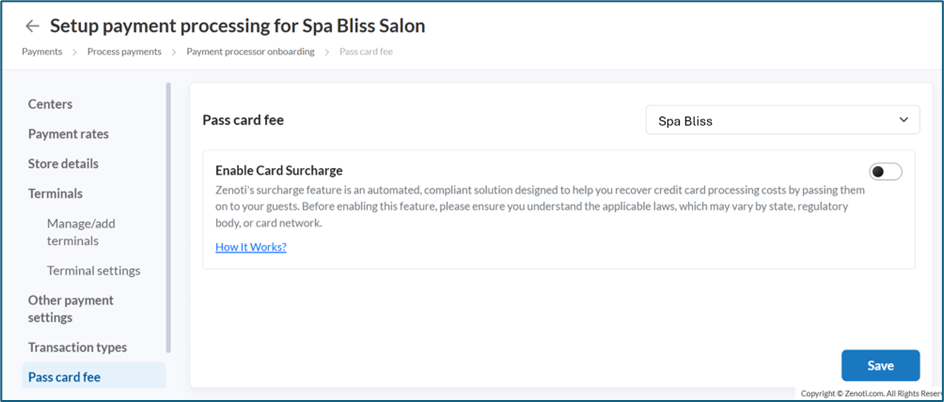
Enable Pass card fee if your business intends to pass the credit card fees on to the guest.
Handling verification failures If verification fails:
Stripe may request additional information or supporting documents.
Payment processing may be restricted until verification is completed.
Users must monitor their email for notifications and take corrective actions accordingly.