Honeywell Genesis XP 7680g
To begin the configuration of the Honeywell Genesis XP 7680g scanner, access the installation manual from here: Honeywell Genesis XP 7680g User Guide. You can also access the latest manual from the official Honeywell website Genesis XP 7680g Barcode Scanner | Honeywell.
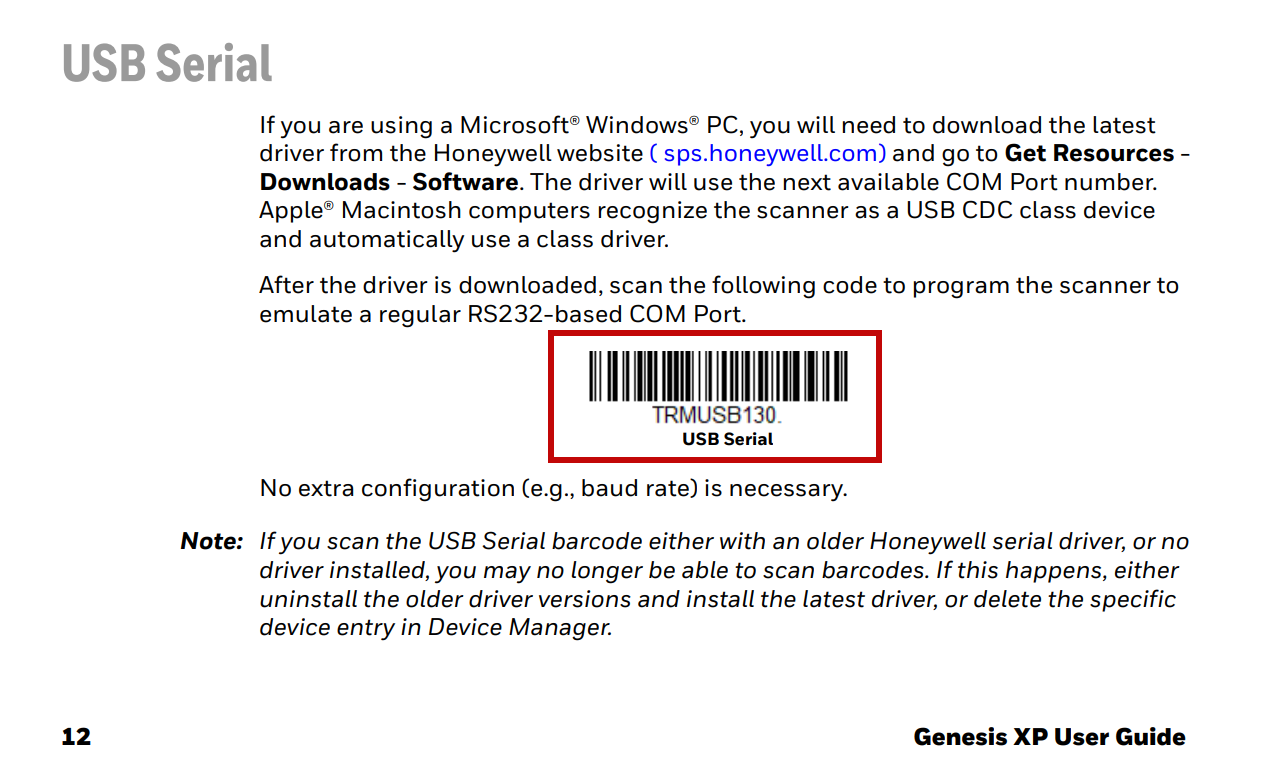
Configure scanner as USB serial
Connect the scanner to a USB port on your local system and switch it on.
To program the scanner as a USB serial, search for USB Serial under Program the Interface section on the manual and scan the barcode provided. Refer to the image below for the required barcode.
Use scanner for auto check-in
Ensure all required settings at the organization and center level are enabled for QR code scanning.
For more information, refer to enable QR code scanning for your business.
Set up and configure devices to scan QR codes for automatic and contactless student check-ins.
For more information, refer to set up QR code scanners.
At the center level, click the Fitness icon and navigate to the Visits section.
On the Visits page, click the Scan icon.
The scan icon is located on the right of the Checkin History title.
To enable auto check-in, select the available device from the available COM or serial ports.
A favicon appears on your browser tab, next to the tab title when the device is connected successfully.

Keep the Visits page open on your computer and ensure the scanner stays connected and turned on to record automatic check-ins. If you close the browser tab with the Visits page, the scanner stops working.
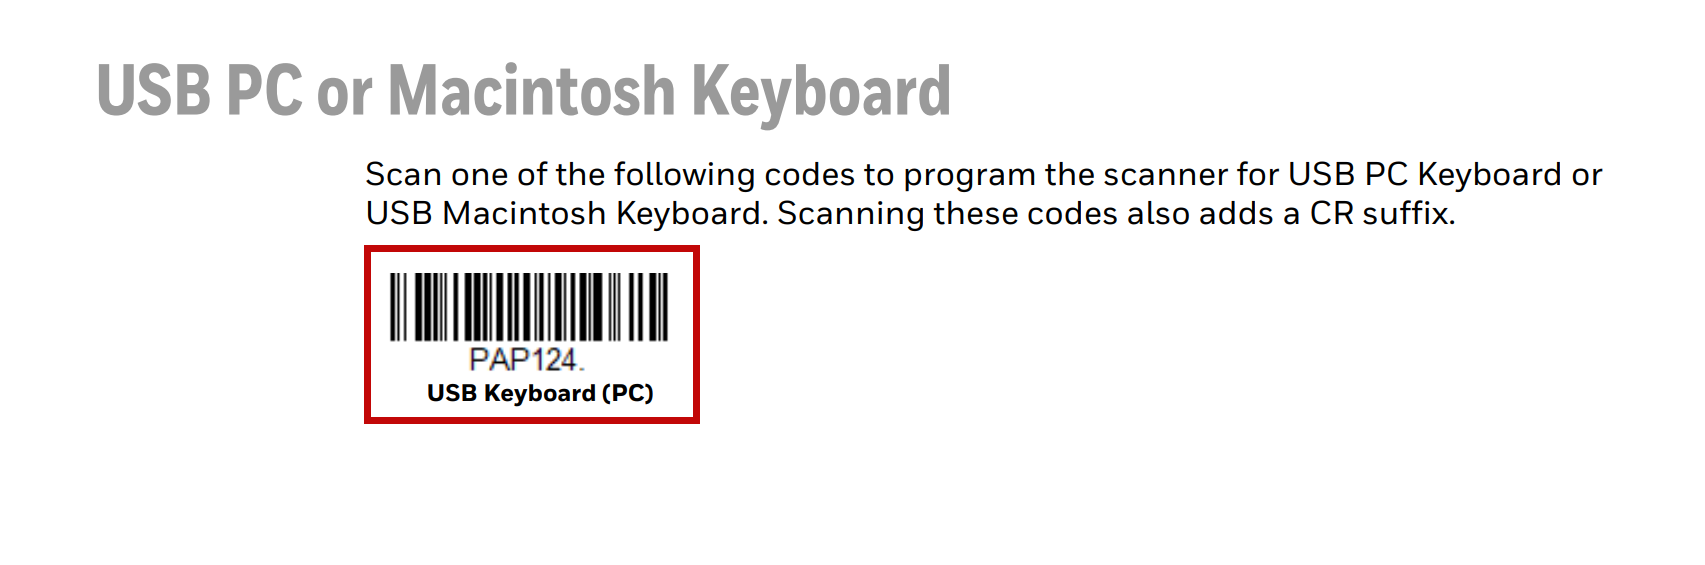
Configure scanner as USB PC keyboard
Connect the scanner to a USB port on your local system and switch it on.
To program the scanner as a USB PC key, search for USB PC or Macintosh Keyboard under Program the Interface section on the manual and scan the barcode provided. Refer to the image below for the Windows PC barcode.
After configuration, connect the scanner to an iPad or other supported device for your front desk. Open the Zenoti Mobile App to scan barcodes directly as the scanner is automatically integrated with ZMA.
You can access the scanner from the Visits page or Kiosk page on ZMA.
Impacts and considerations
If the scanner is not recognized by your local system, disconnect the device and repeat the steps for configuration.