Make a sale
Regular guest mode
In the top-right corner of Appointment Book, click the POS icon.
To add a guest, search for the guest or enter the guest's details.
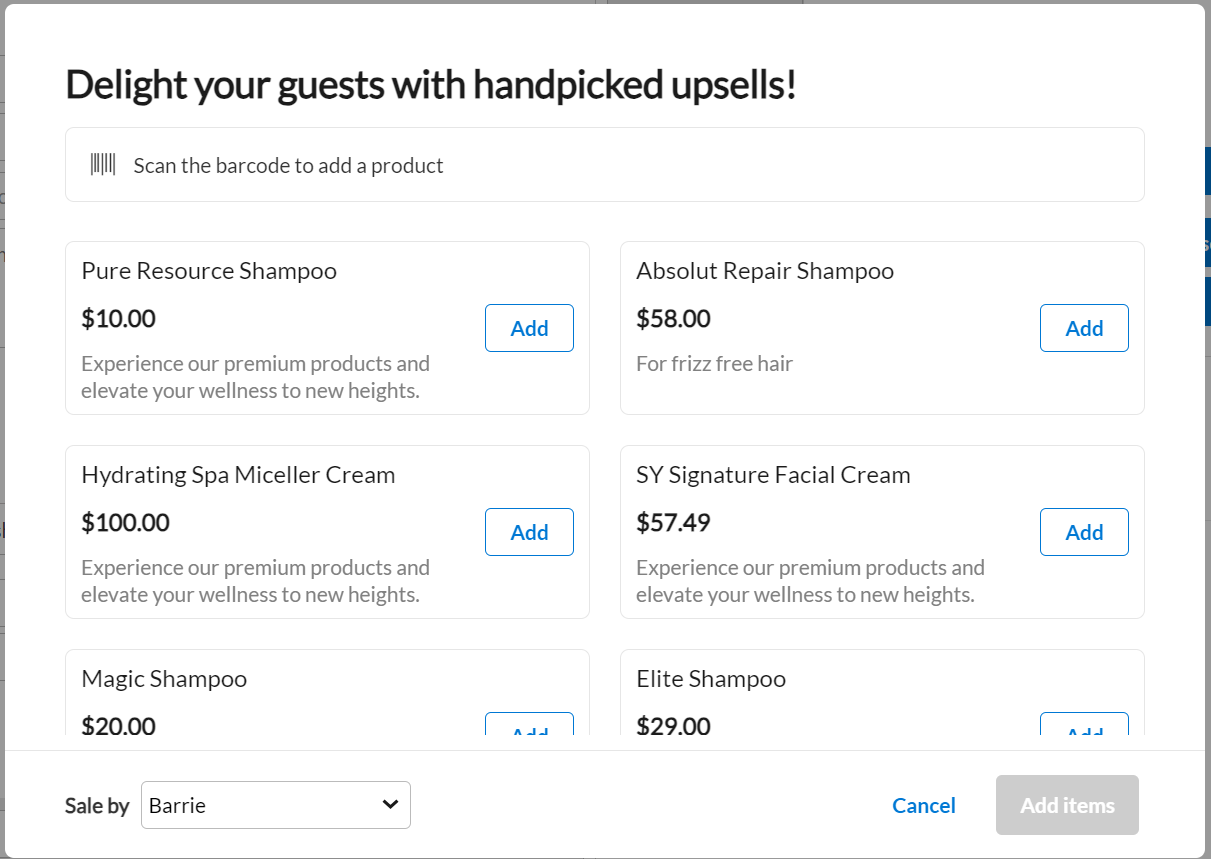
To add an item, select the item, select the sales person’s name from the Sale By list, and click Add.
Important
If you are selling a service, you can also select the front-desk staff name for the Sale by field.
To allow the guest to review payment in mirror mode, switch on Mirror mode.
In the Collect Payment section, select the payment option and click Add Payment.
To validate the payment when the guest is paying using a gift card, prepaid card, package, membership or loyalty points, click Send OTP.
To take payment from multiple payment methods, repeat step 4.
Close the invoice.
Walk-in mode
In the top-right corner of Appointment Book, click the POS icon.
To switch to walk-in mode, click the
 icon. The icon changes to
To add an item, select the item, select the sales person’s name from the Sale By list, and click Add.
Important
If you are selling a service, you can also select the front-desk staff name for the Sale by field.
To allow the guest to review payment in mirror mode, switch on Mirror mode.
In the Collect Payment section, select the payment option and click Add Payment.
To validate the payment when the guest is paying using a gift card, prepaid card, package, membership or loyalty points, click Send OTP.
To take payment from multiple payment methods, repeat step 4.
Close the invoice.
Select the item
Item | Steps | Points to consider |
|---|---|---|
Product |
|
|
Package Tip |
| You can create payment schedules for series packages from the date of sale. |
Membership Tip |
| Bill date can be a future date, except for recurring memberships. Memberships with setup will have two invoices: one for the setup fee and the other for the first membership due. If you give a discount on a recurring membership, it is applicable to all future recurring payments. If the first charge is paid using prepaid or gift cards, the default payment mode for the next drafts becomes cash. |
Prepaid card Tip |
| The value of the card is auto-calculated, and it appears in the Value box. To edit the value, click in the Value box. To sell a prepaid card with the value higher than the price, you must enter your credentials. If you are unable to authorize the sale, reach out to your manager. In the Notes box, enter any information related to this card. You can see this information on the guest's profile under the Prepaid Cards tab. To allow one-time redemption of the prepaid card, select the One time use check box. Any prepaid card balance after first-time use expires automatically. |
Gift card Tip | Service gift card
|
To send the gift card to the guest over an email, select the Send gift card by email checkbox. To sell a one-time amount gift card, select the Expires after single use checkbox. |
Service |
| After you book a service, if the guest wants to change the service, you can swap the service by clicking the pencil icon. |
Impacts and considerations
If you are unable to select a package while making a sale, reach out to your store manager.
If you want to… | Steps |
|---|---|
Redeem a benefit |
|
Apply a campaign | Select the campaign and click the Apply icon. If you select a voucher campaign, the Voucher code field will appear, in which you can enter the voucher code. |
Apply a coupon/ voucher | Enter the code in the Coupon/ Voucher box and click the Apply icon. If you have multiple voucher campaigns, then entering the voucher code will auto select the campaign without you having to manually scroll through the list of campaigns from the Campaigns drop-down field. You can find the coupon number on the last visit’s receipt on the guest's profile. If you don't see any coupon number on the receipt, you can find the coupon number on the Coupon tab in the guest's profile. |
Give discount on an item | Click in the Discount box and enter the desired discount. |
Give discount on all items | Enter the amount in the Discount on invoice box and click the Apply icon. |
Add another item to the invoice |
|
Take outstanding payment | Click Pay Now to take payments for all invoices, including the current invoice. |
Add donations | In the Donation box, enter the donation amount, and then collect payment. NoteYou can collect donations using only cash, credit card, or offline custom payments. To add more donations or edit donation details, next to Total Donations, click the edit icon
ImportantFor each donation, you must assign the donation to a donation type and to an employee. You can see the unassigned donation amount and add details accordingly. Unassigned amount = Collected amount - Assigned amount For donations on a group invoice, you must assign the donation to at least one guest. Donation/charity names are included on receipts, providing guests with a clear record of their philanthropic contributions. |
