Onboard Employee for Zenoti Integrated Payroll through web app
This article provides step-by-step instructions for regular employees and contractors to self-onboard to Zenoti Integrated Payroll (ZIP) using the Zenoti web application.
Overview
When businesses switch to Zenoti Integrated Payroll, employee data is often migrated automatically. In such cases, employees can bypass the onboarding process and directly review or update their data.
For new hires or employees whose data could not be migrated, completing the onboarding flow is mandatory to receive payroll through Zenoti. Tax setup forms, such as W-4 for regular employees or W-9 for contractors, vary by employment type. The remaining onboarding process is the same for all employees.
The onboarding process for Zenoti Integrated Payroll ensures:
Efficient payroll setup.
Compliance with tax and legal requirements.
Accurate configuration of payment settings.
Prerequisites
Before beginning the onboarding process, ensure that:
Your employer is enrolled with Zenoti Integrated Payroll.
You are correctly mapped to workplaces orcenters.
Your employment type (Regular or Contractor) is accurately categorized.
Self-Onboard through the web app
Perform the following steps to complete the onboarding process:
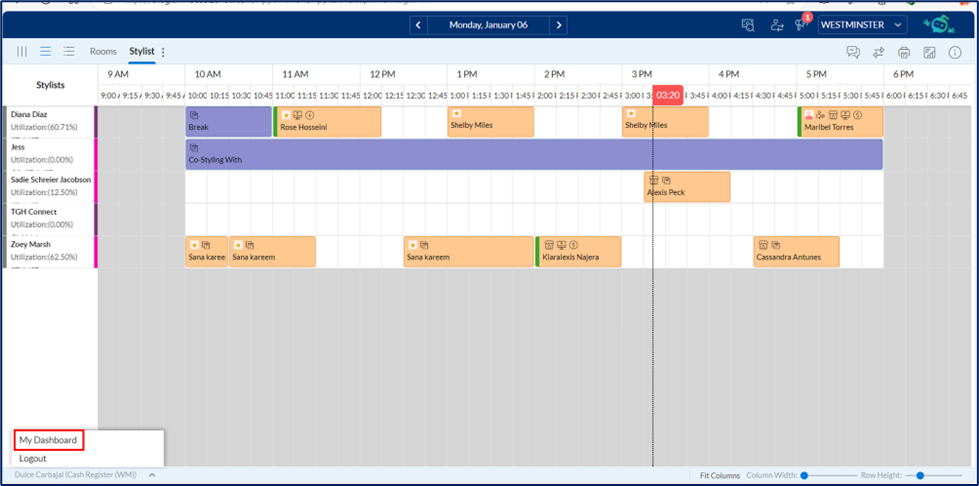
Log in to Zenoti and navigate to My Dashboard.
Depending on your role, you will see either the appointment book or the Admin Dashboard page.
Navigate to your profile.
Click Zenoti Integrated Payroll.
Note
The Zenoti Integrated Payroll option is available under the profile menu when your employer switches to Zenoti Integrated Payroll.

Enter your credentials and click Authenticate.
Note
To protect your personal and financial information, additional authentication is required to access the Payroll dashboard.

Click Initiate setup.
Enter your personal details.
Note
If Zenoti already has your details, it automatically populates them. Verify pre-populated information or manually enter any missing details.
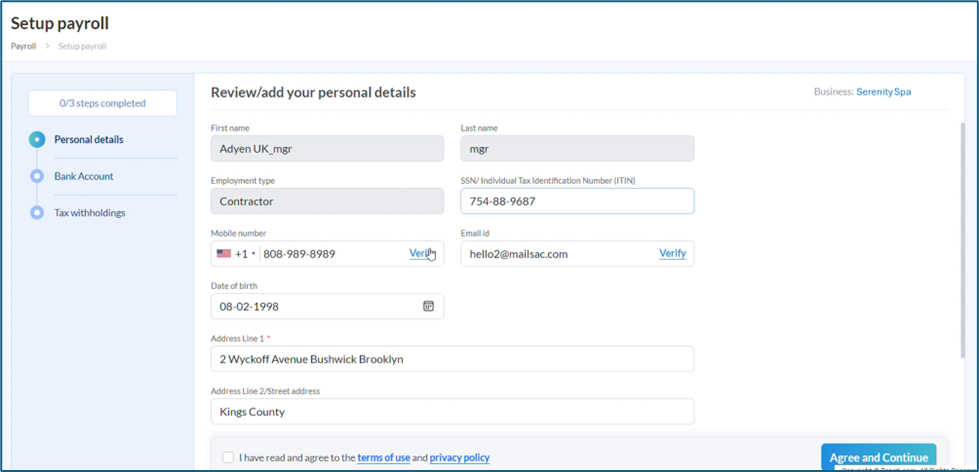
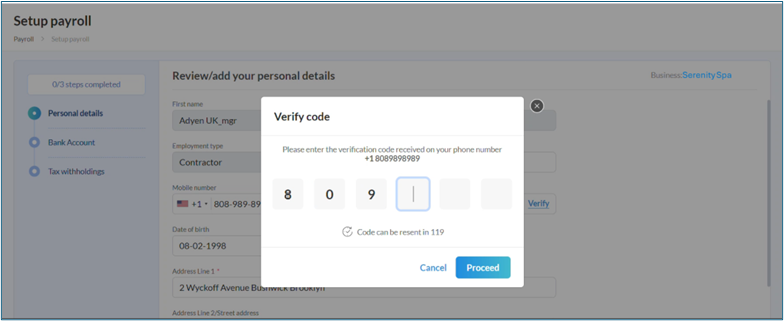
Verify both your mobile number and email address.
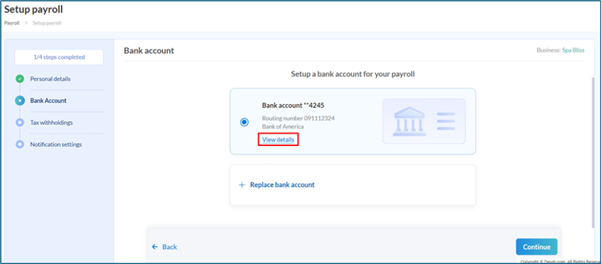
Set up Bank Account
Choose the bank account for receiving payroll deposits:
Use Zenoti Wallet if already set up.
Alternatively, log in to a bank account for instant linking or manually enter the account and routing numbers.
Note
Manual verification may require one to two business days. If verification fails, you will receive a notification at your verified email address with steps to resolve the issue. Payroll deposits can only be made into verified accounts; transactions will be impacted for accounts that fail verification.
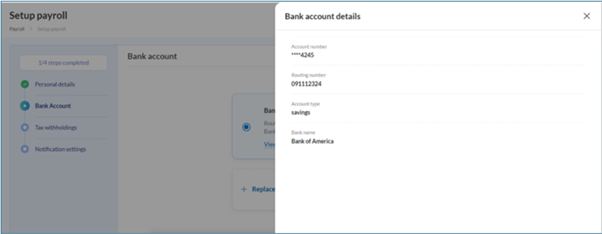
Click View details to verify your bank account details.
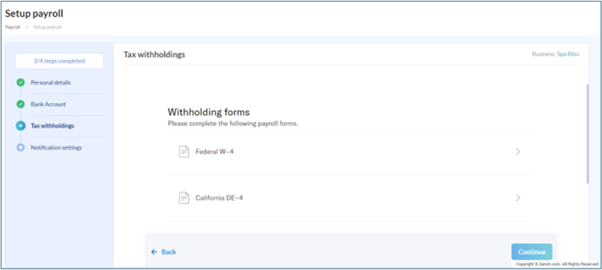
Complete Tax Withholdings
Click Continue to proceed with the Tax withholdings section.
Regular employees will receive a prompt to update tax forms and complete the digital signature process.
Contractors can review and sign the W-9 form.
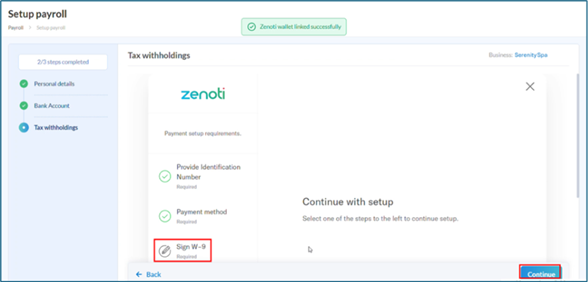
Review each form and click Sign and Submit.
Set Delivery Preferences and Notifications
Click Continue to proceed to the delivery preference setup.
Review and update Notification settings as needed.
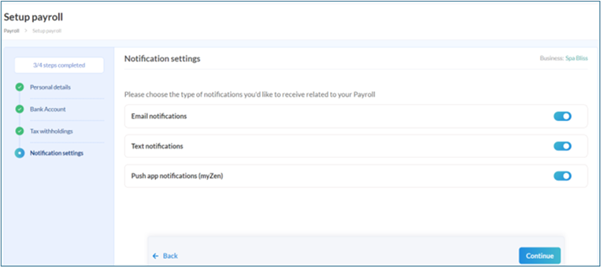
Click Continue.
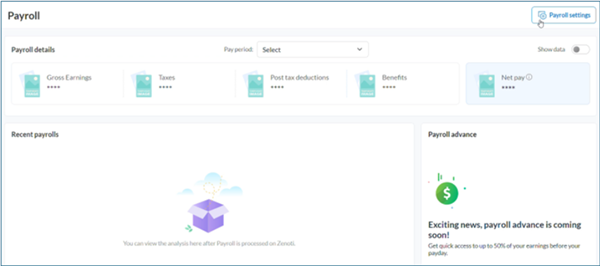
Click Done to go to the Payroll dashboard page.
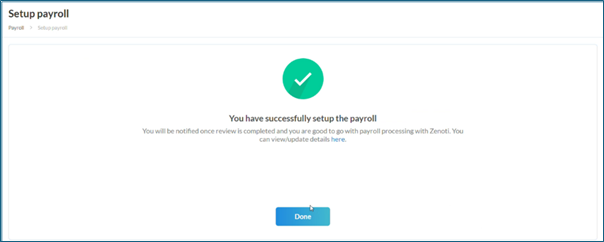
A snapshot of the payroll details is displayed.
Review Payroll Settings
After completing the onboarding process, you can review and manage your payroll settings.
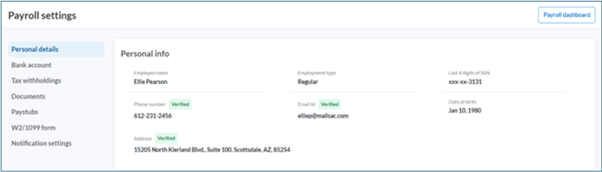
Click Payroll settings (on the top right corner).
Your personal details are displayed. You can view or edit some of your details.
On the left navigation, click the tabs to view or edit information:
Click Bank account to view bank account details. The linked bank account details are displayed with an option to change the bank account if needed. Click Change bank account to change or add a new bank account.
Click Tax withholdings to view completed forms.
View all signed and submitted documents in the Documents section, with an option to download them for reference.
View and download Paystubs.
Set W-2/1099 form delivery preference. If enabled, the user accepts online or paperless statement delivery. By default, this is set to off.
Review Notification settings and make changes as needed.
Key terms
Term | Description |
Direct deposit bank account | The bank account where payroll funds are deposited directly. |
W-4 form | A tax form that regular employees complete to determine their federal tax withholding. |
W-9 form | An IRS form contractors complete to confirm their tax payer identification. |
W-2/1099 delivery preference | Option to receive tax documents electronically or by mail. |