Generate Smart Clinical Insights Using AI Scribe
This article explains how to use AI Scribe to record conversations, generate AI charting summaries, and automatically fill forms using AI.
Overview
AI Scribe allows providers to record guest conversations and analyzes it to automatically generate structured AI charting summaries. These insights can then be used to fill forms. Providers can focus entirely on treatment, while having access to recording transcripts and summaries at any time.
Best practices when using AI Scribe
Record in a quiet room to minimize background noise and capture conversations accurately.
Ensure that your device microphone is enabled and microphone permissions are granted to the Zenoti Mobile App before starting a recording.
Keep all participants close to the device for clear voice capture.
Allow one person to speak at a time to avoid cross-talk.
Ensure each recording lasts at least 30 seconds; insights cannot be generated otherwise.
Do not swap guests mid-recording. If you need to change the guest for the appointment, update the appointment first and then start a new recording.
Ensure no other application is using the device microphone while AI Scribe is active to avoid recording issues.
Use existing service forms as a reference to guide your conversation. This helps ensure you cover relevant details that AI Scribe can use to fill those forms accurately.
Make relevant forms AI-ready before recording with AI Scribe, so you can quickly use the generated insights to fill them.
Ensure that all the recordings are complete before using AI to fill forms automatically.
Select the correct service before starting a recording. For appointments with multiple services, record each service separately to prevent form-filling errors and ensure accurate AI-generated insights.
Record a conversation using AI Scribe
To record a guest conversation during an appointment:
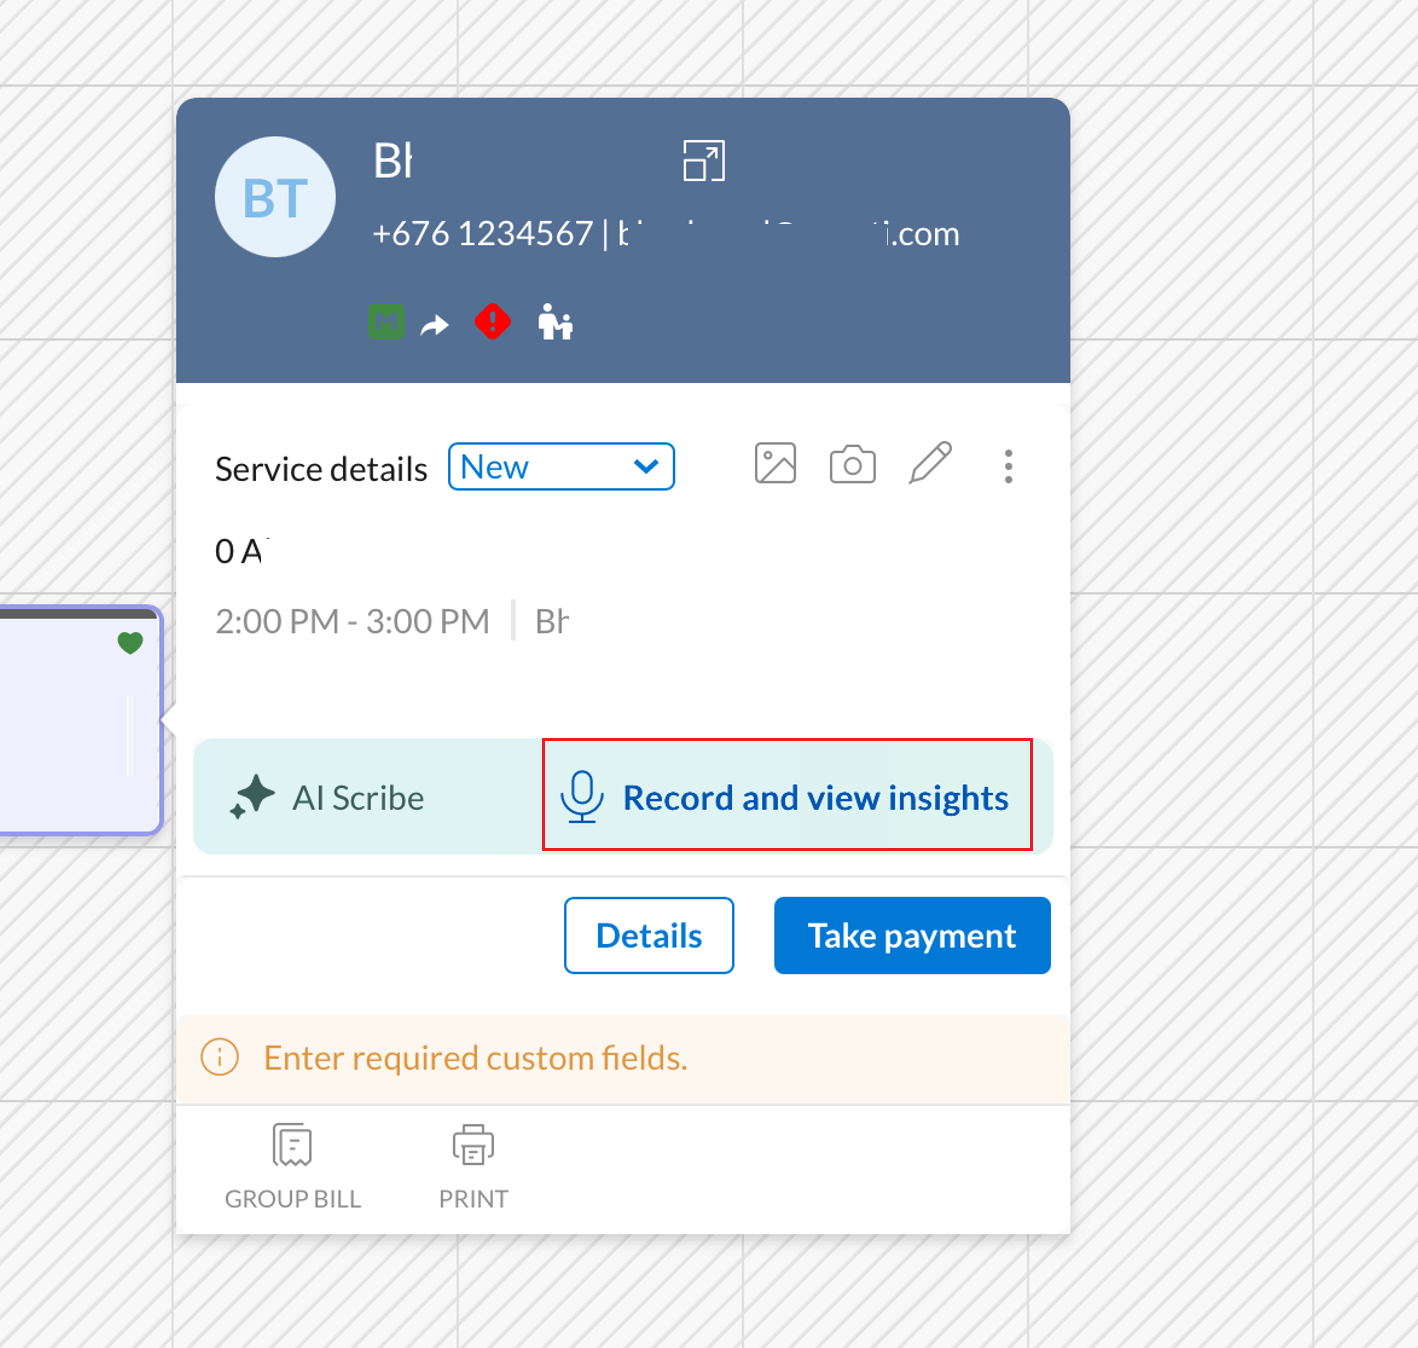
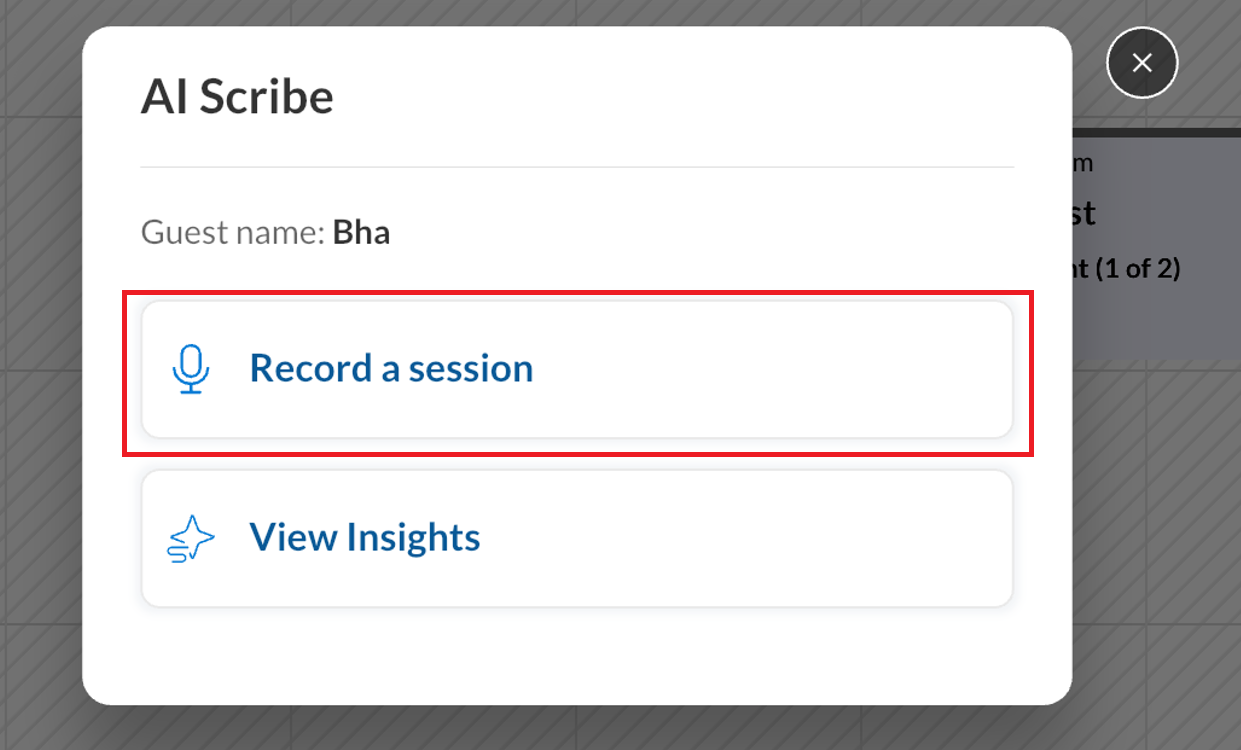
In the horizontal and vertical view of the Appointment Book, tap the guest’s appointment block and tap Record and view insights and then tap Record a session. (or)
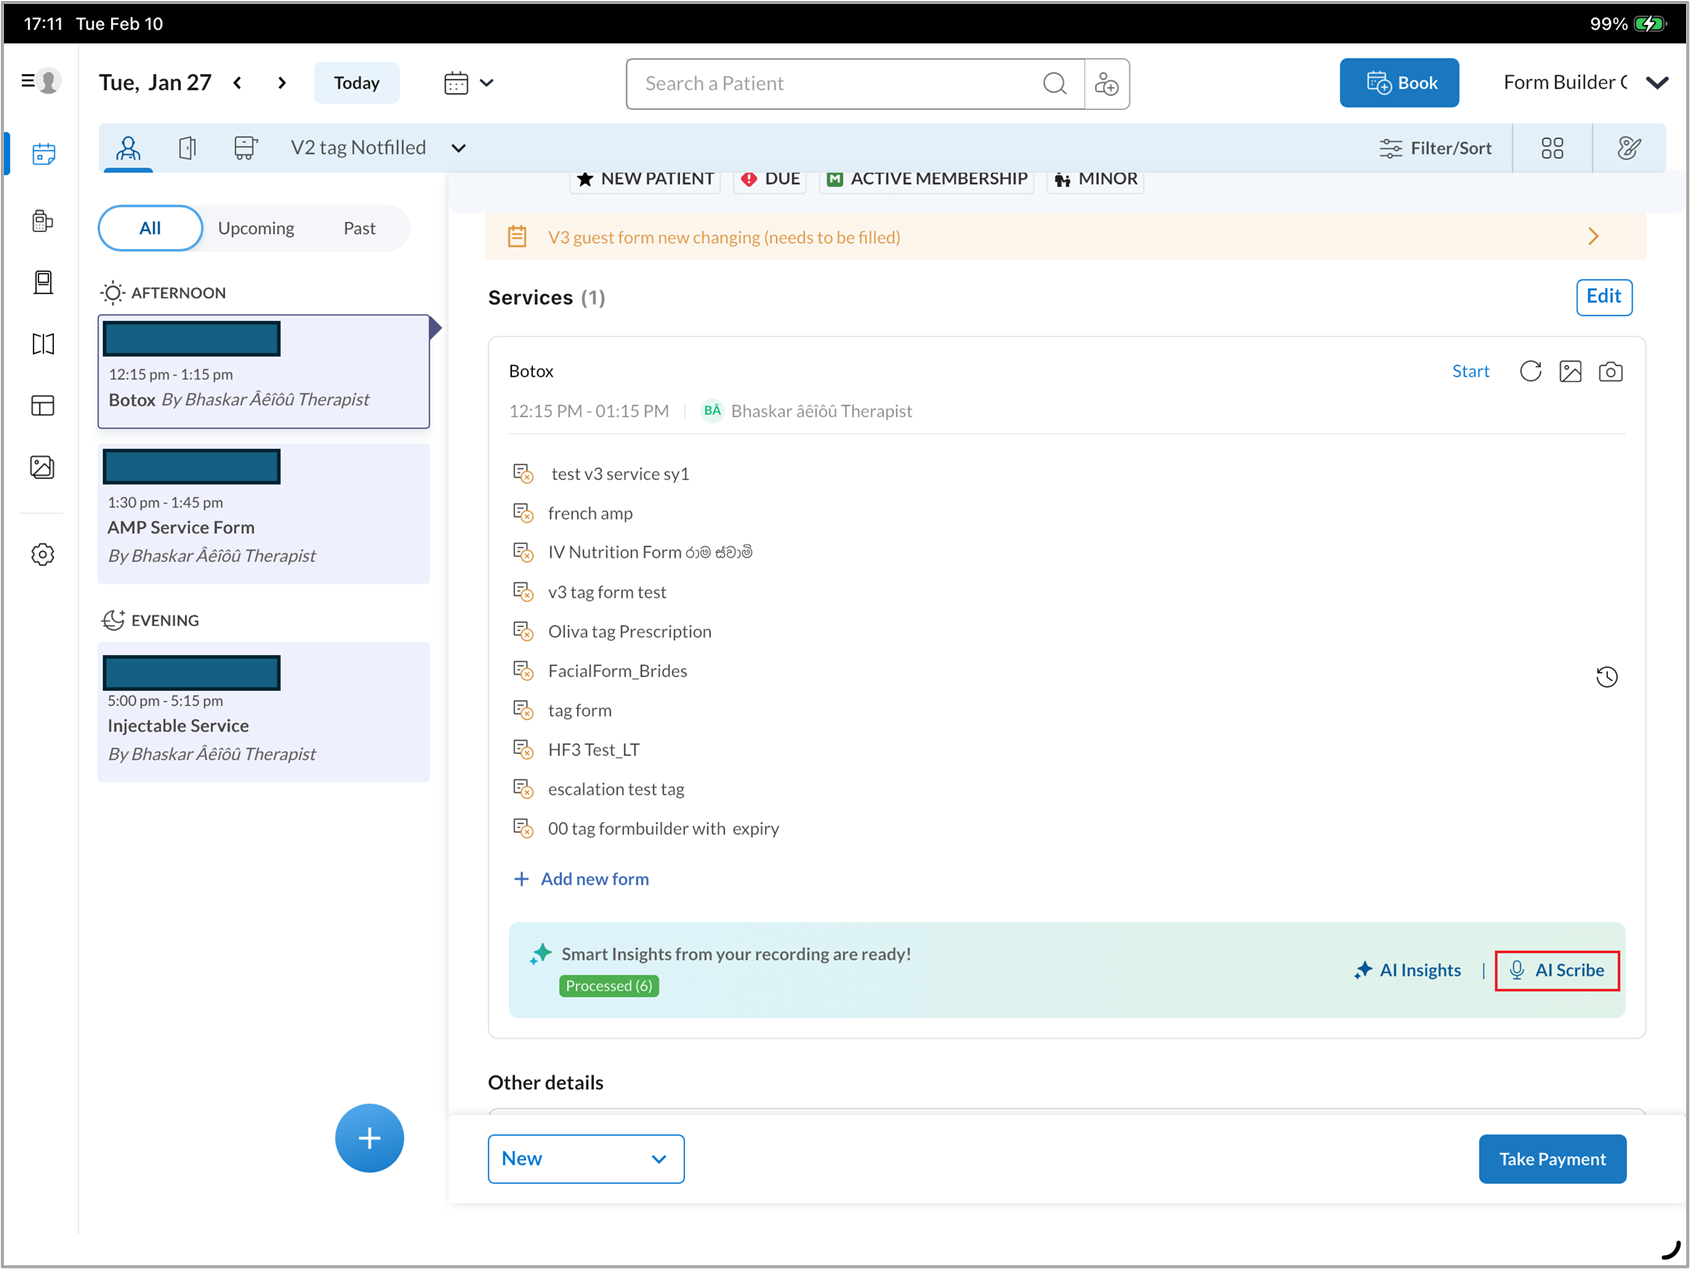
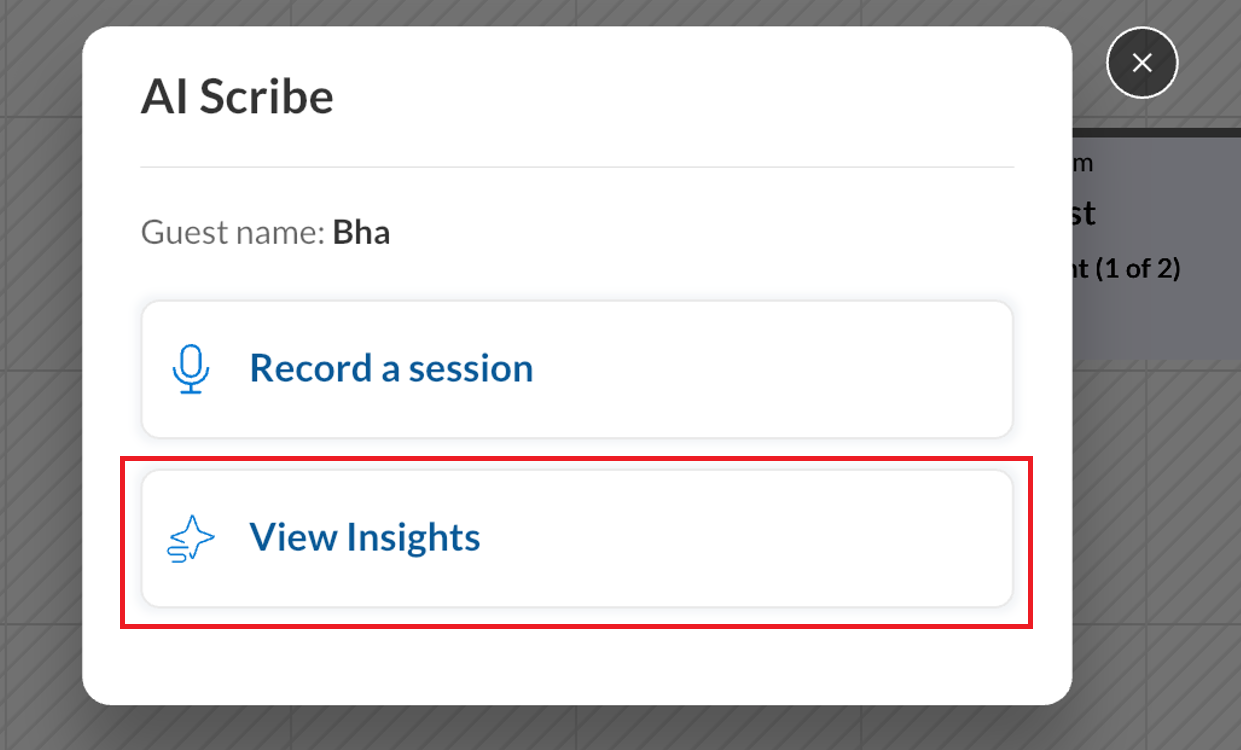
In the list view of the Appointment Book, tap the guest’s appointment and tap AI Scribe.
Note
If you are in an active session, you can start recording by tapping the AI Scribe floating button, then tapping Record. You can also pause or stop the recording from the same button.
Note
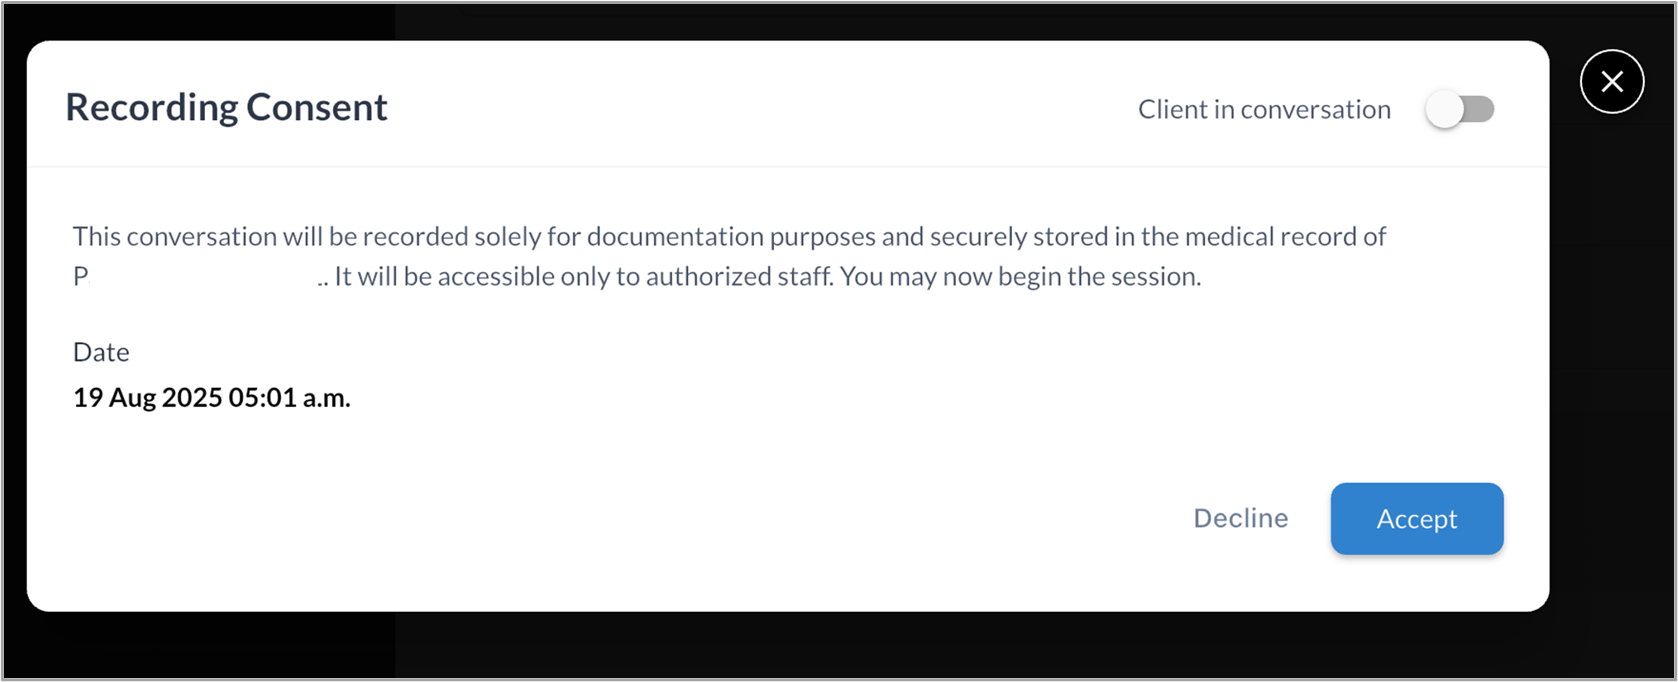
Ensure you inform the guest and obtain their consent and signature before recording the session.
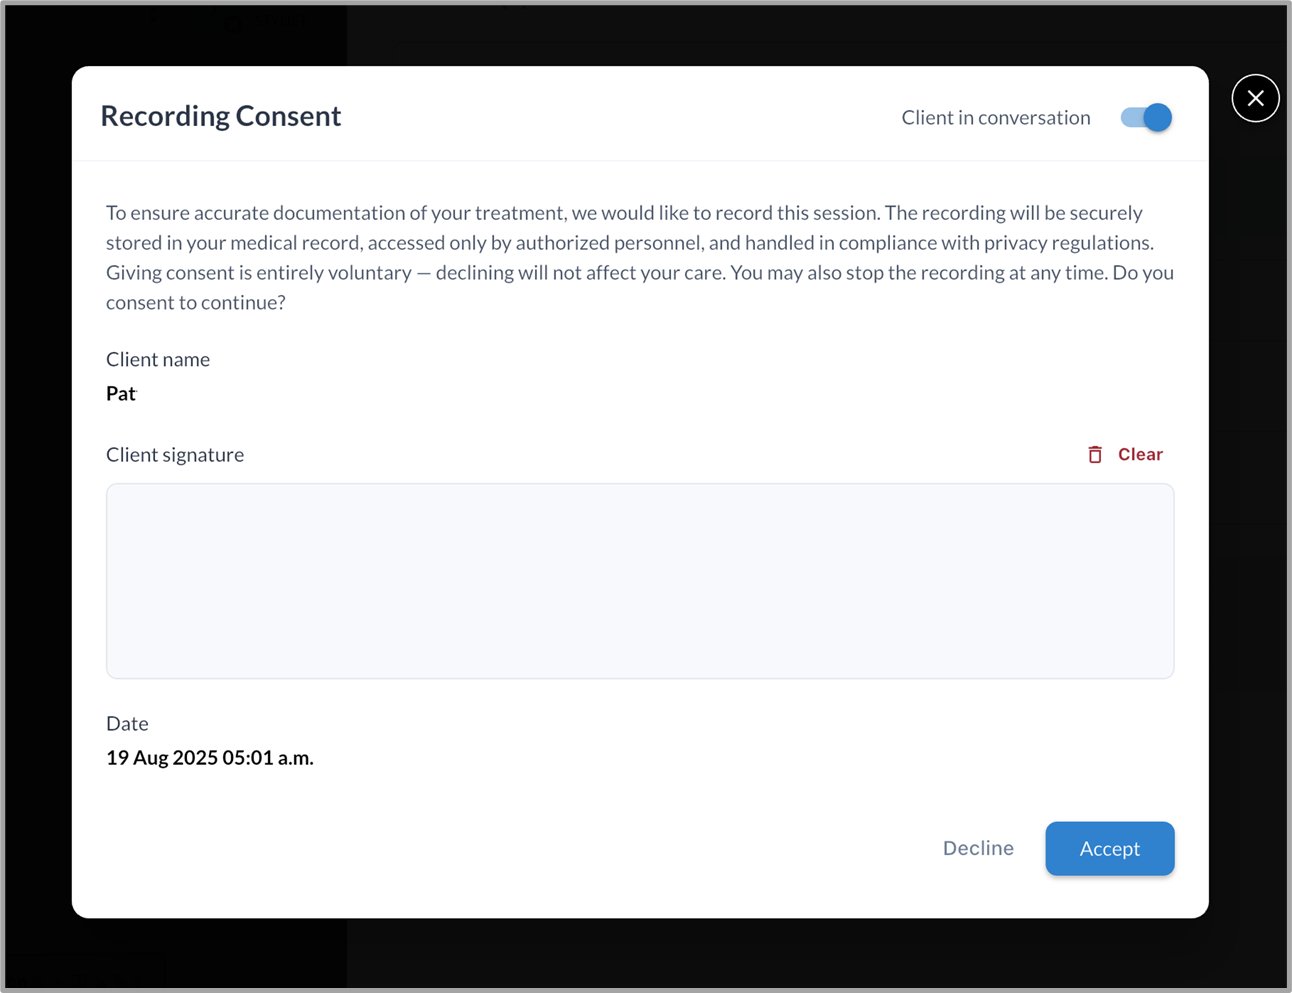
If the guest is not part of the recording, turn off the Guest in conversation toggle and provide your own consent before continuing.
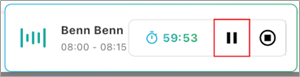
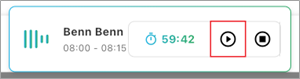
To temporarily stop recording, tap the Pause icon. Tap Resume to continue.
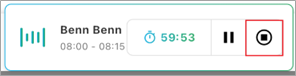
When the conversation ends, tap the Stop icon to end the recording.
After stopping the recording, you can:
Tap AI Insights to summarize the conversation, or
Tap Discard to delete the recording if it’s not needed.
Tap Resume to resume the recording.
Note
You can record multiple conversations for the same appointment.
Each service within an appointment can include multiple recordings; however, each recording is limited to one hour and 35 minutes. AI Scribe automatically stops the recording after this time, and you must start a new recording manually if needed
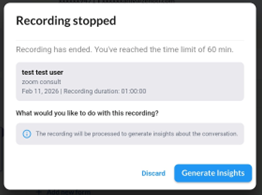
The system alerts you 10, 5, and 1 minute before the recording ends, allowing you to conclude the session or prepare to start another recording.
Consent is not required for subsequent recordings or for multiple services in an appointment, if it was already provided for the first recording.
Insights banner states
The insights banner can appear in one of the following states:
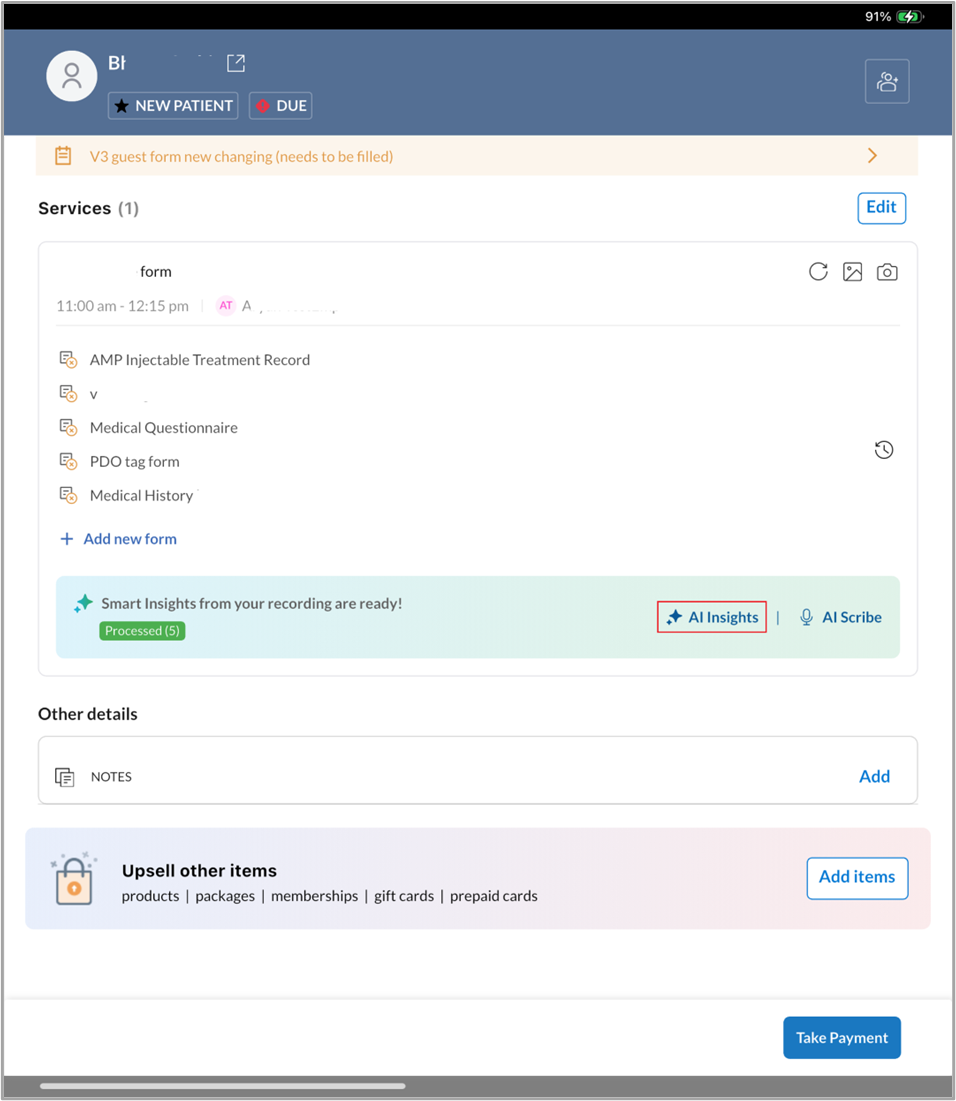
Processed (Green): Insights are successfully generated and ready to view.

Processing (Yellow): Insights are currently being generated.

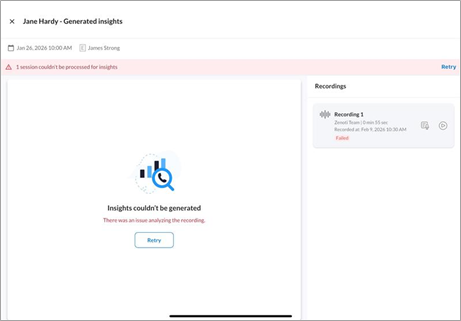
Failed (Red): Insight generation failed. Tap AI Insights and then tap Retry to attempt generating the insights again.

Note
If the app crashes during recording, AI Scribe saves the recording up to that point. When you reopen the app, you can choose to save or discard the recording.
View and edit insights from your recording
After the recording has processed, follow these steps to review the insights:
If you are in the list view, Tap AI Insights.
If you are in the horizontal view or vertical view, tap Record and view insights and then tap View Insights.
On the left panel, review the AI Charting Summary section to view the AI-generated insights.
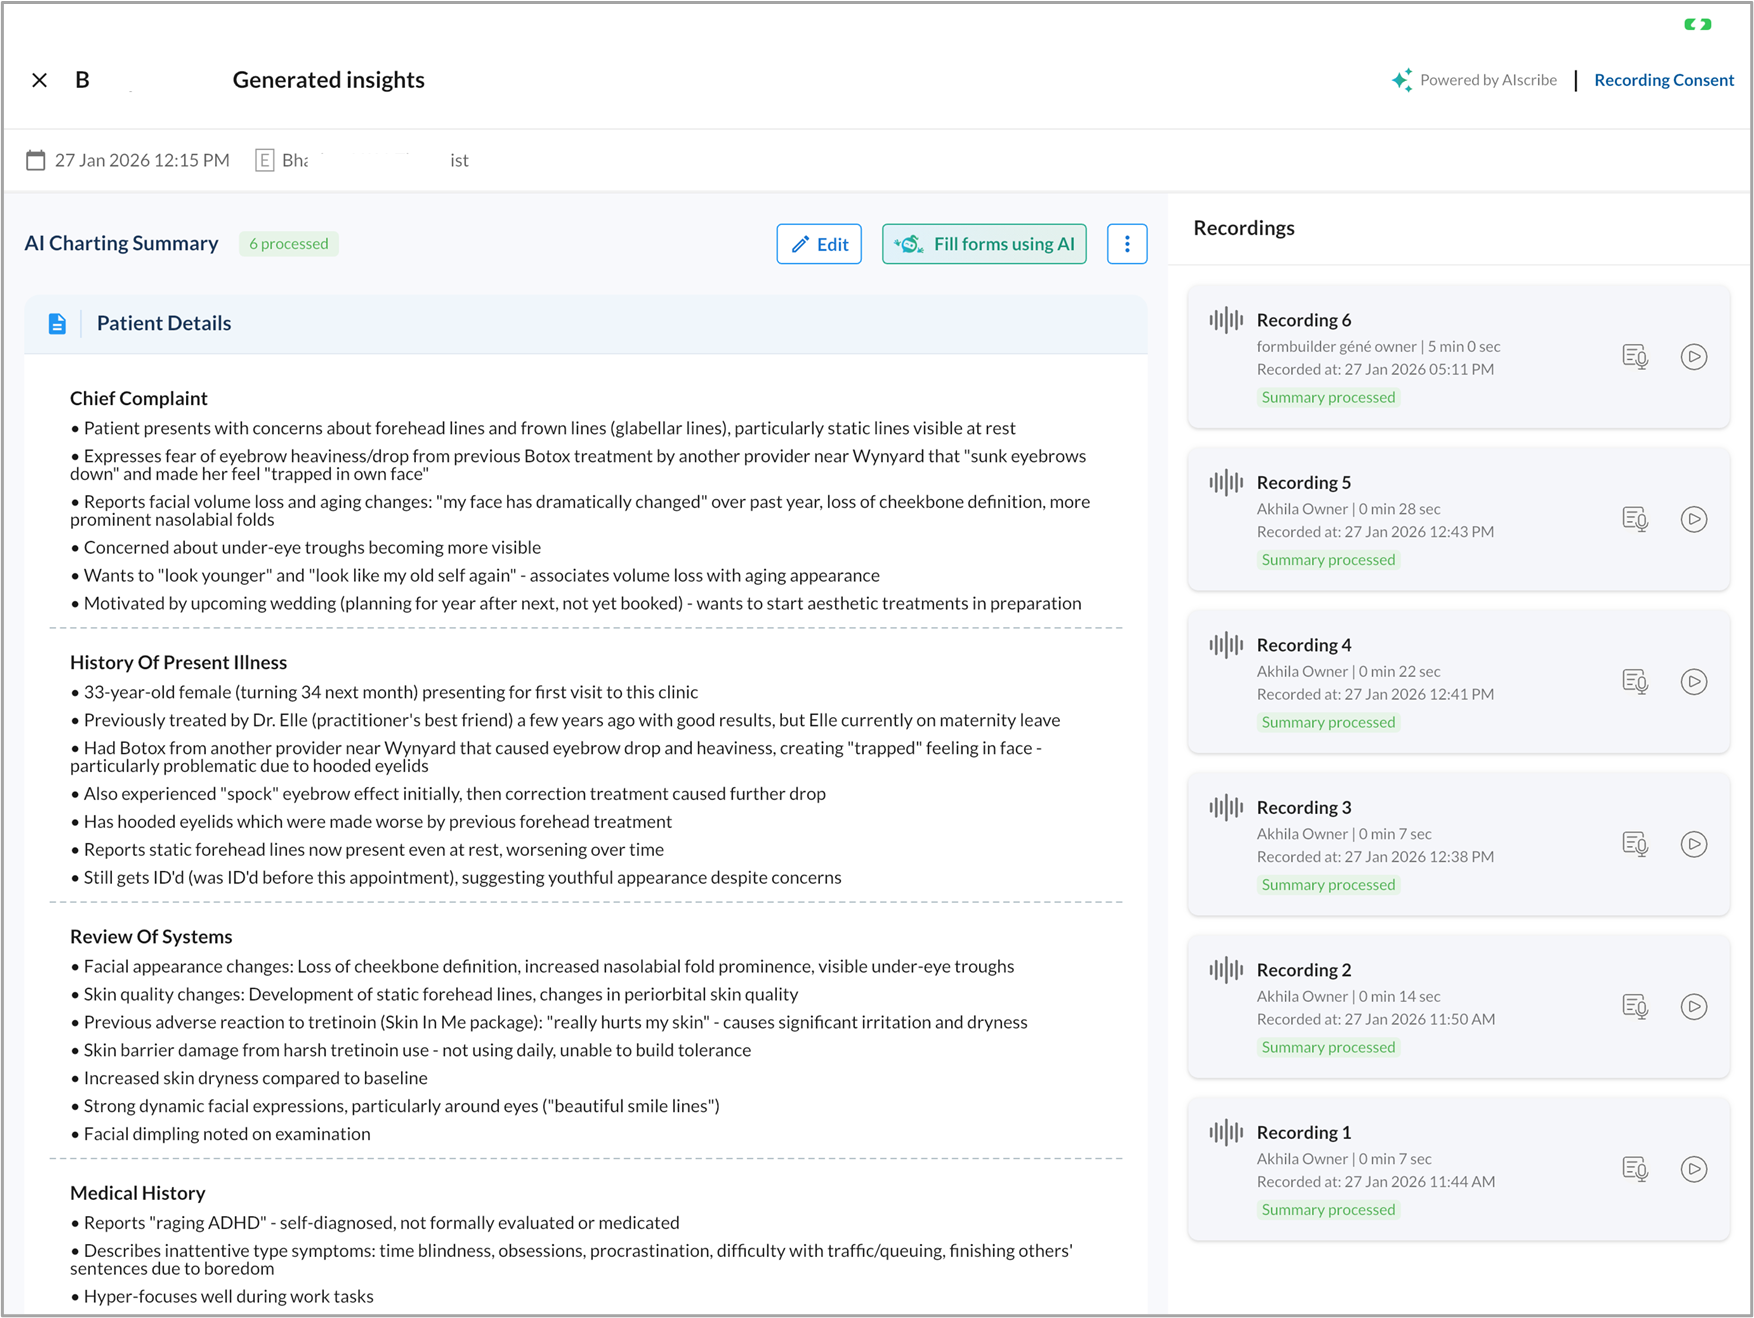
Tap Edit to edit the insights generated, if needed.
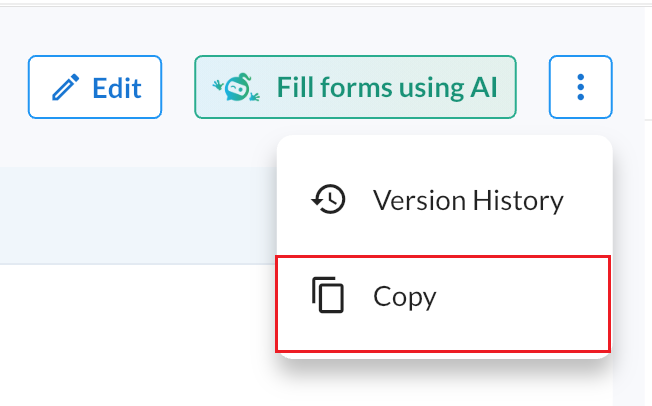
Tap the three-vertical dots menu, then tap Copy to copy all generated insights.
Note
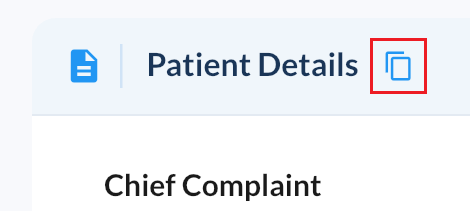
You can also tap the copy icon next to individual sections to copy only that section.
On the right panel, review the Recordings section to view the full transcript.
View consolidated insights
When a service within an appointment includes multiple recordings, the AI Charting Summary section automatically consolidates insights from all recordings into a single, comprehensive summary.
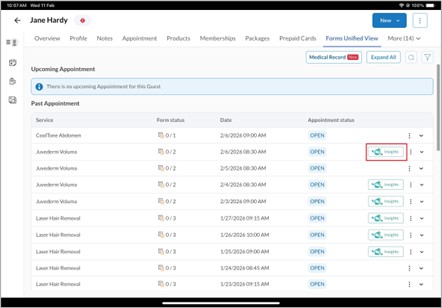
Note: You can also view the insights generated for past appointments from the guest profile. To do so, go to the Forms Unified View tab in the guest’s profile and click Insights for the appointment.
View version history
A new version of AI insights is generated each time there is a new recording or if the provider edits the insights manually. To view the version history of the insights generated:
Open the insights page.
Tap the three-dot menu.
Tap Version History to view current and previous versions.
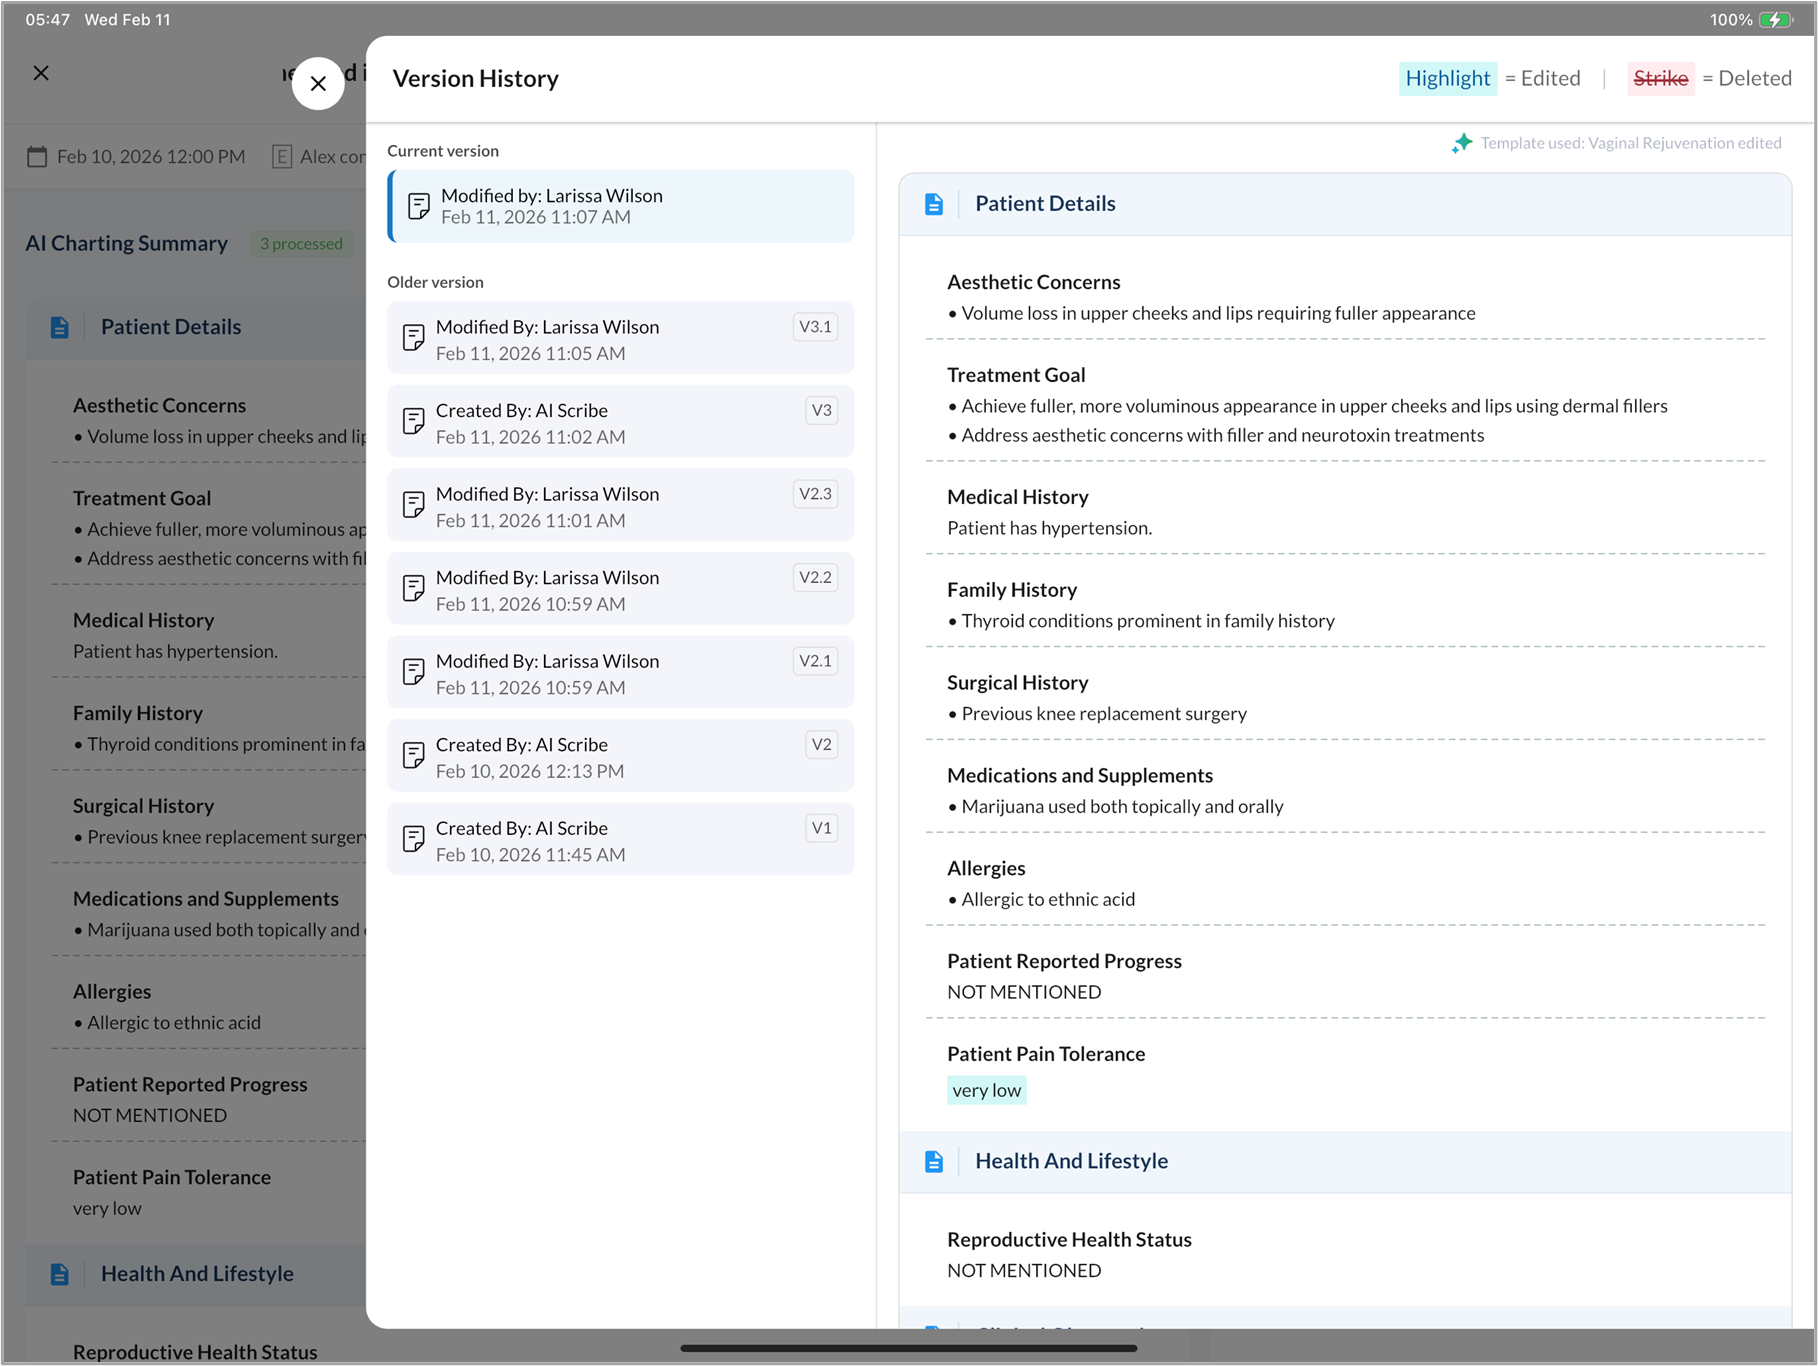
Current version: The latest version that includes all the cumulative edits and consolidated insights generated from subsequent recordings for the same appointment.
Previous versions: Earlier versions with the exact edits and deletions highlighted for that version.
Note
AI Scribe versions each generated summary sequentially (V1, V2, and so on). If a provider edits a summary, these versions are assigned a sub-version number (for example, V1.1, V1.2, V2.1, V2.2) to track those changes.
Fill forms using AI Scribe
Note
To submit an AI-ready form, you must have the necessary permissions to manage custom fields.
You can use the insights generated from the recording to quickly fill the forms linked to the appointment using AI. To do so, follow these steps:
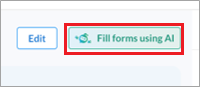
On the Recording Summary page, tap Fill forms using AI.
Go to the form that you want to fill by tapping the relevant tab for it.
Tap Fill form using AI.
The applicable fields in the form will be filled automatically based on the insights generated from the recording.
Note: You can use “Fill form using AI” only once.
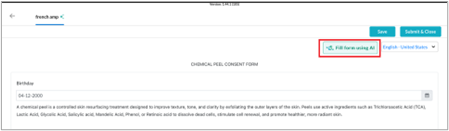
Tap Save to save the form or Submit & Close to submit the form.
Note
To make forms AI-ready during the form-filling process, you must enable the Allow forms to be made AI-ready on the fly setting under Configuration > AI Scribe > AI ready forms.
If a form is not yet AI-ready, you can generate AI instructions directly from the form-filling workflow.
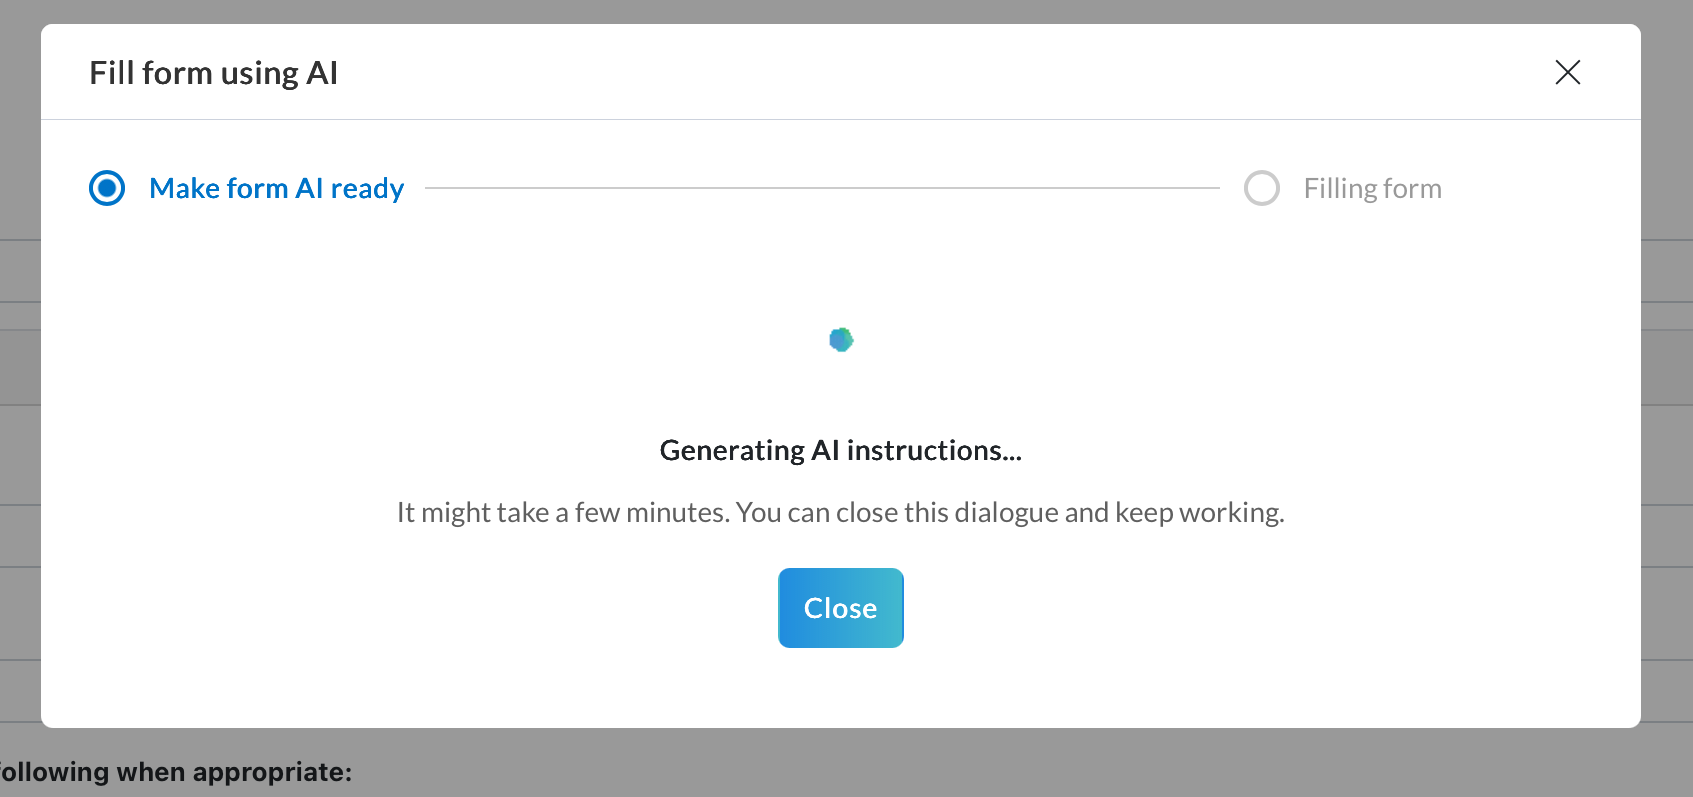
Click Fill form using AI.
In the Fill form using AI dialog, the system checks if the form is AI-ready. If the form is not AI-ready, the following message appears: "This form needs AI instructions before it can be filled automatically..."
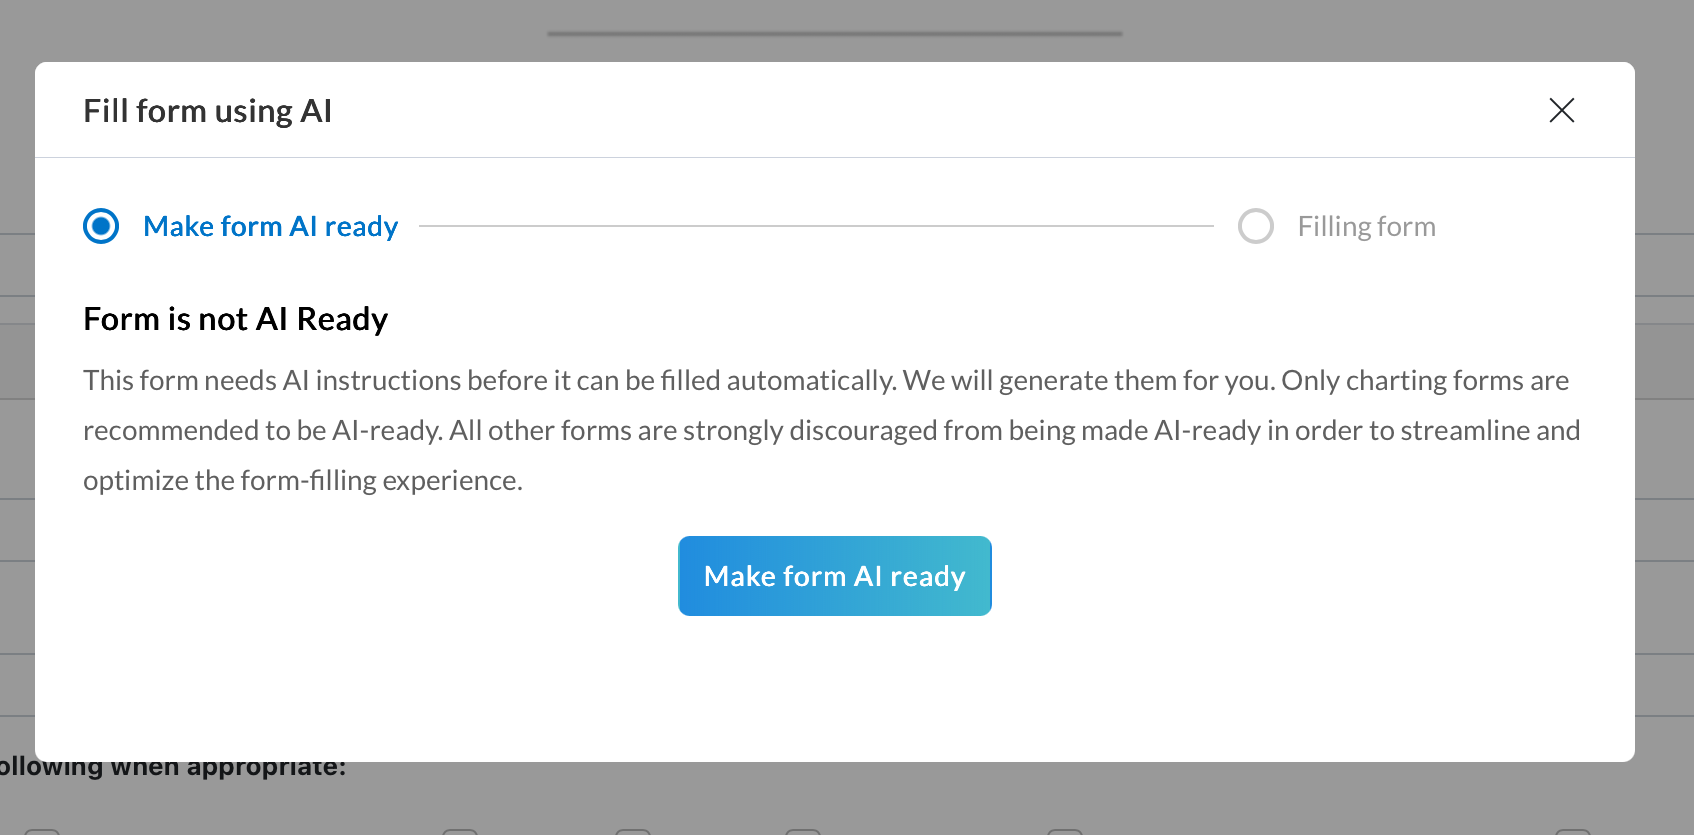
Click Make form AI ready.
Wait while the system generates AI instructions and pre-fills the fields. This process might take a few minutes.
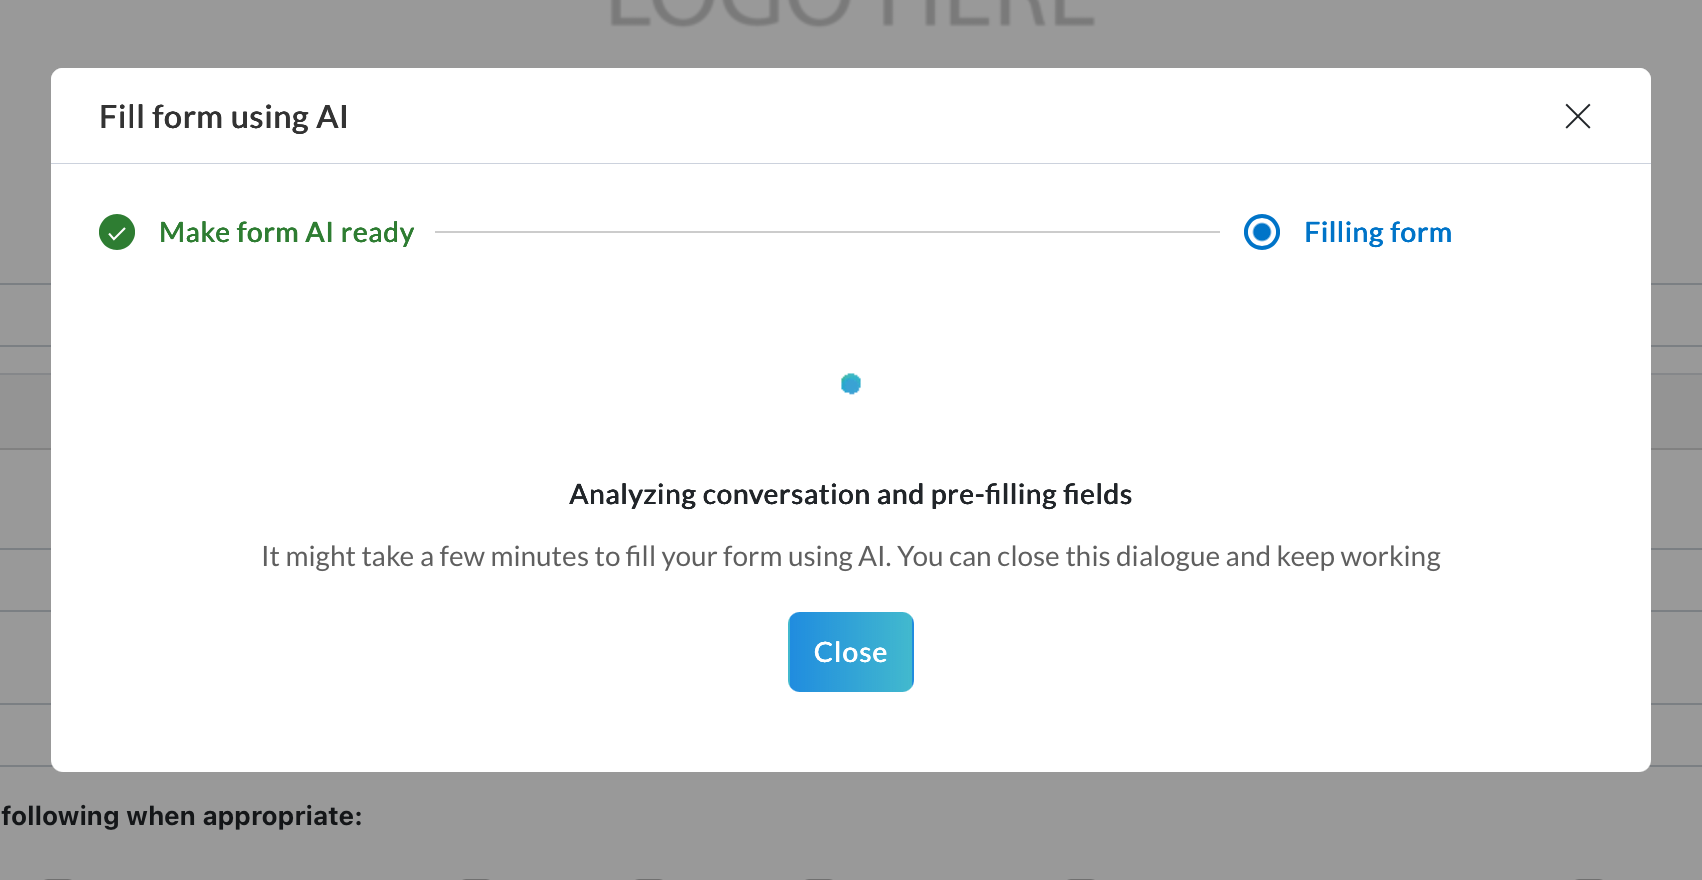
After the AI completes generating instructions and pre-filling, the Review AI suggestions dialog appears.
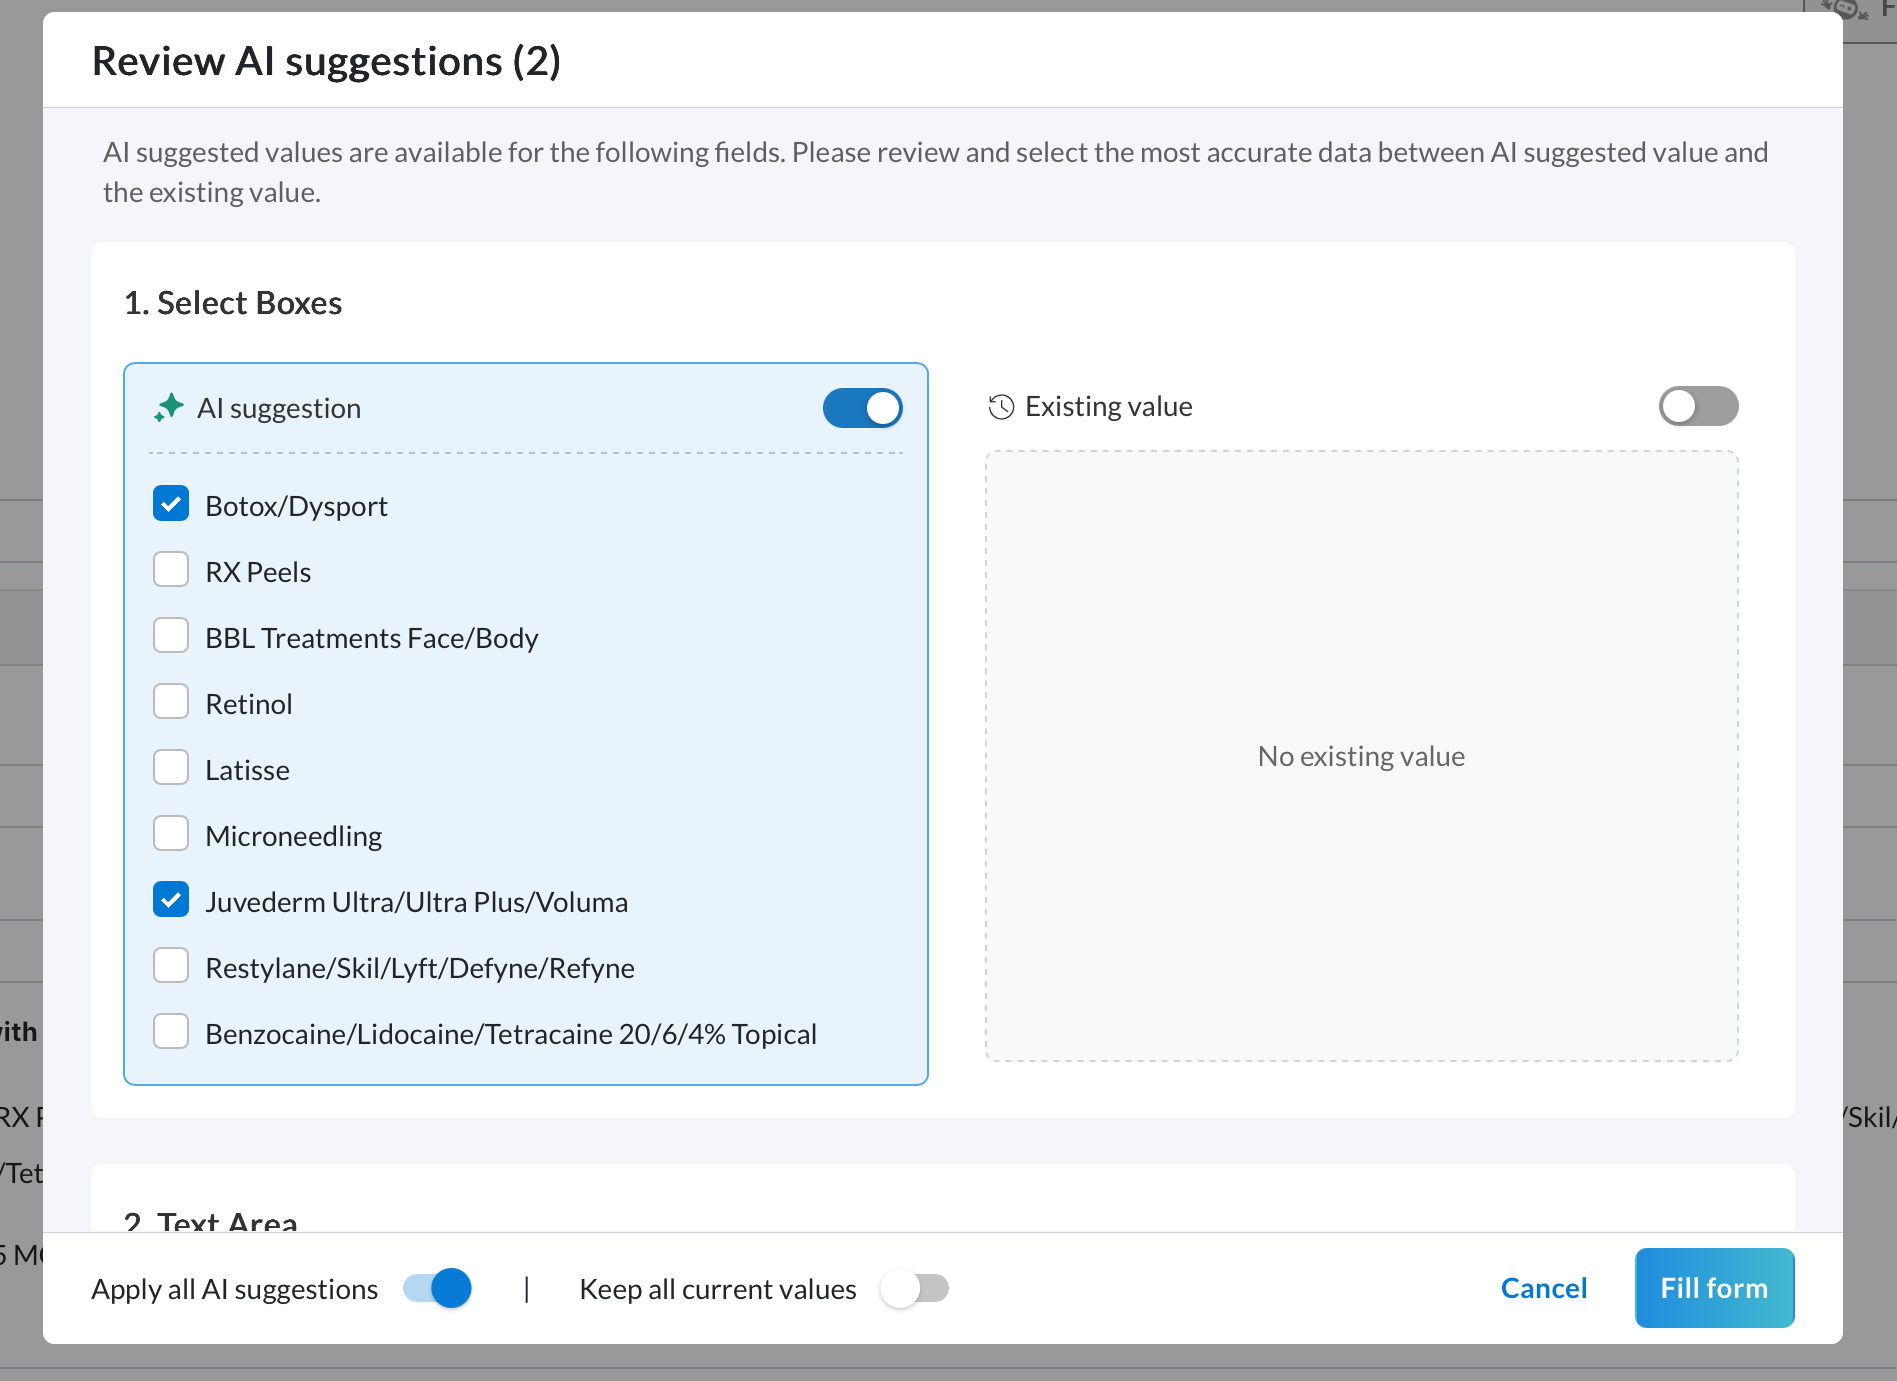
Review the AI-suggested values for each field:
Select AI suggestion to accept the AI-generated value.
Select Existing value to keep the current value.
To apply AI suggestions for all fields at once, turn on Apply all AI suggestions.
Click Fill form to populate the form with your selected values.
If needed, you can manually edit any fields populated by AI before submitting the form.
Note
You can also directly access and fill these forms from the appointment block and the guest profile.
AI Scribe supports automatic form filling for the following field types: text field, text area, number, select boxes, radio buttons, tables, and Medical Record fields like Allergy, Medications, Medical History, and Social History.