Rich-text editor
Note
Effective January 7, 2025, the Rich-text editor will no longer be available for creating new campaigns. The Simplified email editor will become the default and only option. Existing campaigns created using the Rich-text editor can still be accessed and edited in the same editor. For detailed guidance on using the Simplified email editor, refer to Simplified editor.
Use the rich-text editor for email campaigns
The editor allows you to easily access, manage, and save templates. You can also export external HTML code templates and make edits in Zenoti.
Some of the actions you can perform are:
Upload an image from a URL from your local device or using the image’s external URL
Export or import templates
Drag and drop layout editor
Use CSS/HTML editor
Choose full-screen edit mode
Toggle images
Select a template layout.
To know more about the templates, refer Email Campaign: Select a Template.
You can choose one of the following:
Basic Layout: Build your campaign using the default templates, Basic Template or Demo Template, that consist of basic elements and sections that you can customize to insert components such as sections, images, links, text, and buttons. Hint: Demo Template helps you understand how different elements and components appear in your template if you are managing a campaign using the email editor.
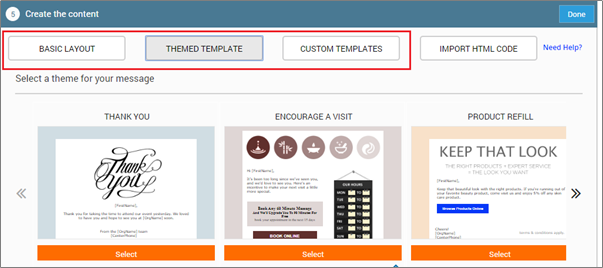
Themed Template: Use one of the pre-configured themes such as Encourage a Visit, Thank you, Product Refill, Service Discount, Members specific, and Occasion to customize your campaign.
Custom Template: Build your own campaign template using the Campaign Editor.
After you create the template, click Save as Custom Template. The template is saved and will be available to you when you access Custom Templates tab in the campaign.
Select one of the options on the left side of the top bar to design a template for your device:
Design an email template for your desktop
Design an email template for your iPad
Design an email template for your mobile device
Based on your device selection the orientation of the template changes.

Choose the options from the editor to design your template:
Label
Button
Description
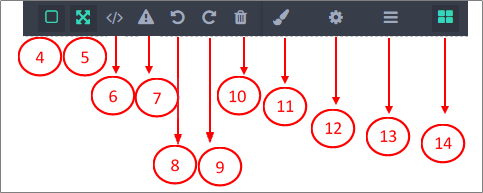
4
View Components
Allows you to view the template with or without the cell border for all of the elements. By default, each cell border appears. When you click this option, all of the cell borders, except the one you have selected, are hidden allowing you to conveniently edit one cell at a time. Click again to see the cell borders for all of the elements.
5
Full Screen
Expand into full-screen edit mode. This allows you better visibility while editing.
6
View and Import Code
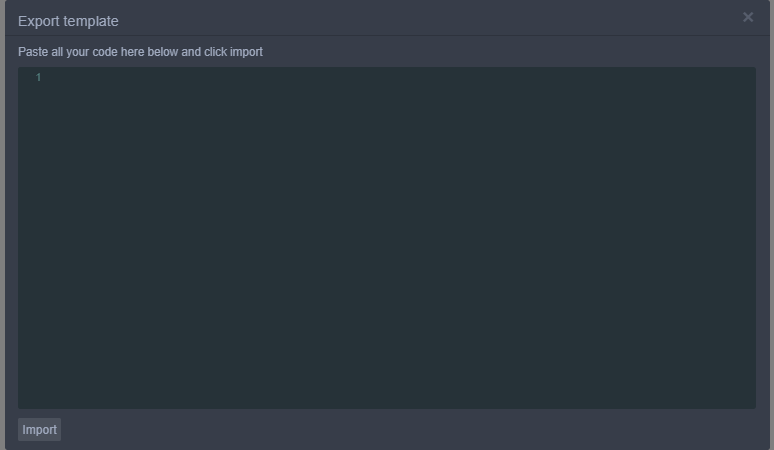
When you select this option, the Export template window appears. You can view your template in HTML format. You can do one of the following using this option:
Export Template: To export the template, copy the HTML code which appears in the Export template window and paste to any desired location.
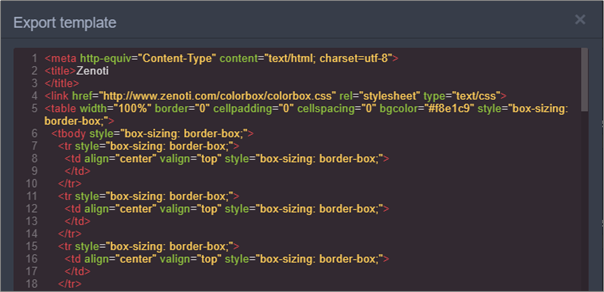
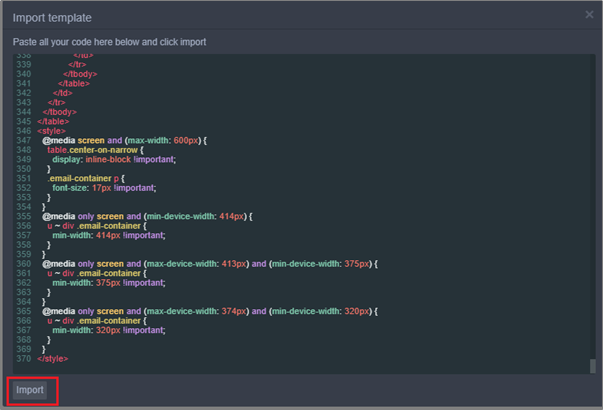
Import Template: To import the template which you have created (outside of Zenoti) into Zenoti, copy and paste your HTML code into the Export template window and then click Import.
The HTML code is imported to Zenoti. To know more refer Import HTML using the editor.
7
Toggle Images
Click to toggle images in your template. This allows you to turn on or off the images within the template.
8
Undo
Undo an action you have performed.
9
Redo
Redo an action you have performed.
10
Delete
Delete any element in the template.
11
Style Editor
Click to open the following style editor options:
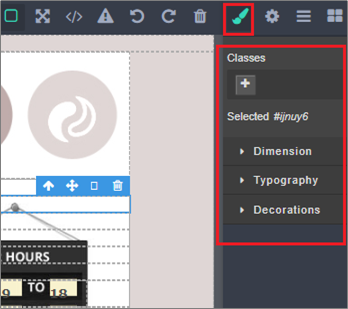
Classes: Shows to which class your cell belongs to. This is helpful especially if you are editing in HTML or CSS.
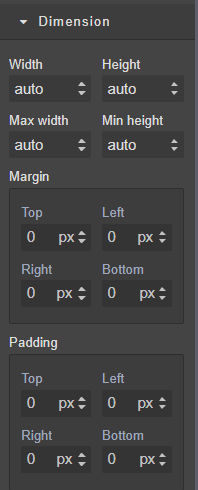
Dimension: Click to expand. You can edit the Height, Width, Margin, and Padding. You can make the necessary changes to the selected elements as required.
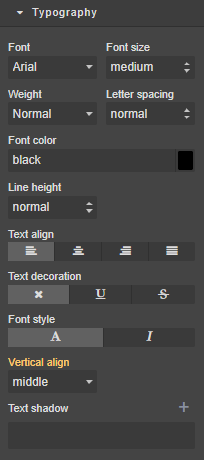
Typography: Click to expand. You can make modifications to the Font and the Text within the cell. You can change the font color, size, or style, align text, shadow the text, or modify spacing.
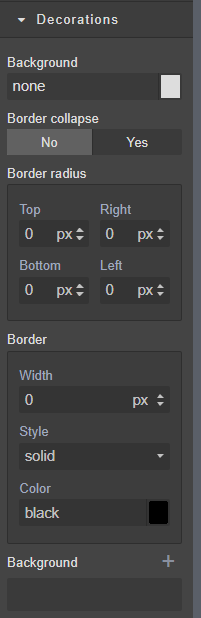
Decorations: Click to expand. You can make changes to the background as required.
Hint: To undo or redo an action, use the Undo or Redo buttons from the top bar.
12
Component Settings
Click to add ID and title for each cell element. This allows you to perform control, navigation, and selection of the layout.
13
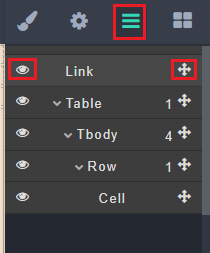
Component Map
: View the number and position of each component of your template. You can locate your cell in the Component Map and make changes to it.
For example, your cell has 1 link, 1 table, and 1 row, in a sequence. Now you want to add another text cell to it. You can either drag and drop the Text option (from the right bar) into your cell and this new addition appears in the Component Map.
You can also make changes like hiding using the Hide option that appears on the left side of the component. To move the component, select the Move option on the right side.
14
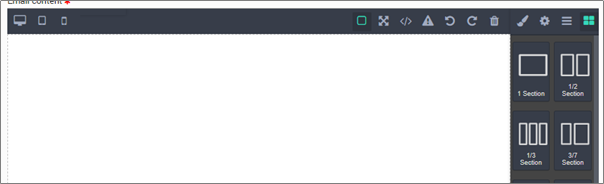
Layout Editor
Click to view or hide the options on the right bar.
When you open the email content editor, the options on the right bar appear by default.
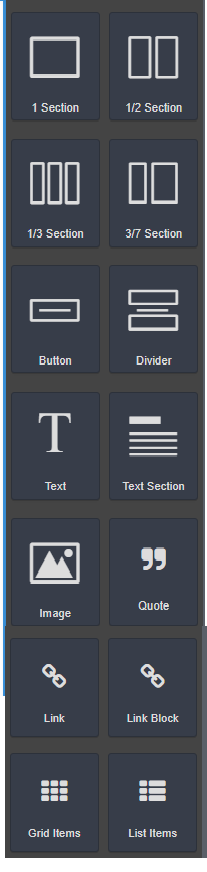
You can drag and drop these options to each cell. The options allow you to create template elements such as Sections, Buttons, Dividers, Text, Images, and Links.
Some Examples on How to Use the Options in the Right Bar
To insert an imageDrag and drop the Image option to the appropriate cell location within the template.
Select the image location from your local device (stored in your system) or enter the URL path for the image in the Select image window that appears.
The URL can be of an image hosted on your site or of the one that you have uploaded in Zenoti Image Gallery
Click Add image to add the image to the selection.
Double-click the image to add it to your template.
To insert a link to your imageDrag and drop the Link Block to the required cell.
Drag and drop the Image option exactly inside the block within the Link Block.

Select the image location from your local device (stored in your system) or enter the image URL in the Select image window and double click to insert the image.
Select the upward arrow icon for the image to select the parent cell.
Click the Class Editor icon to open the Component Settings option.
Enter the link in the Href field to insert the link for the image.
The link is inserted for the image.
Click the cell to make inline changes such as, select the parent cell (to apply any changes to the entire cell), move the cell to a location with the template, duplicate the contents of the cell, or delete the cell, using the respective icons that appear in the top right corner.

Use any of the available macros to customize your email/text campaign.
You can also include custom macros in your content. To create custom macros, refer to configure optional fields in Zenoti.
Click Save as Custom Template to save changes and add your template to the Custom Template. You can modify this saved template at a later time.
After you are done with the edits, proceed to the final step in editing the Email campaign: Save and Finish. You can choose the Save and Close option to save the campaign as a draft or use the Send Now option to send out the campaign.
Important
You must save the changes before you close or navigate to another window to avoid losing the changes done for your campaign.
Select a template in the rich-text editor for email campaigns
You can use the existing templates in Zenoti to create email campaigns. Additionally, you can also create or import your own templates into Zenoti.
When you are creating email campaigns, select a template layout that allows you to build an email and send the campaign to your guests.
Click the Marketing icon and navigate to Campaigns > Email/Text Message.
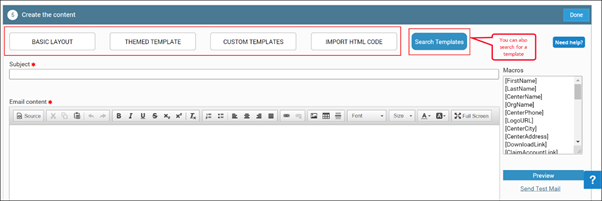
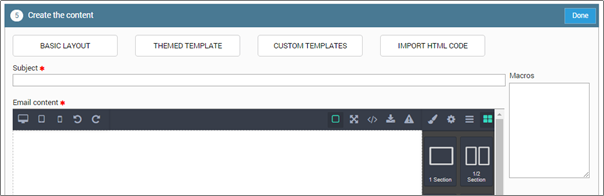
The options to select a template appear in the Create the Content step.
Navigate to Add Scheduled Campaign or Add Always on Campaign > Communication Channel > Email Message > Create the Content step.
Select the template.
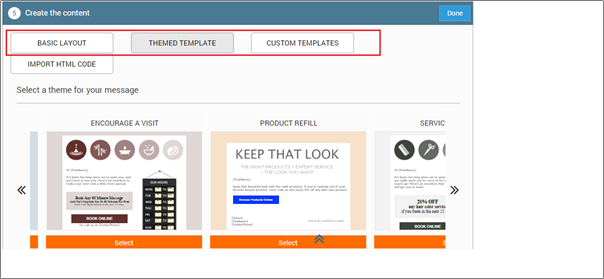
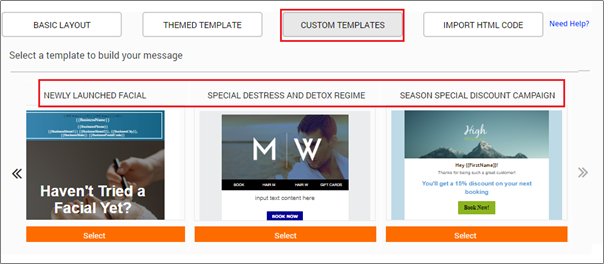
You can select a template from a specific category or also search for a template across the categories (basic, themed, and custom).
Alternatively, click one of the following tabs to view different template layouts:
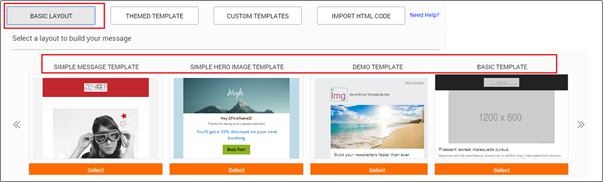
Basic Layout: Build your campaign using the default template that consists of basic elements and sections that you can customize by inserting components such as sections, images, links, text, and buttons. You have the following template layouts in Basic Layout tab:
Simple Message Template
Simple Hero Image Template
Demo Template
Basic Template
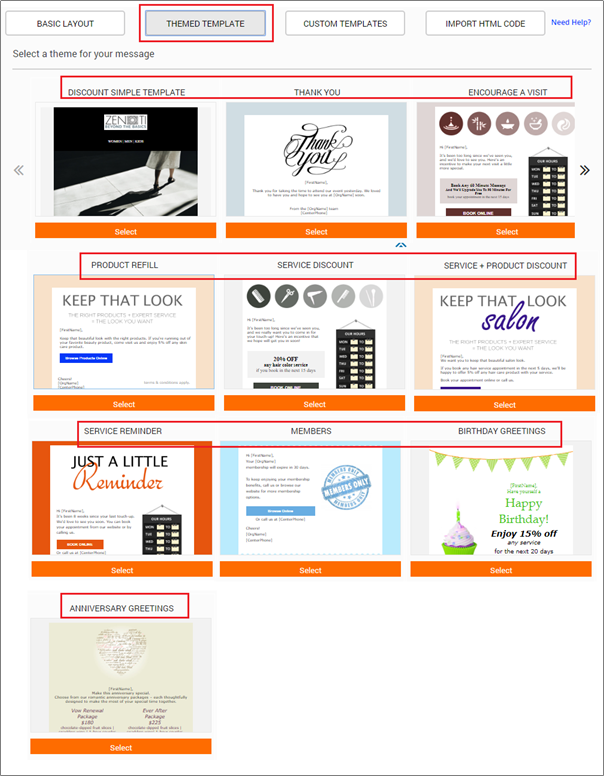
Themed Template: Use one of the pre-configured themes in Zenoti that help you easily build campaigns by using these themes. You can find the following template layouts in Themed Template tab:
Discount Simple Template
Thank you
Shopify Store Announcements
Encourage a Visit
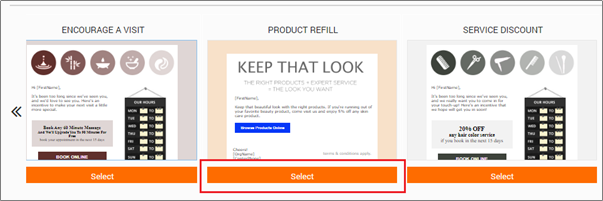
Product Refill
Service Discount
Service+Product Discount
Service Reminder
Members
Birthday Greetings
Anniversary Greetings
Custom Template: When you build your own campaign template using the campaign Editor and save the templates using Save as Custom Template, the templates appear in this tab. You can access these templates at any point of time.
3. Click Select under a template layout to use that template.
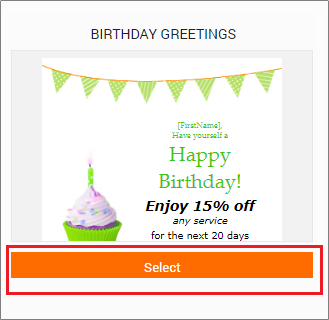
The template theme name appears in the Subject text box and the layout appears
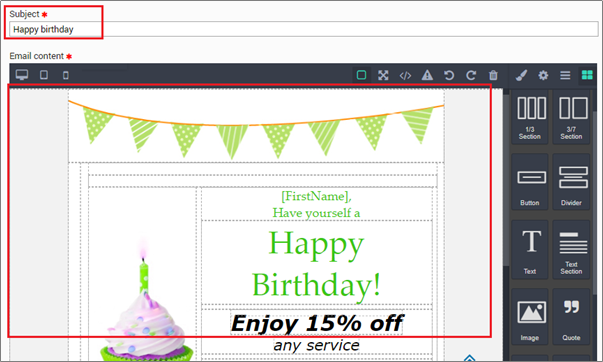
You can modify the theme by using the editor for your email campaign.
Import or export HTML code using the rich-text editor
You can use the campaign editor to import or export the HTML code for your email campaign.
Navigate to the email editor to create an email campaign.
The email content editor opens.

Click View and Import Template icon from the top bar.
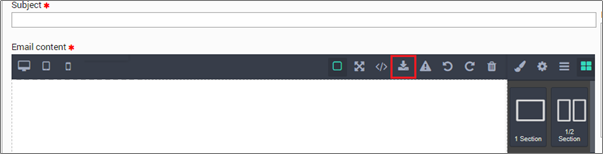
The Export template window appears.
Copy and paste your HTML code in the Import template window.
Click Import.
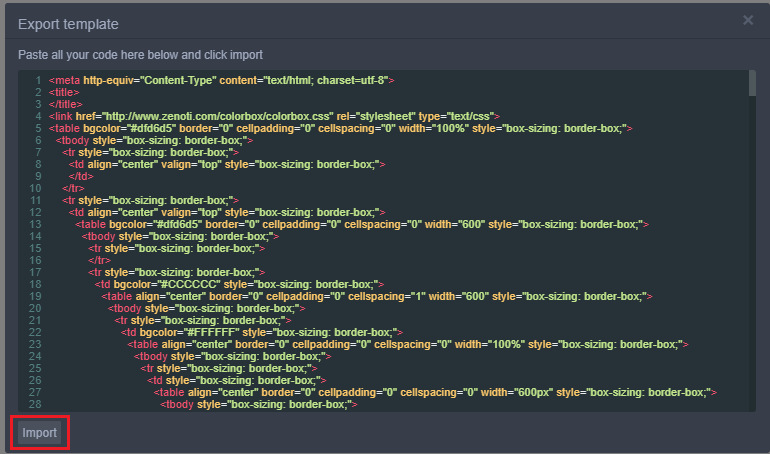
The HTML code is imported to the editor.
Save your changes using either select Save as Custom Template (to add the template to the Custom Template) or Save an Publish.

Click the View and Import Template icon from the top bar of the email editor.
The Export template window appears with the HTML code of your template.
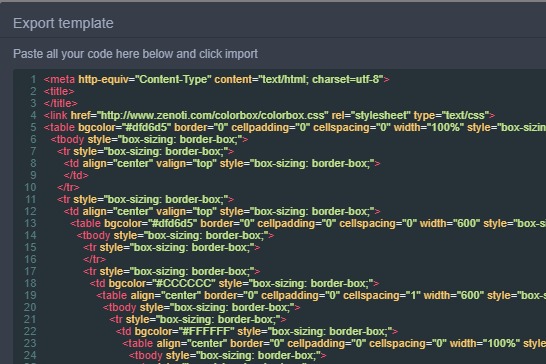
Copy the HTML code and paste it in the required location to export the template.
Select Save as Custom Template (to add the template to the Custom Template) or Save an Publish.
Create content using the rich text editor for email campaigns
Using Zenoti, you can create email campaigns by entering the required campaign information, selecting communication channels, and campaign type, and selecting the recipients of the mail.
The Rich Text editor (Marketing > Campaigns > Email/Text Message > Add Scheduled Campaign or Add Always on Campaign > Communication Channel > Email Message > Create the Content) allows you to easily access, design, manage, and save templates which you use for your email campaign.
Note
If your editor looks like the one shown below, you may be using the new version of the editor. For instructions on creating campaigns using the new version of the editor, read: Email Campaign: Using the Editor.
Organization or centers can create their own email template. However, centers cannot delete the email template created at the organization level.
You can use any of the two available options to create an email campaign:
Use available template
Create from external HTML code
Use any available Template
Templates: Select a preferred layout of your email template.
The available options are: Basic Layout, Themed Template, and Custom Template.
Click Select to choose the desired template.
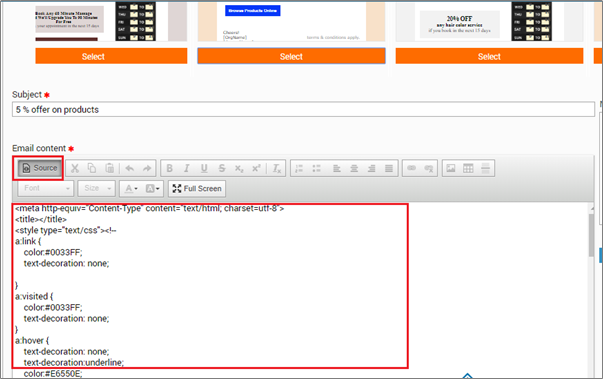
The Email content field shows the entire HTML code of the template in the Source mode.
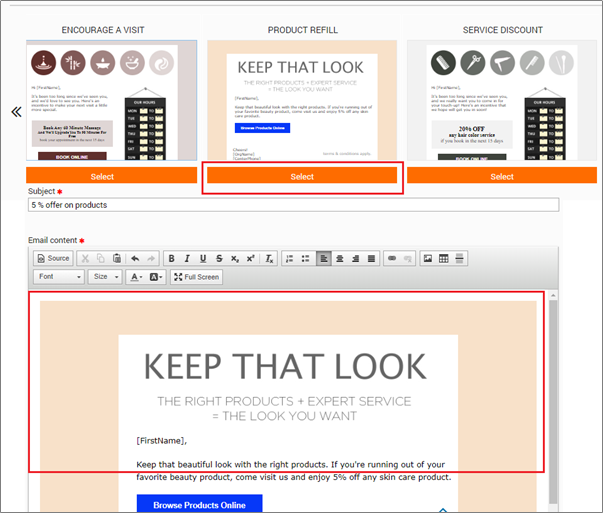
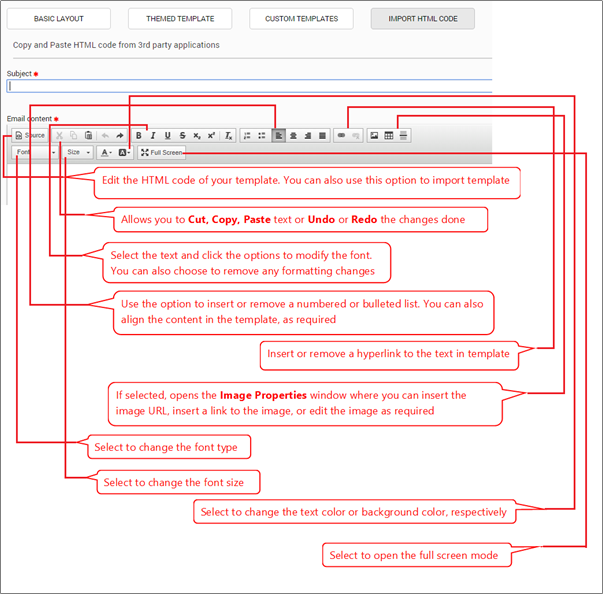
Make necessary changes to the body text using the Rich Text Editor menu.

Note
You can use the editor to make changes, insert images or links, modify the format for the content or elements in the template.
(Optional) click Source to change the email content into 'Design' mode and edit the template's HTML code.
(Optional) Use any of the available macros to customize your email/text campaign. You can also include the custom macros in your content.
(Optional) Select Add plain text email and enter body text of the email.
If you want to save this email template for future use, click Save as Custom
Template. Give a name to this template and click Save to save the name.
After you are done with the edits, proceed to the final step in creating the Email campaign: Save and Finish.
Use an HTML page you designed outside Zenoti
If you have created an HTML page as per your style standards, you can select the option: Import HTML Code.
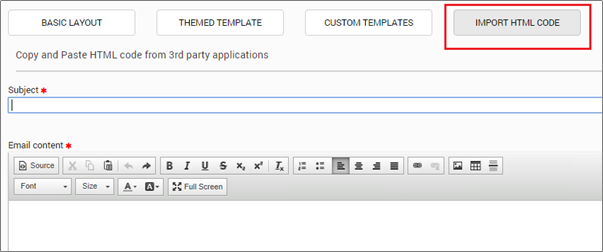
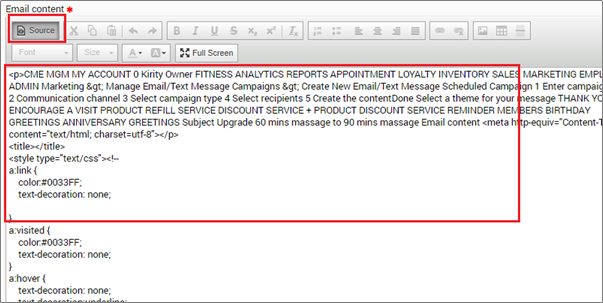
Select Source on the menu bar of Email content field.
Copy the HTML code from the source and paste it in the Email content
Important
field.: Ensure you select Source, else, your email will contain the HTML code instead of the actual displayable content.
(Optional) Click Preview to see how the email appears to the recipient.
(Optional) Click Send Test Mail and enter an email address to send a test email before you send out a campaign to your guests.
Click Done.
Save and Publish
It is important to save the template designed for your email campaign. You can choose one of the following options.
Click Save and Close to save the campaign as draft.
Click Send Now to send out the campaign.
Option for Guest to Unsubscribe from the emails
Zenoti automatically includes an option to unsubscribe, at the end of every email sent to the guest. When a guest chooses to unsubscribe, Zenoti records their response and ensures that the guest will not be included in the mailing list.
Guest will not receive any notifications, even if they are eligible for special offers or discounts.
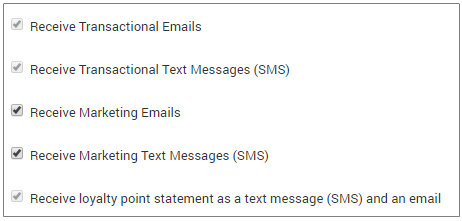
Resubscribe the Guest to Notifications
If a guest wants to receive the emails again, turn on the check boxes (shown in the image) in Guest profile:
Add and edit campaign text using the rich-text editor
You can add or edit the text in your template when you are creating an email campaign using the Campaign editor.
To create an email campaign, navigate to the email editor.
The email content editor opens.
Drag and drop the Text option from the right bar into the cell.
The text box allows you to enter text.
Enter text in the text box.
Click the Style Editor.
The options to edit the cell appears.
Click Typography.
The options to edit your text appears.
Select the text and then click options to make changes like editing the font type, font size, font color, alignment, and shadow effect.
Note
To change the font color of your text, click the Font color drop-down list,
Add images to your campaign using the rich-text editor
When you are creating email Campaigns, you can add images from your local device (desktop), using the URL hosted on your site, or using URL uploaded to Zenoti Image Gallery, using the image option in the editor.
Before you begin
You must have the URL or location (from local system) of the image handy. You can get the image URL in one of the following ways:
If the image is hosted on your site, locate the URL which appears at the top of your browser page.
Use the URL of the image available in the Zenoti Image Gallery.
If you wish to upload an image to Zenoti Image Gallery and use it in your campaign, first upload the image to the gallery and copy the URL. For instructions on uploading the image to the gallery, see the next section
Navigate to the email editor to create an email campaign.
The email content editor opens.
Drag and drop the Image option from the right bar to the appropriate cell location within the template.
The Select image window appears.
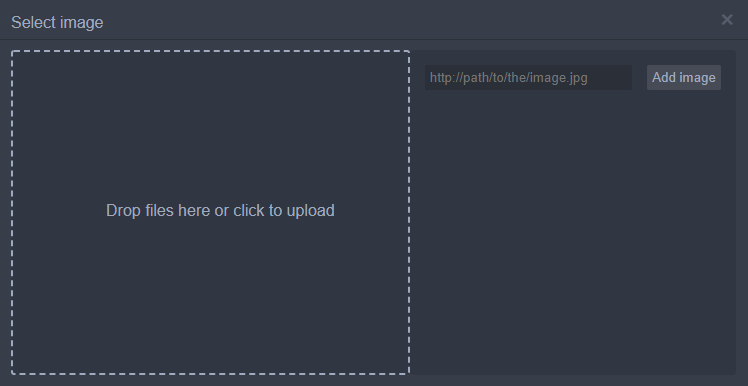
Enter the image location which is available on your device in the text box near Add image or drag and drop the image in Drop files here or click to upload.
For example, if you have it saved in "My Pictures," then enter the location path as Desktop/My Pictures/<image name> or drag and drop the image from the location into the Select image window.
Click Add image to add the image to the selection.
Double-click the image to add it to your template.
Ensure that you are at the organizational level.
Navigate to the location of your image on your computer.
For example, if you have it saved in My Documents, then navigate to that location.
The Image Gallery opens.
Click Add.
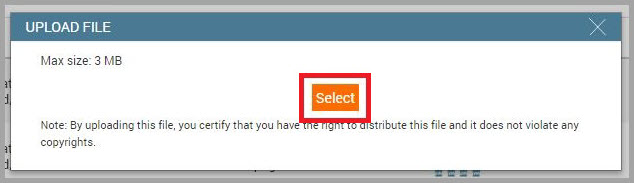
The Upload File pop-up window appears.
Click Select.
A window to select your image appears.
Navigate to the location of your image on your computer.
For example, if you have it saved in "My Documents," then navigate to that location.
Select the image which you want to upload.
Note
The size of the image can be up to 3 MB.
The Validate File window appears.
(Optional) Enter the image name in Save File As text box.
Note
If you do not name the image, Zenoti generates a random name for your image. It is recommended that you name the image to locate it easily.
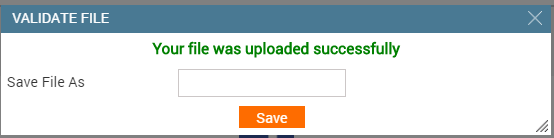
Click Save.
A URL is generated and the image is added to the Zenoti Image Gallery.
Locate your image in the Zenoti Image Gallery.
Click Copy Link.
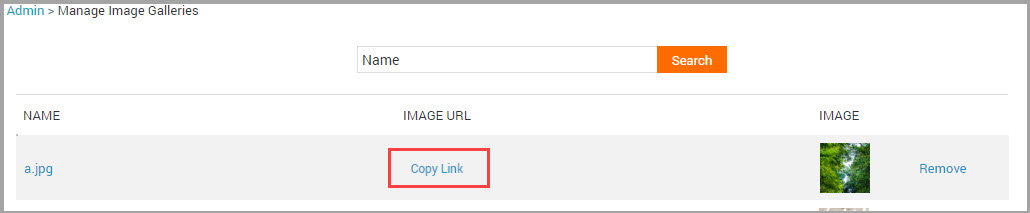
A message stating that the link is copied to clipboard appears.
Use this URL when adding images to the email campaigns.
Navigate to the email editor to create an email campaign.
The email content editor opens.
Drag and drop the Image option from the right bar to the appropriate cell location within the template.
The Select image window appears.

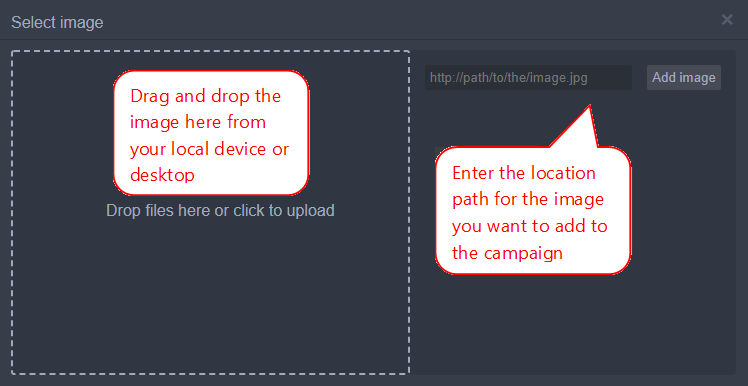
Select the image location on your device, or enter the URL for the image in the text box in the Select image window.
Note
Enter the URL of the image hosted on your site or the one that you have added in Zenoti Image Gallery.
Click Add image to add the image to the selection.
Double-click the image to add it to your template.
Add images as a link to your campaign using the rich-text editor
You can make your image as a link in your template when you are creating an email campaign using the Campaign editor. This link is clickable and when your guests click the image, it redirects them to the required page on your website.
Navigate to the email editor to create an email campaign.
The email content editor opens.
Click the Layout Editor.
The options in the right bar appear.
Drag and drop the Link Block to the required cell.
Drag and drop the Image option exactly inside the Link Block.
The Select image window appears.
Type the URL for the image in the text box that appears in the Select image window and double click to insert the image.
Note
To create a URL for an image stored on your device, refer: Upload Image to the Zenoti Image Gallery.
Select the upward arrow icon for the image to select the parent cell.
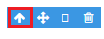
Click the Component Editor icon.
The option to add a link to your image appears in the Component Settings.
Do the following actions in the fields that appear:
Title: Enter the name for your link.
Href: Enter the link in the Href field to insert the link for the image.
Target: Select one of the following options from the drop-down list:
This window: Opens the link in the same window.
New window: Opens the link in a new window.
The link is inserted to the image.
Resize an image in your campaign using the rich-text editor
You can not only add images to your campaign while creating an email campaign, but also resize or make changes to your image using the Campaign editor.
Navigate to the email editor to create an email campaign.
The email content editor opens.
Click to select the specific image for which you want to make changes.
Click the Style Editor.
The options to edit the cell appears.
Click Dimensions.
The options to edit your image appears.
Click the required options in the Dimensions to make necessary changes.
For example: To change the width and height of your image, you can enter the dimension in the Width and Height box, respectively. Alternatively, you can use the up or down arrows next to the options to make required edits.