Manage card readers
Add terminals
You can add payment terminals for POS modules or card readers for existing payment processors. This enables Zenoti to connect with card readers and process payments seamlessly.
At the organization or center level, click the Configuration icon.
Search for Payment processor onboarding and under Payments, select Payment processor onboarding.
Under Payment processors, expand the configured payment processor.
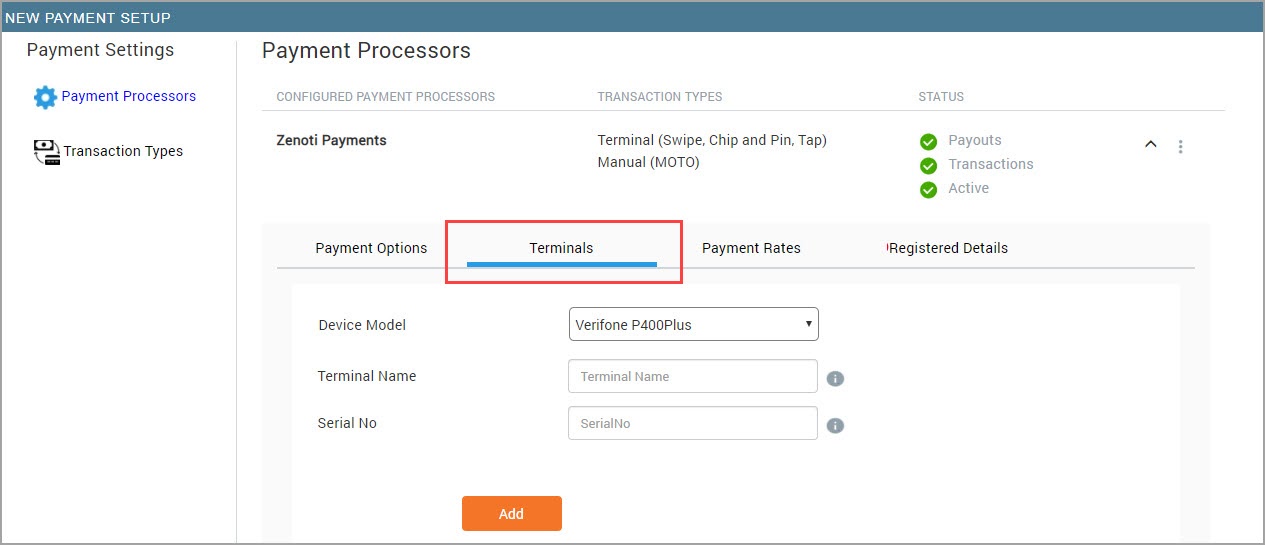
Click the Terminals tab, select the model to add, and provide the required information.
If you have multiple terminals in your center, it is recommended that you name your terminals properly for easy identification and payment collection.
For Verifone terminals, the serial number is on a label under the device.
For WisePOS terminals, you must generate a pairing code on the device.
Click Add.
Impacts and considerations
Adding a terminal is essential to ensure your local system can establish a connection with payment devices such as POS modules or card readers. Without this step, the device may not connect to your Wi-Fi or be recognized by your system.
For detailed information on device commands and troubleshooting steps, please refer to the manufacturer's website for your card reader or POS module. Specific details for payment devices can vary between providers and are subject to updates. Always consult the manufacturer's official resources for the most accurate and current guidance.
Board the card reader
Before you begin to accept payments, and process card transactions, you must board the card reader.
The device's Wi-Fi should be configured and connected to the internet to proceed with the boarding.
Ensure that the device is configured to connect to the internet through your wi-fi connection.
Turn ON the device.
Tap Board the Terminal.
Check whether the address displayed on the screen is correct, then tap Confirm.
Note
If the store address is not correct, talk to a person from Zenoti Support.
The device reboots automatically multiple times.
The device connects to the Wi-Fi, and the boarding process is complete.
Connect the Verifone P400 card reader to the internet
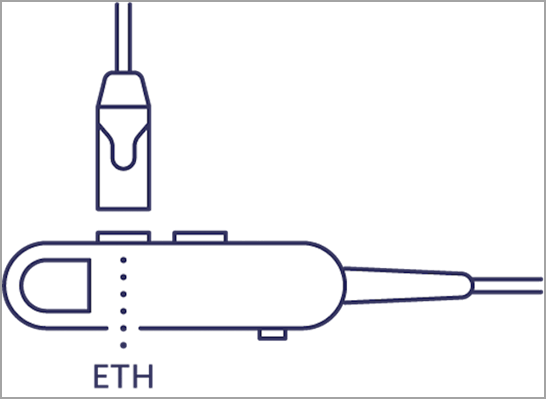
Along with the device, you receive the power adapter, a long cable with two ports (ETH and RS232), and a power inlet.
Connect the cable to the card reader.
Note
To the power inlet on the cable, connect the power adapter. Plug in the adapter to the power supply. Plugging into the power source turns on the device automatically. Plugging out from the power source will turn off the device. There is no power button to power the device ON or OFF.
Connect your internet cable to the ETH port of the device cable.
When connected to the power and the internet, the card reader attempts to establish communication with Stripe. The card reader may take several minutes to initialize and connect. This is just a one-time wait. Do not unplug the power or network when the card reader displays the following setup screens.
On connecting successfully, the home screen appears on the card reader.
Connect the Verifone V400m card reader to your network
After you purchase the Verifone V400m device, you must configure the device to connect to your WiFi network.
Tip
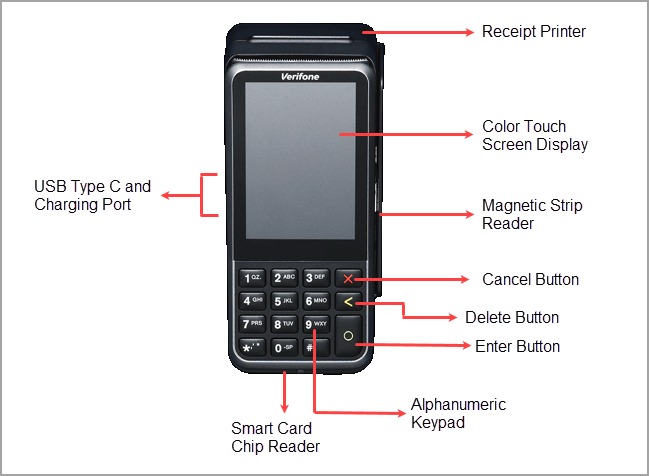
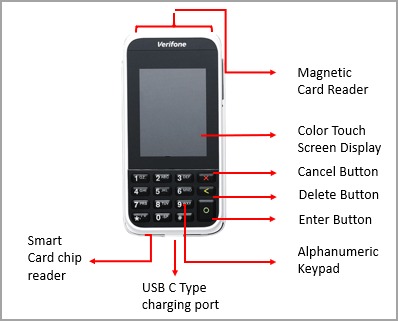
Refer to the following image for a quick reference of the Verifone V400m device:
To power on the device, connect the power adapter and press the Enter button.
Tap Configure Network.
Tap Wi-Fi.
Switch on the Wi-Fi.
Tap Add Network.
Select the network you want to connect to.
Type the password and press Enter (green circle).
To return to the home screen, press Cancel (red X button) twice.
Connect the Verifone P400 Plus card reader to your network
Tip
Disclaimer
For information about IP addresses, you can refer to the external help article Adyen domain and IP addresses.
The article mentioned above pertains to the configuration of third-party products; Zenoti bears no responsibility for the accuracy, legality, or content of the external sites listed in these articles or for any subsequent links.
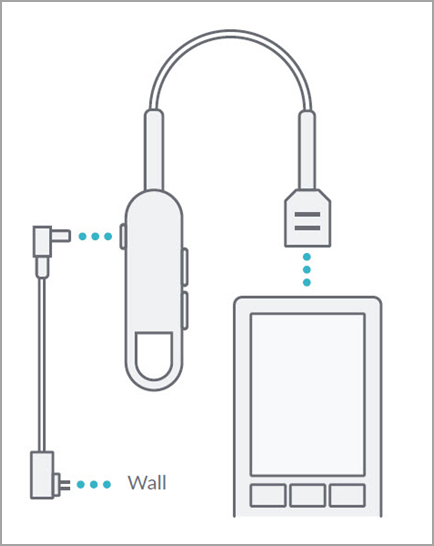
See the following image for a quick reference of the device and its package components:
To attach the connector cable to the device, open the latch behind the device, attach the cable to the port.
Attach the power cord to the port on the connector cable. Plugin the adapter to the power supply.
There is an option to connect the device to the ETH port. But it is recommended to take advantage of the device’s wireless connectivity and connect it to the wireless network.
Tap Configure Network.
Tap Wi-Fi and turn on the Wi-Fi toggle..
Tap Add Network.
The device scans for nearby WiFi networks and lists all the available networks.
Tap on the network that you want to connect to.
Enter the password for the network.
Use the green circle button as the Enter key.
Press the red X button until you are back at the home page.
Use the ethernet cable to connect the Verifone P400 Plus device to the internet
Attach the connector cable to the device.
Attach the power cord to the RS232 port on the connector cable. Plugin the adapter to the power supply.
Connect the ethernet cable to the ETH port on the connector cable. Follow the instructions as per the images below:
Add another WiFi network on the Verifone 400 Plus device
Press the number 9 key and then the Green button.
Enter the Admin Menu PIN and press the Green button.
Note
Contact your Zenoti Customer Success Manager for the Admin Menu PIN code of your device.
Tap Network.
Tap WiFI.
Note
A WiFi connection is already active. We need to add a new network and get connected to it.
Tap Add Network.
The device will scan for available networks and will list all of the networks.
Select a network.
Enter the password of the network.
After you enter the password, press the Green button.
To change the current network, tap the network and change the status (enabled to disabled, or vice versa)
Connect the Verifone e285 card reader to your network
Tip
Note
Verifone e285 can only connect to a WiFi connection with a band of 2.4 GHz. You may use the router with 2.4GHz or your mobile as a hotspot.
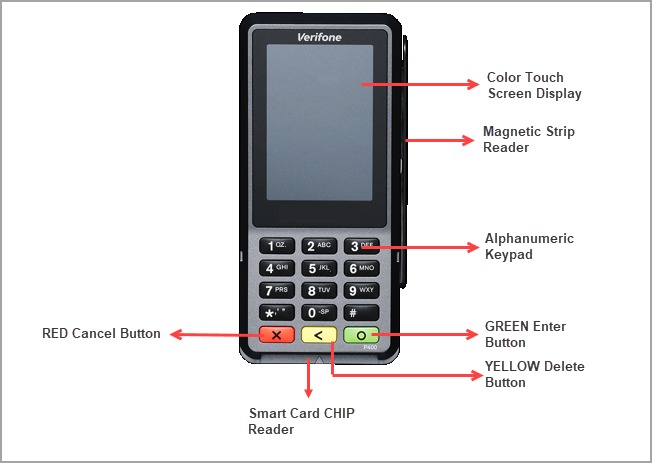
Refer to the following image for a quick reference of the Verifone e285 device:
Turn ON the device by holding down the Enter button (green circle).
After the bootup, press the number 9 key and then press the Enter button.
Enter the Admin Menu PIN code.
Note
Contact your Zenoti Customer Success Manager for the Admin PIN code.
Tap Network.
To select Wi-Fi settings, tap Wifi.
Tap Add Network.
Tap the network that you want to connect to.
Type the password and tap Enter.
Connect the Castles card readers to your network
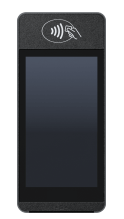
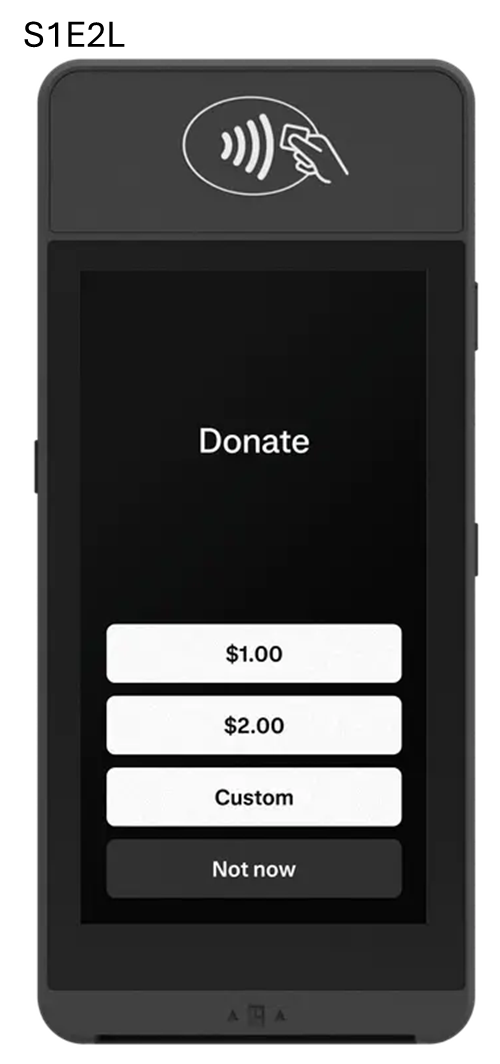
The Castles S1E (Castles Saturn 1000 E), S1F2, AMS1 and S1E2L are Android-based mobile devices for processing payments on Zenoti. They have large 5” color touchscreen displays and support contactless, swipe, and chip and PIN payment methods. They accept payments from eWallets, such as Apple Pay, Google Pay, and Samsung Pay.

Switch ON the device by holding the power button (on the right side) for five seconds.
Select the desired language and tap the blue arrow (tick mark).
To add a new Wi-Fi network, tap “+”.
Tap the toggle to switch ON the Wi-Fi.
From the list of available networks, select your network and enter your network password.
Tap Connect, or, at the bottom of the screen, tap the right arrow.
Confirm your store details.
Note
If your store details do not appear, repeat the process from step 1. Restart your device by holding the power button for 5 seconds.
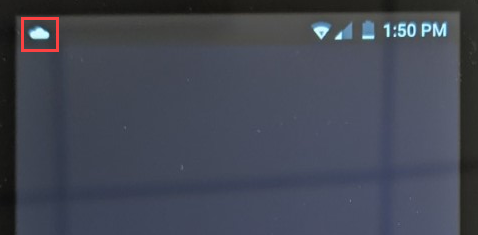
After you confirm your store details, the device performs a software update. When you see the cloud icon on the top of the screen, you are ready to perform transactions.
Update your terminal device
To customize a terminal for signature collection and tips, you must update your terminal device.
If you use an Android device (Castle S1E, Castle S1F2, Castle S1EL) as a POS, follow the steps below to update the device:
On the settings menu, select Config.
When prompted for the pin: enter 4060.
Select Update.
If you use a non-Android device (Verifone 285p, Verifone V400m, Verifone P400 plus) as a POS follow the steps below to update the device:
Press number 9 and the green Enter button to activate the admin mode.
When prompted for the pin, Enter 4060 and the green Enter button.
In the menu, select Config.
Select Update.