Manage machine authentication
Authenticate a machine
Authenticating a machine is a security measure by Zenoti. Machine authentication ensures that only authorized machines can access sensitive resources and networks. This helps to prevent unauthorized access.
Who can authenticate a machine?
Only an owner, with authentication permission, can authenticate a machine. This means that the Zenoti software is accessible only on machines that are owner-authenticated or approved. This measure enables an owner to have control of the machines being used by employees to access the software.
When should a machine be authenticated?
Authentication is only needed once. After the machine authentication is successful, it can be used to access Zenoti. This is only a one-time process.
How to authenticate a machine?
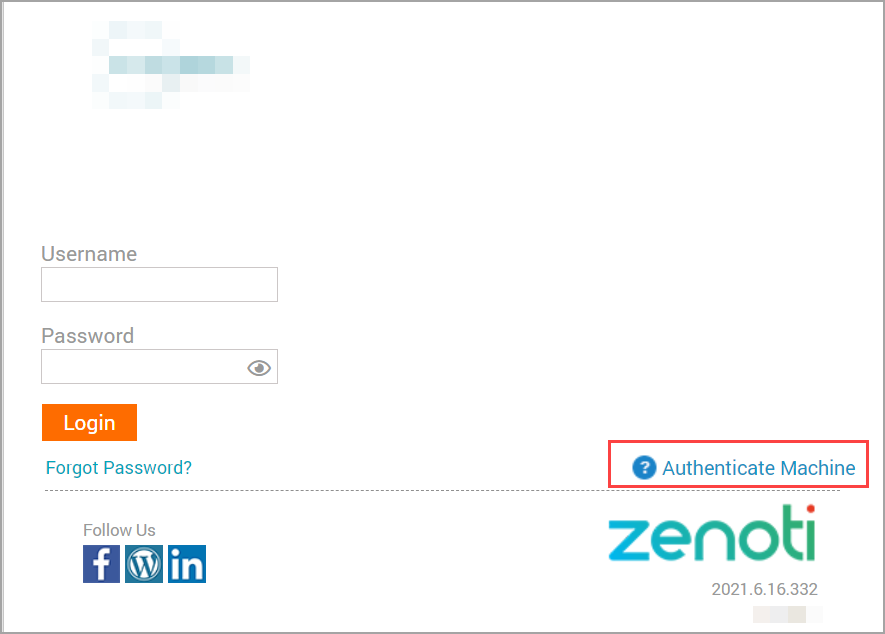
Click the Authenticate Machine link on the login screen.
Enter owner or administrator credentials - username, password, and select the center.
Click Authenticate.
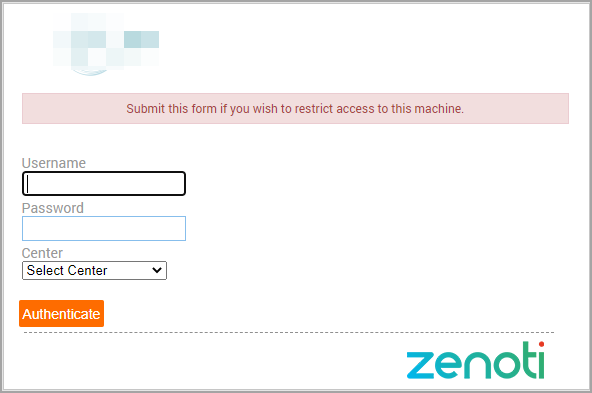
After authentication, you get a message: "Machine Authenticated successfully. Please login now."
Your employees can now log in to Zenoti using their credentials.
Why am I being asked to re-authenticate every time I log in?
Follow these troubleshooting steps if you are asked to re-authenticate a machine, even after the owner has authenticated it.
Ensure that the browser cookies were not deleted while clearing the browsing history (authentication credentials are stored in the form of cookies).
Check your antivirus software settings.
If your computer has any antivirus software installed such as CCleaner, ensure it does not remove the flash player data stored on your computer.
Also, ensure that your Zenoti business URL (example: http://xyz.zenoti.com/) is in the exception list. This ensures that the cookies are not deleted and the information is stored on the computer.
Recommended browser settings for machine authentication
To ensure you do not delete browser cookies, update your browser settings as follows (if you are using Google Chrome scroll down for instructions):
For Firefox:
Open Firefox.
Click the Open Menu option.
Click Options > Privacy.
From the Firefox drop-down list, select Remember History.
Click Clear your recent history.
Select the time range for which you want to clear history.
Expand Details.
Deselect the Cookies checkbox.
Click Clear Now.
Click Advanced.
Click the Network tab.
Select the Override automatic cache management checkbox and set the cache limit to 1024 MB.
For Google Chrome:
If you are using Google Chrome, you must first check if the Flash Player is always allowed to run (select setting: To enable Flash Player to always run). Follows the steps mentioned in the following link:
https://helpx.adobe.com/flash-player/kb/enabling-flash-player-chrome.htmlIf the problem persists, you must clear your browsing data as follows:
Open Google Chrome.
Click the Customize and control Google Chrome option on the top-right corner.
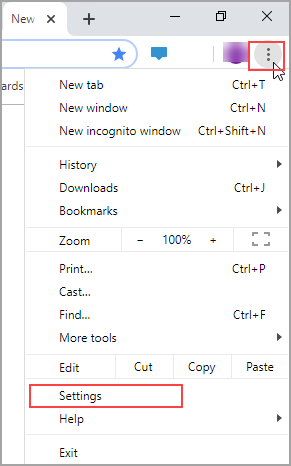
3. Click Settings.
4. From Advanced, click Privacy and security > Clear browsing data.

5. Under Basic, select the Time range and select the checkboxes Browsing history, Cookies and other site data, and Cached images and files.
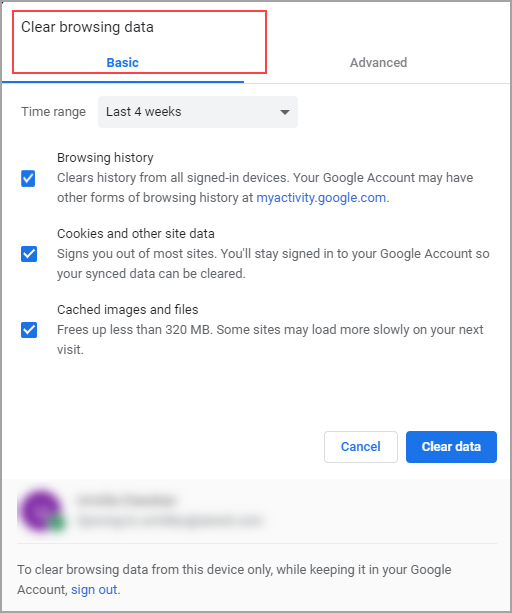
6. Click Clear data.
For Safari:
Read instructions in https://support.apple.com/en-in/HT201265