Configure Guest Tags
This article explains how to create, manage, and use guest tags in HyperConnect to classify and prioritize guests based on custom attributes for more organized and efficient guest communications.
Overview
Guest tags in HyperConnect allow businesses to group and identify guests by specific categories or attributes. For example, you can tag guests as "High Priority" if they require urgent attention or special handling. These tags enhance communication by making it easier to prioritize interactions and provide tailored services. Tags can be assigned either at the center level or across all centers in an organization.
Why Use Guest Tags?
Guest tags offer several benefits:
Efficient Organization: Quickly identify and group guests based on predefined categories.
Prioritization: Highlight critical guests who require special attention.
Enhanced Communication: Tailor your interactions based on guest tags.
Example:
A Center-level tag like "VIP Guest" ensures special services for frequent visitors at a single center.
An Organization-level tag such as "Marketing Prospect" applies across all centers for a broader marketing campaign.
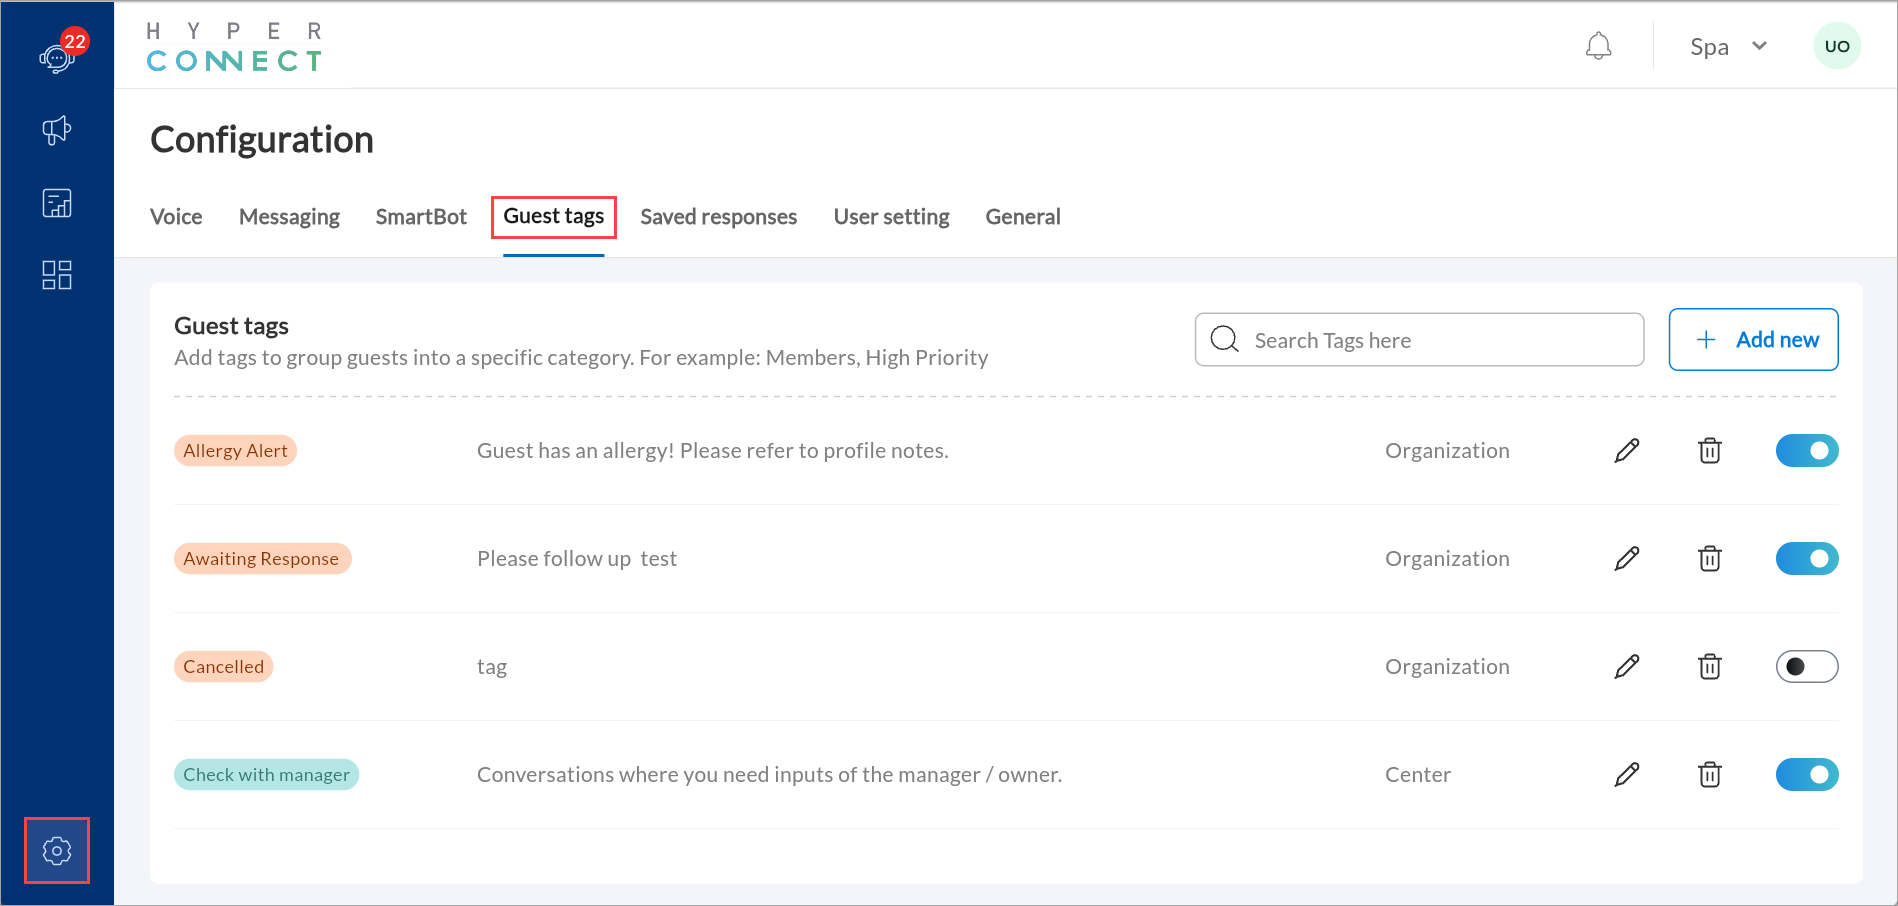
Create a Guest Tag
Launch HyperConnect.
Click the Settings icon.
Navigate to the Guest tags tab.
Click +Add new.
Enter the name and description of the guest tag.
Choose the scope of the tag
Center: Makes the tag available at a specific center.
Organization: Makes the tag available across all centers.
Click Save.
Manage Existing Guest Tag:
You can manage guest tags to ensure they stay relevant:
Edit a tag: Click the pencil icon beside the tag name to modify its details.
Delete a tag: Click the delete icon next to the tag name.
Update tag availability: Toggle off the corresponding switch to remove a tag's availability for a center or organization.
Note
You cannot change a tag's scope from Center to Organization or vice versa. To use a different scope, create a new tag.