Google Analytics 4 for CMA
Using Google Analytics, you can track the basic functions of your app, such as how many of your guests booked an appointment, the services they booked, and the number of times the app was opened.
To set up Google Analytics for your app, you must:
Navigate to firebase.google.com.
If you don't have a Firebase account, click Get started and sign in to your Google account.
If you have a Firebase account, sign in.
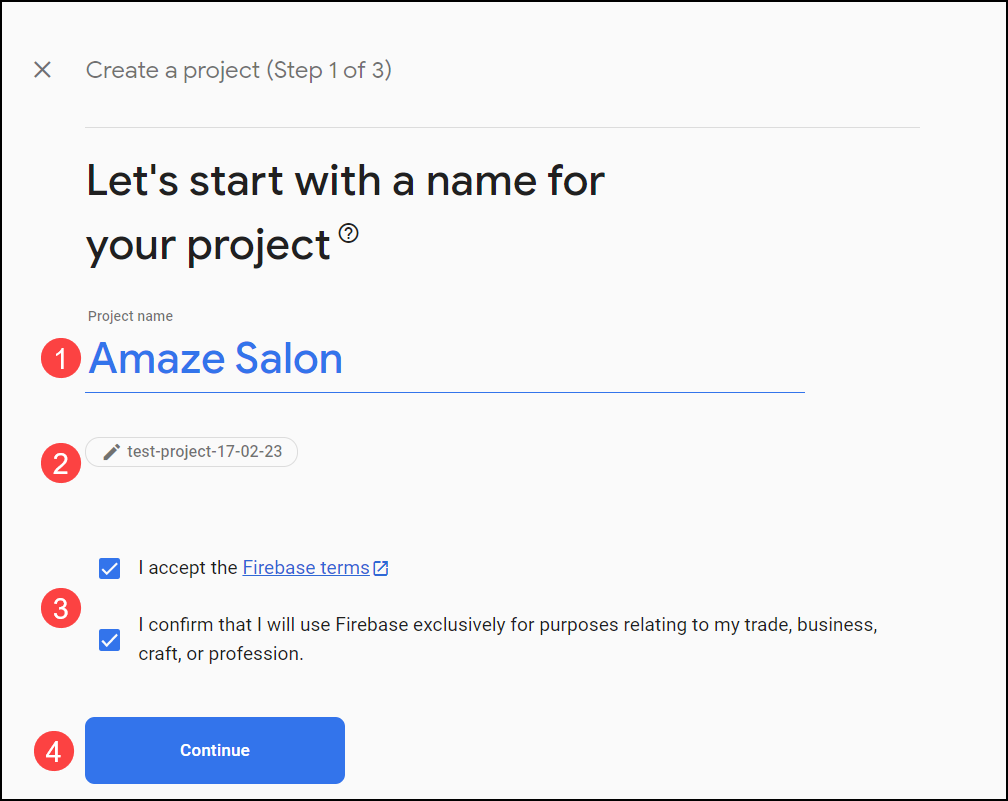
Click Create a project and enter your project name.
Project name is the name of your Consumer Mobile App.
Note
Here, you may choose to enter your own project ID.
The project ID is your project's globally unique identifier, used in your Realtime Database URL, Firebase Hosting subdomains, and more. You cannot change your project ID after project creation.
Select the terms and conditions checkboxes and click Continue.
Under Google Analytics for your Firebase project, select the Enable Google Analytics for this project setting and click Continue.
To configure Google Analytics for your project, under Configure Google Analytics, perform the following actions.

From the Analytics location list, select your location.
Select the terms and conditions checkboxes and click Create project.
Important
After you configure Google Analytics for your app, you must publish the latest version of your app on the App store/Google Play store.
Only after you publish the latest version will your app be supported by Google Analytics tracking tools.
While migrating from Universal Analytics to Google Analytics 4 (GA4), you must create new data streams (apps) and update relevant information as in the following procedures.
You must share the required files and IDs with Zenoti to complete your app's Google Analytics tracking.
To track the analytics of your app, after creating a project on Firebase, you must create an app.
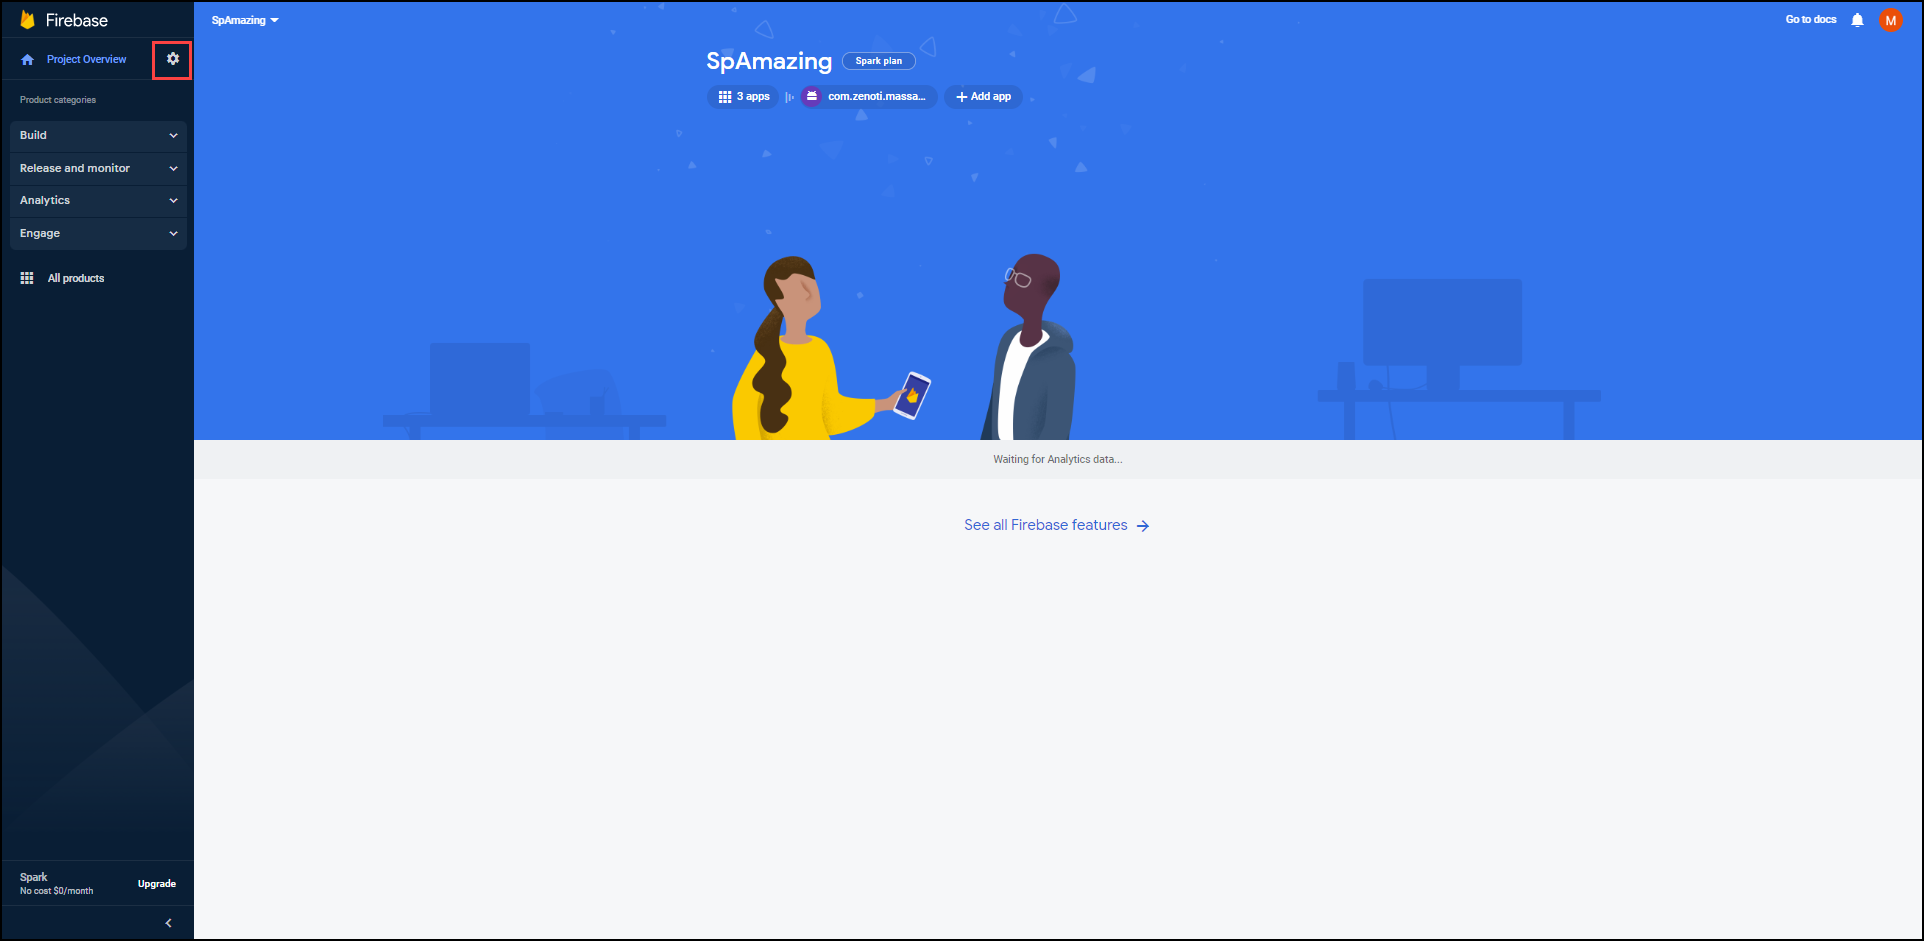
Navigate to console.firebase.google.com and select the project that you created.
From the options below, select Android or iOS.
After you select the type of app, perform the following steps.
Under Register app, enter the required details and click Register app.
Note
For Android, in the Android package name field, you must enter an accurate package name derived from your app's URL.
Example: The URL of your android app is https://play.google.com/store/apps/details?id=com.zenoti.massageheights&hl=en_IN&gl=US&pli=1
Your android package name will be com.zenoti.massageheights
Under the Download section, download the Google services file.
Note
You must share this file with Zenoti for further configuration and setup.
For iOS, the file format is plist.
For Android, it is json.
Click Next till you reach the Next steps section.
Click Continue to the console.
Navigate to firebase.google.com and click Go to console.
Select your project and go to project settings.
Click the Cloud messaging tab.
In the Cloud Messaging API (Legacy) section, click the three vertical dots and select Manage API in Google cloud console.
On the terms and conditions pop-up, select the checkbox and click Agree and continue.
Under Cloud messaging, click Enable.
Note
After clicking Enable, you must refresh the Project settings page.
Navigate to the Project settings page and note the Server key and the Sender ID.

Share the Server key and the Sender ID with Zenoti for further setup and configuration.
Important
To enable push notifications on the app, you must share the server key and sender ID with Zenoti.
Note
If you are an existing customer, enter the Project ID and authenticate a service account and authorize it to access Firebase services by generating a private key file in JSON format.