Simplified editor
Note
Effective January 7, 2025, the Simplified email editor will become the default and only option for creating new campaigns. Existing campaigns created with the old editor can still be accessed in the Rich-text editor.
Simplified email editor
Designing campaigns has always been tough. You need to be a tech-savvy person who understands HTML and CSS to design your campaigns.
The enhanced email editor is a solution to all your campaign designing problems. The editor allows you to do the following:
Configure device-responsive emails that can fit any device such as desktop, tablets, and mobile devices.
Drag-and-drop content blocks such as images, text, video, and more to construct emails easily without using HTML.
Use newsletter designs with centered content, as per industry standards.
Add a social media bar that can be configured for any social media site.
Use images from the high-definition stock image library.
Hide elements on a specific device type: desktop or mobile.
Save elements as modules and reuse them across multiple campaigns.
Support for accurate size of buttons in emails sent to the Microsoft Outlook email addresses.
Choose email width separately for desktops and mobile devices.
Reuse code with import or export of HTML code from the editor.
Send out test emails, and much more!
Watch a video on the enhanced email editor.
Watch the webinar
https://attendee.gotowebinar.com/register/7583368388314773520
Do you have any questions??
Refer to our exhaustive list of questions asked by other businesses.
How do track campaign results?
To track your overreaching campaign results, use the Zenoti Marketing Dashboard (Marketing > Campaigns > Dashboard).
So what are you waiting for?
Start by creating your first email with the enhanced editor and check out our best practices for email marketing.
Simplified email editor templates
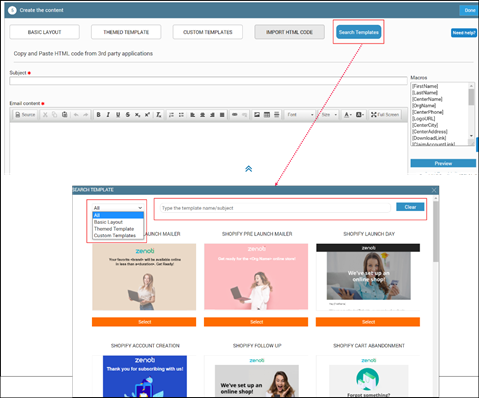
Simplified Email Editor comes with a set of predefined templates that let you start building campaigns quickly.
You can either select a tab to look for a template in a category (basic, themed, and custom) or search for a template across all the categories.
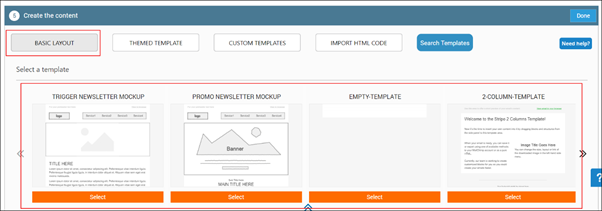
Basic Layout: Build your campaign using the default templates that consist of basic elements and sections that you can customize to insert components such as sections, images, links, text, and buttons.
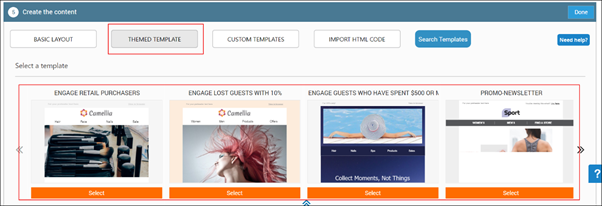
Themed Template: Use one of the pre-configured themes such as Thanks Giving, Promo Newsletter, Christmas, Black Friday, and Father’s Day.
Custom Templates: Use the campaign templates that you’ve designed and saved. You will find all your saved campaign templates here.
Import HTML Code: Import HTML content and to build your own design.
Important
If you want to import code from an existing campaign in Zenoti, you must split the HTML and CSS codes and copy only the HTML code in the HTML section and CSS code in the CSS section.
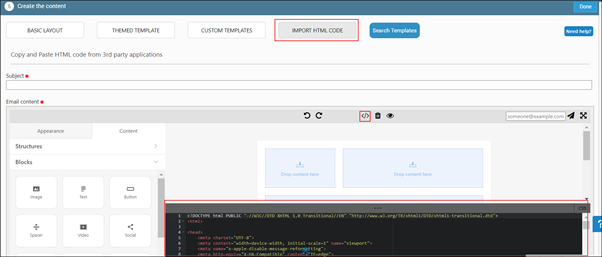
Recommendation: For existing campaigns, if you cannot split the codes, then we strongly recommend that you redesign the campaign, which is much quicker and easier.
Next steps
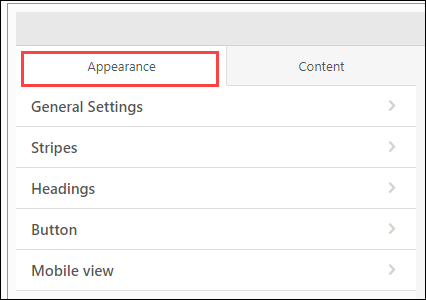
Simplified email editor appearance tab
You can use the Appearance tab to set up appearance-related settings for the entire email. Under this tab, you can see the following sections:
General Settings
Stripes
Headings
Button
Mobile View
General Settings
In General Settings, you can set up settings such as the width of the email, font style, and font color for the email text, fonts for buttons, spacing between lines, email background color, content background color, padding in blocks, and underline for the links.
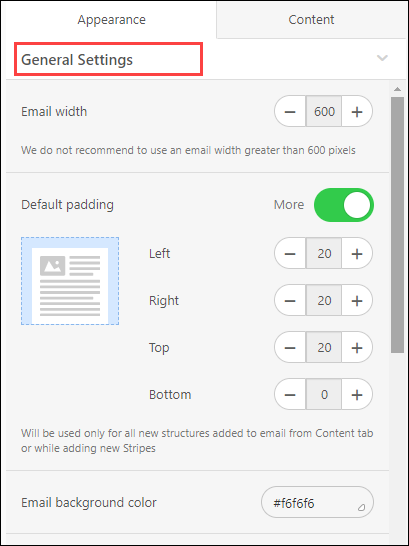
Email width: Set the email width to any size between 320px and 900px. The industry standard is 600px, which is set by default.
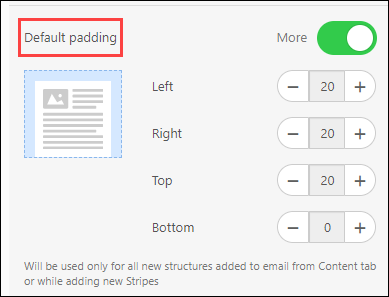
Default padding: Element padding is the space (left, right, top, and bottom) between the email border and the content. You can set this in Default padding, which will be applicable to all new stripes and structures added to the email from the Content tab.
Line spacing: Choose the spacing you have to have for all text elements of the email.
Responsive design: Turn on this switch to allow the email to adapt to the device on which the email is viewed. If you do not turn on this switch, the mobile version of the email will appear like the desktop version.
Background Image: Turn on this switch to pick an image from a free set of stock images, from your local machine, or from a website.
Stripes
Stripes are rows of elements that you can use for header, content, footer, and information area.
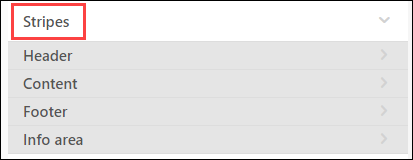
For each of these stripes, you can set the text size, stripe background image and color, content background color, font color, and link color.
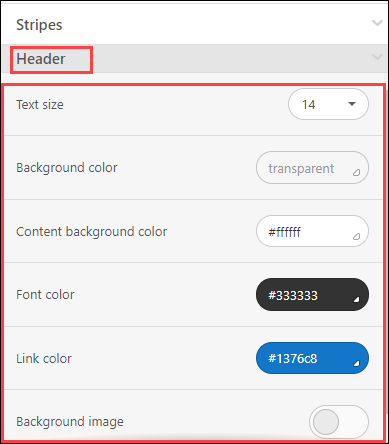
To set a background image for the header and footer stripes, turn on the corresponding Background image switch. You can pick an image from a set of free stock images, from your local machine, or from a website.

Note
The elements in the structure remain intact.
Headings
To use different formatting for some text in the email that you want to highlight, use the Headings section.
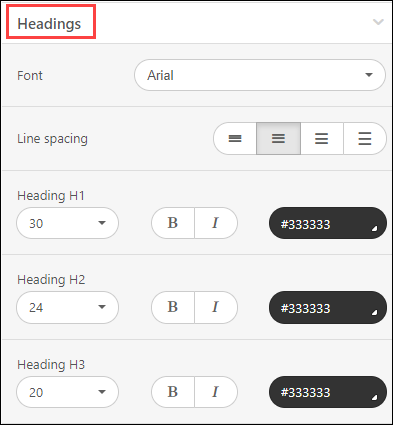
You can set the default font style, font size, font color for the headings. You can also choose whether you want any heading to be in bold and italics.
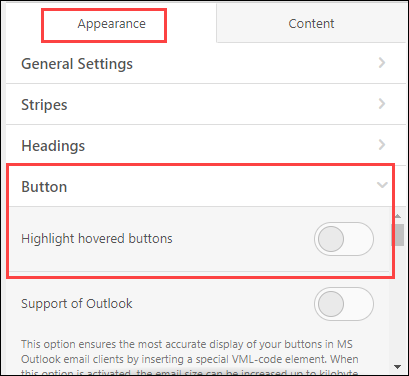
Button
In this section, you can choose the settings for all the buttons in the email.
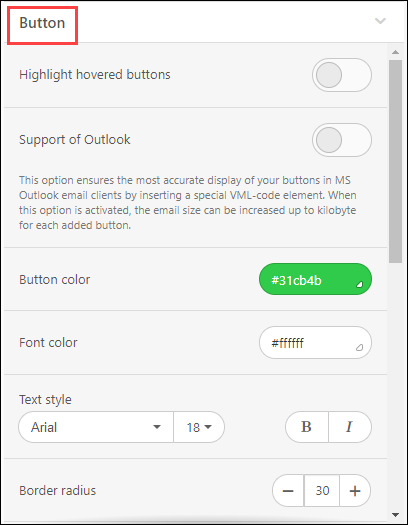
Highlight hovered buttons: In this menu, you have the ability to turn on the which is disabled by default when creating new emails.
Support of Outlook: This setting lets you improve the display of buttons in emails sent to the Outlook email addresses.
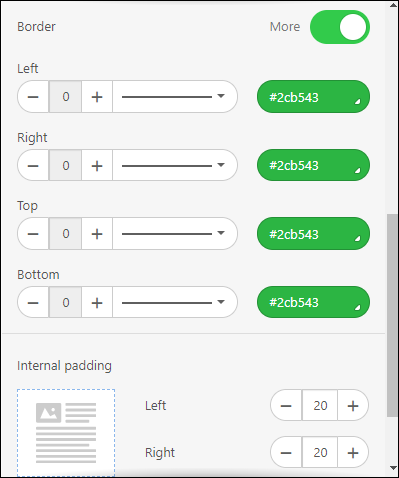
Button color: In this section, you can define the highlighted button color, font color, text style and size, the thickness and italics parameters, and also set border radius (the default setting is 30px) and border color.
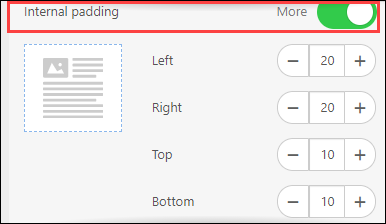
Internal padding: You can set the Internal padding for buttons, independently for each side.
Mobile view
In this section, you can enable the settings for displaying emails on mobile devices.
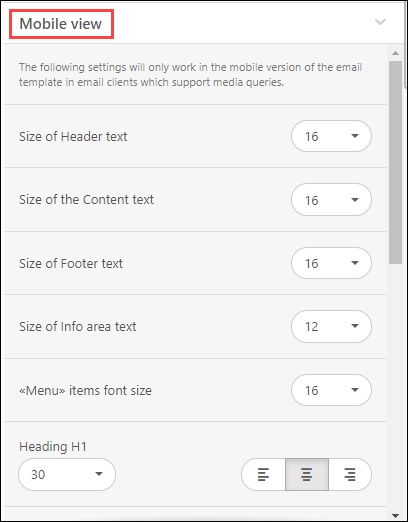
Text size for stripes and menu items: Size of Header text, Size of the Content text, Size of Footer text, Size of Info area text, and <<Menu>> items font size.
Text size for headers: H1, H2, H3.
Horizontal alignment.
Email Content Margin for emails that will appear on mobile devices.

From structures and blocks, you can hide a specific element from appearing on mobile devices.
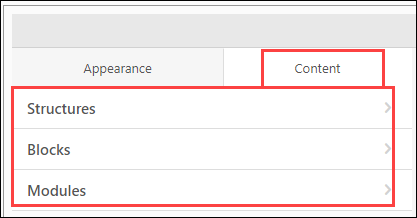
Simplified email editor content tab
The Content tab gives you the main elements to build content: Structures, Blocks, Modules, and the settings for each of these elements.
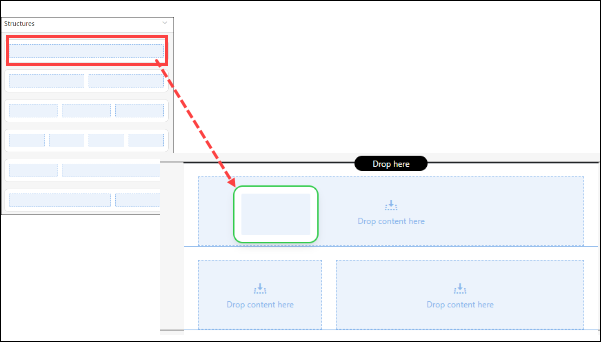
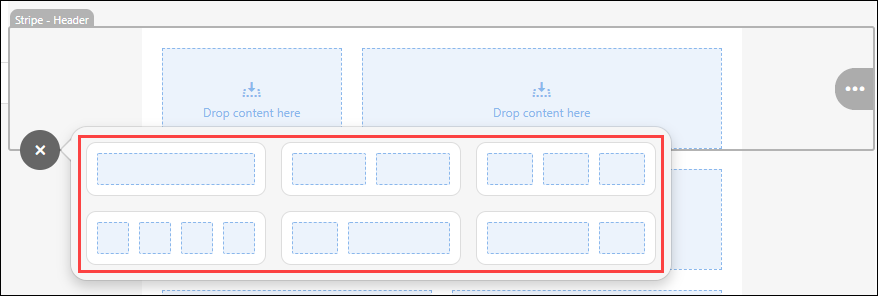
Structures
Structures are the layouts you can use to design a stripe: header, content, or footer.
To view the available structures, expand the Content > Structures section. You can drag and drop a structure in a stripe.
To view the settings for structures, click any structure on the editor and you can see the setting under Content > Structures.
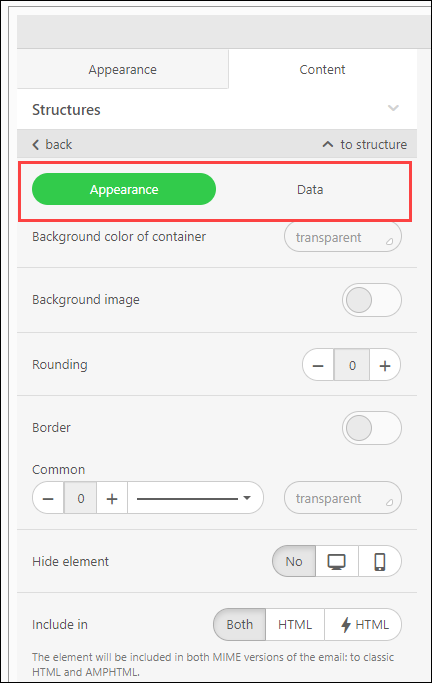
From the Appearance tab, you can pick a background color, add a background image for the entire structure from a list of high-definition stock images, absolutely for free.
If you have images on your local machine you can also upload the images.
If you have images on a website, you can even add those images by providing the complete image link as follows.
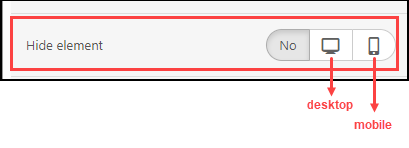
Hide Element on Desktop or Mobile Devices
If you want to hide a specific structure on desktop or mobile devices, you can do that by selecting the desired option from Hide element: Desktop or Mobile.
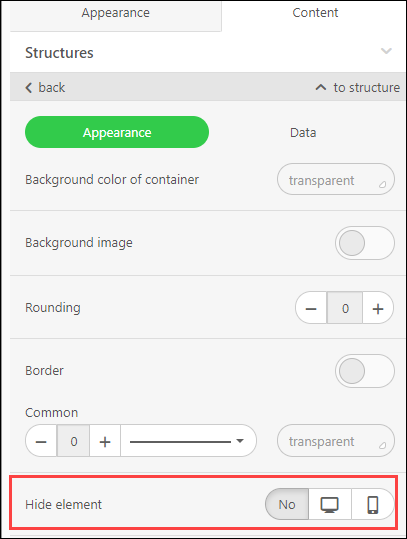
After you enable the option, you can see the corresponding icon which indicates that the element will be hidden in email for the selected device types.

If you want to unhide the element, select No for the Hide element setting.
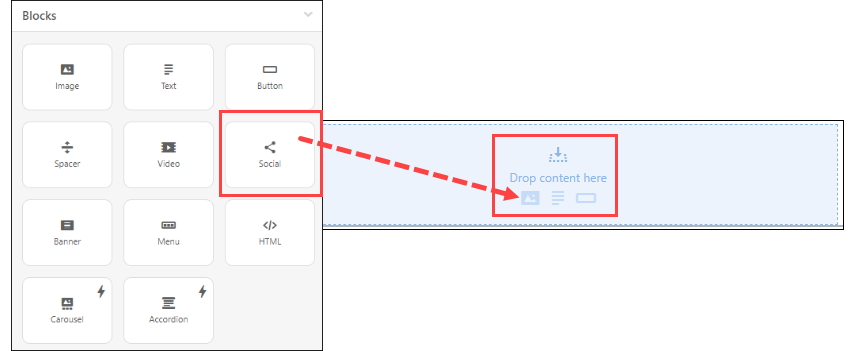
Blocks
Blocks
Blocks are the actual elements of your email. These can be boxes, banners, buttons, images, videos, carousels, accordions, social media banners, and spacers (or dividers).
To view the available blocks, expand the Content > Blocks section. You can drag and drop a block in a structure.
To view the settings for a specific block, click the block on the editor and you can see the settings under Content > Blocks.

You can add a link for the video and also add a title for the video.
Just like with structures, you can hide blocks on desktops or mobile devices.
You can also add macros in your email. To add a macro, you need to add a Text block and then use the Merge tags option to insert a macro.

Important
The list of macros in the editor may not match with the list of macros that you find on other pages in the product.
Modules
Elements such as headers, footers, and contact information stripes, usually remain the same across campaigns. You can design these elements once and save them as modules for further use.
Important
You cannot save containers as modules.
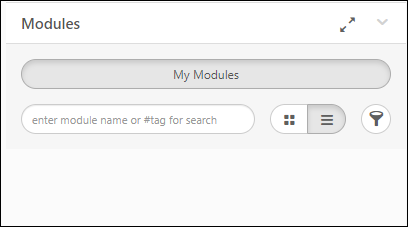
The modules section is your library of customized and saved elements that you can reuse across campaigns.
You can view all the saved modules under Content > Modules.
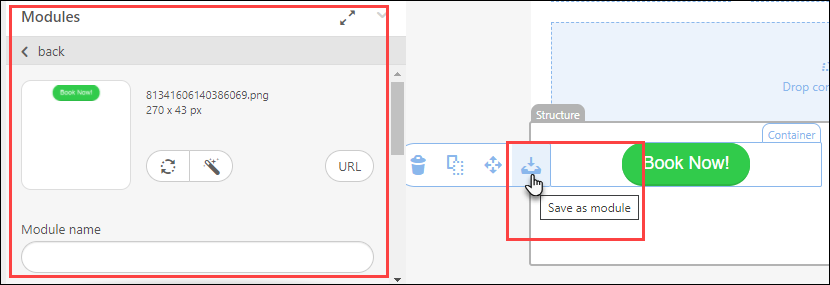
To save an element as a module, click the Save as a module button.
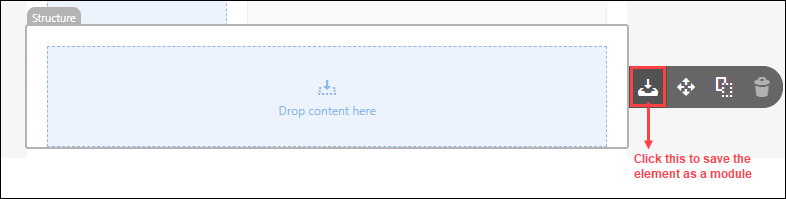
The module pane appears on the.
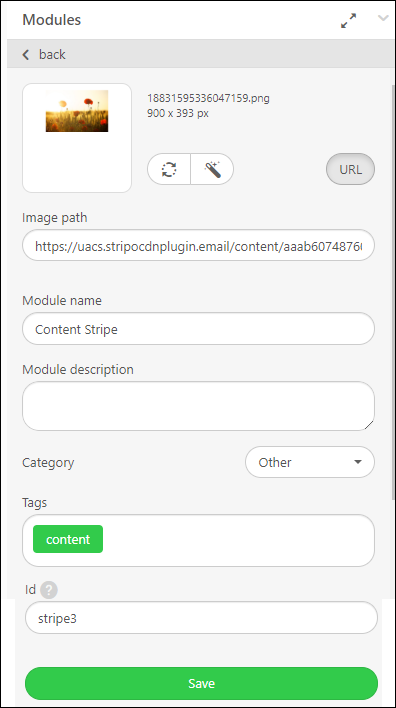
Enter the name and description of the module. You can also enter a tag or select a category to which the module belongs to. Finally, click Save.
If you want to reuse the module, you can search for the module by its name, tag, or category.
Important
The module categories predefined by Zenoti - you can choose to use one of these categories. However, you cannot create a new category.
Editing area in simplified email editor
The editing area is where you design your campaign.
This area is divided into three sections:
Header
Body
Footer
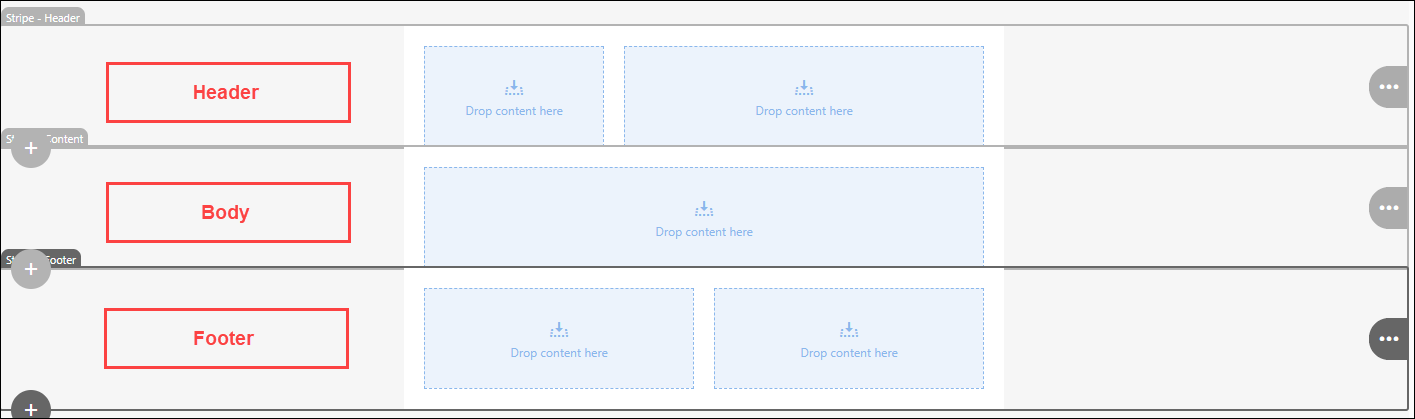
You can drag and drop blocks, structures, modules from the Content settings menu into each of these sections. When you select an element by clicking it, you can see the settings for that element.
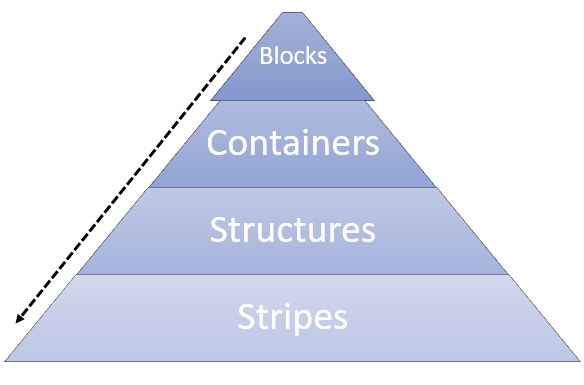
If we consider the editor to be a pyramid, if we start from the smallest element, the hierarchy of elements is blocks, containers, structures, and then finally stripes.
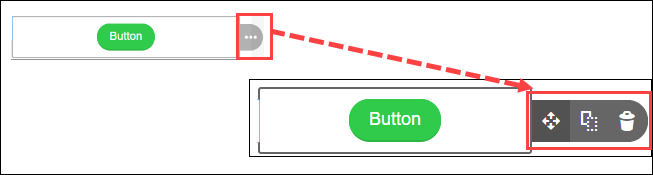
Block
The primary element of the editor. It is the actual element that you can use to design your email. It can be a box, banner, button, image, video, carousel, accordion, social media banner, and a spacer (or divider).
You can access these blocks from the Content > Blocks menu. You can drag and drop a block in the box on the editor.
On the editor, you can move a block, copy a block, or even delete a block. To view these options, move your cursor over the three dots.
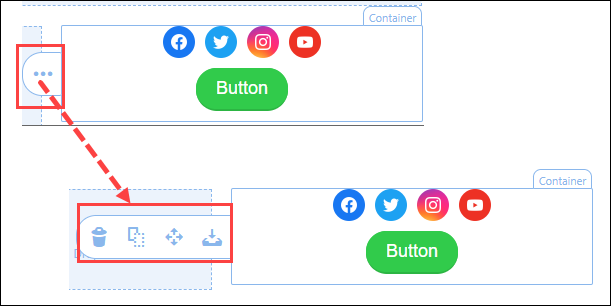
Container
A container is a group of one or more blocks. You can add an unlimited number of blocks to a container.
You can delete, copy, or move a container anywhere on the editor. You can also save the container as a module and use it later. To view these options, move your cursor over the three dots.
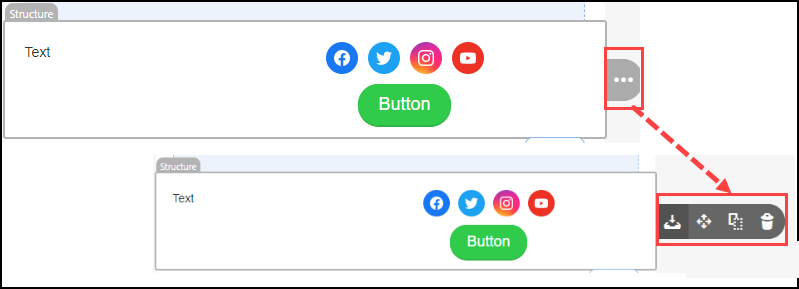
Structure
Structure is the framework or layout that you can choose for header, content, and footer. It is a group of containers. You can add up to eight containers in a row. You can save structures as modules, move them as desired, and even copy them.
Stripe
A stripe is a horizontal box that can contain structures, containers, and blocks

Click the + button at the bottom left-hand corner of the stripe to add another stripe.
Each stripe can contain an unlimited number of structures.
You can add content, header, footer, and info stripes and if you want you can change the type of the stripe, you can select that from the Email area drop-down list.
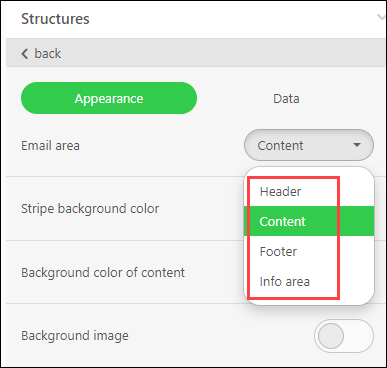
Just like other elements, you can move, copy, delete, and save stripes. You can also save stripes as modules and use them later.
Note
You can use the Info area type of stripe to add text as a stripe.
Work with buttons in simplified email editor
Buttons are a great way to draw attention to a link that you want users to click.
For example, you can add a button that takes users to your online store.
Click on the Marketing icon.
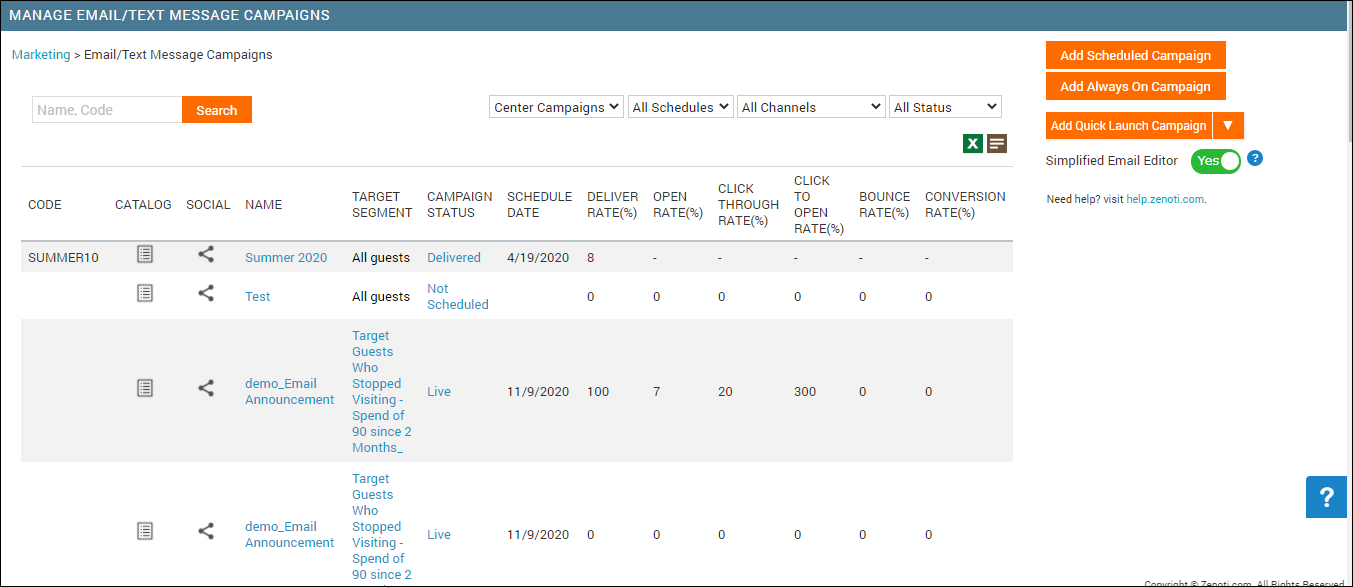
Navigate to Campaigns > Email/Text Message.
The Email/Text Message Campaigns page appears.
Open the campaign for editing.
Expand the Create the content section.
The options in the editor appear.
Drag and drop a button block into the container.
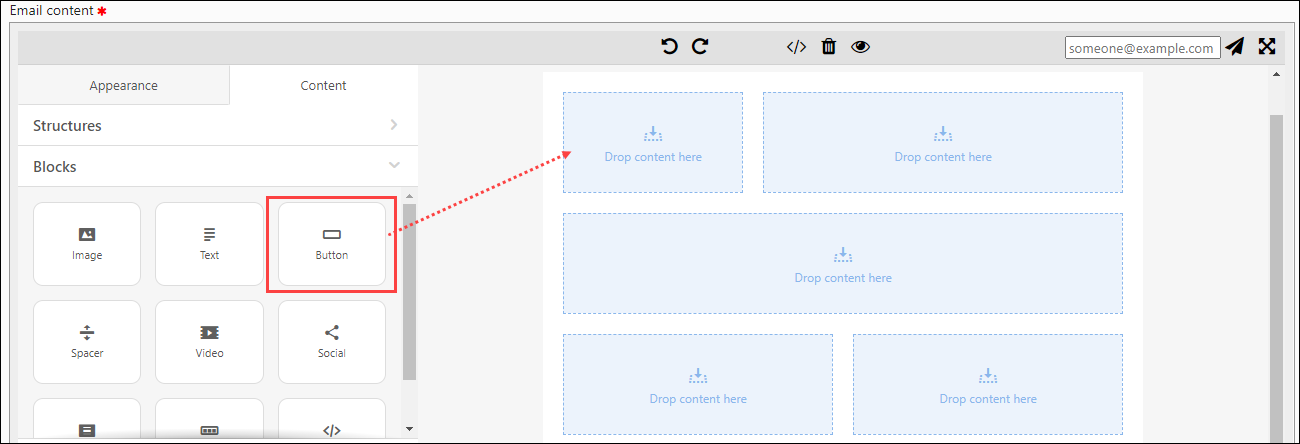
Click the button to customize.
In the left, options to customize and add link appears.
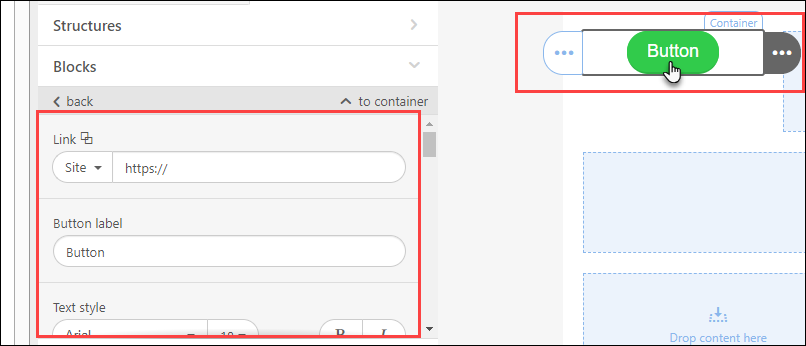
Add a link to the site, or select other options as needed.
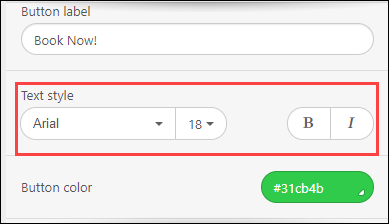
Enter the text to appear on the button.
For example, Book Now!
Customize the button text font, type, size, and color.
The values set here are usually as per your global settings in your Appearance tab.
If you want to show a hover effect on your button, go to the Appearance tab and turn on the Highlight hovered buttons switch, and specify a hover-on color.
If you prefer to round the buttons, set a border radius.
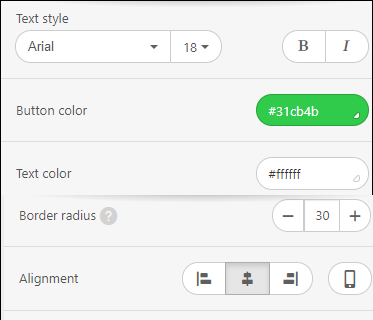
Choose alignment and set a button border if you like.
If you want to leave space inside your button, use internal padding and use external padding to leave space outside the button.
When you are done, click the eye button to preview the changes.

If you want to save this block for future use, you can save it as a module.
Work with images in simplified email editor
Example: Build a banner.
At the center level, click the Marketing icon.
The Email/Text Message Campaigns page appears.

Navigate to Marketing > Campaigns > Email/Text Message.
Open the campaign for editing.
Expand the Create the content section.
The options in the editor appear.
Drag and drop the banner block into the template or if you just need to add an image, drag and drop the image block.
Click the image block, on the left, you will see options to add the image.
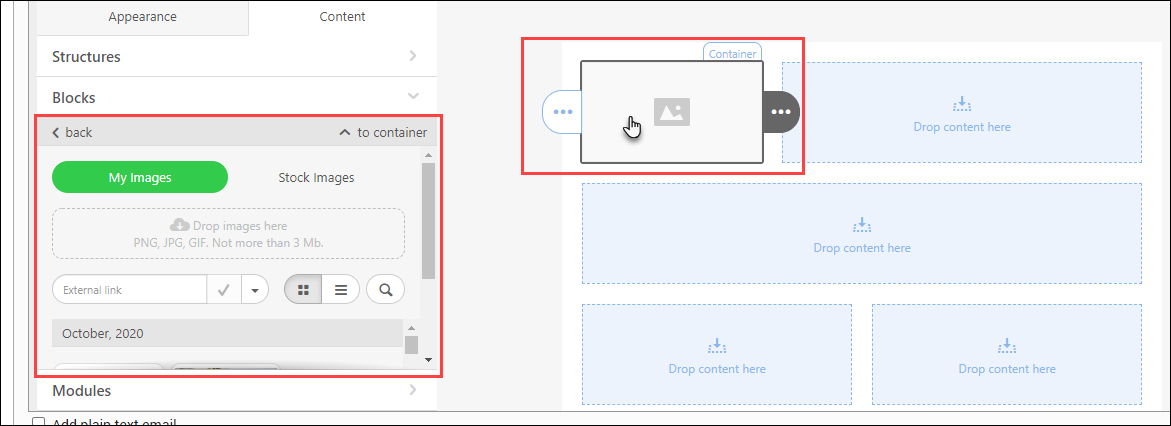
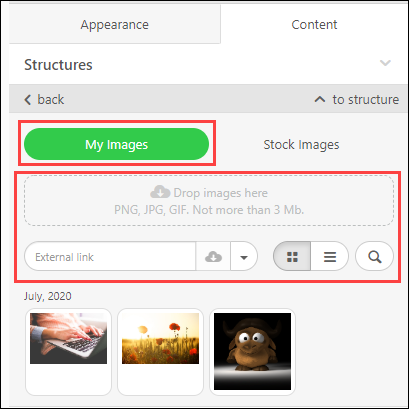
You can browse to the folder and select the image, or drop the image from a folder on your computer.
When you add the image, the image is added to your gallery and is available for future use.
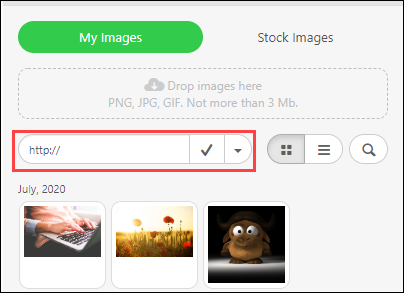
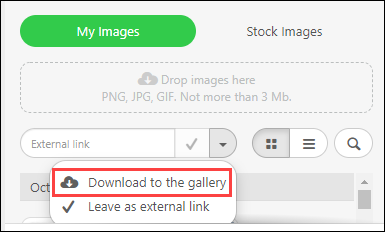
If you don’t have an image saved, you can add an external link.
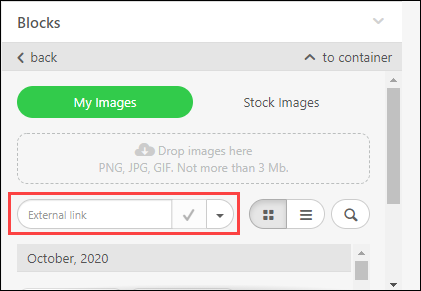
You can also choose to save it to your gallery for future use by selecting the Download to Gallery option.
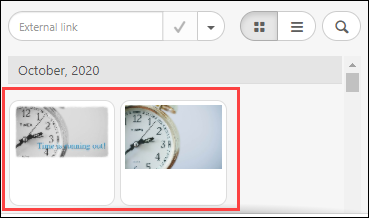
If you want to use of the images from your gallery, you can select the image here, or search for it.
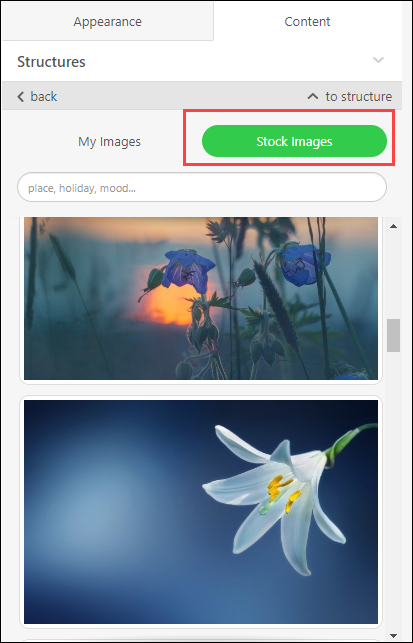
Alternatively, you can use any of the stock images that are available to you for free from Zenoti.
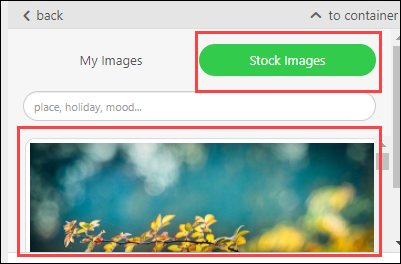
You can search by name or theme.
To edit or replace an existing image
At the center level, click the Marketing icon.
The Email/Text Message Campaigns page appears.
Navigate to Campaigns > Email/Text Message.
Open the campaign for editing.
Expand the Create the content section.
The options in the editor appear.
Click the image you want to edit or replace.
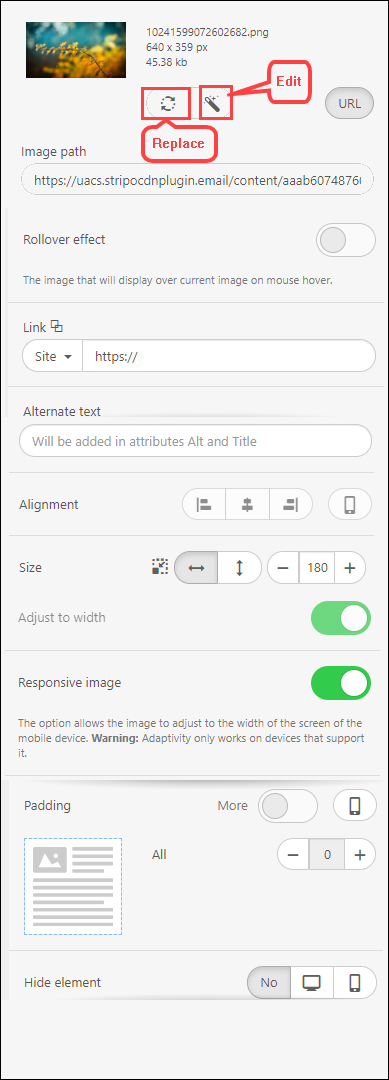
To replace the image, click the replace icon and select an existing image from the gallery, upload a new image, add a link to your image, or use the stock images.
If you need to edit the image, click the image, and in the available options, select Edit.
In the image editor, you can apply filters, resize, crop, apply frames, and add text.
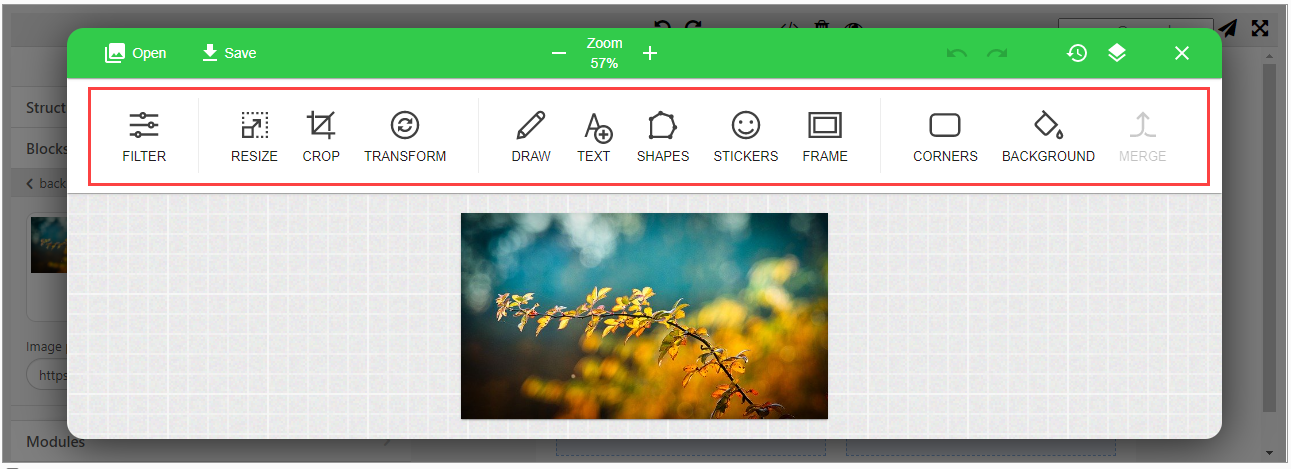
When you are done, click Save.
You can add a link from the image and add Alternate Text.
You can specify the alignment for the Desktop and Mobile layouts.
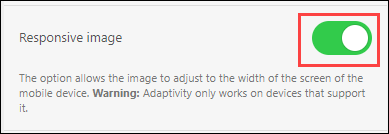
If you want the image to adapt as per the screen size, turn on the Responsive image option.
You can specify the padding for mobile and desktop by toggling this button and additionally specify if you want the image to be hidden on mobile or web.
After you are done with your changes, if you think you will reuse the structure again, you can save the module.
Finally, click the eye button to preview the changes.

Work with text in the simplified email editor
Using the text content block, you can add the desired text, and hyperlink, and apply different font styles and colors.
Click on the Marketing icon.
Navigate to Campaigns > Email/Text Message.
The Email/Text Message Campaigns page appears.
Open the campaign for editing.
Expand the Create the content section.
The options in the editor appear.
Drag and drop the Text block into the container.
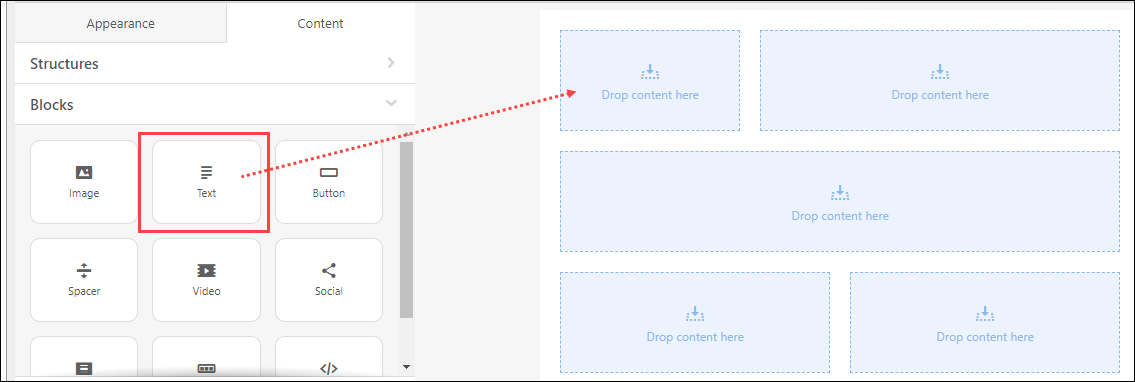
By default, the font is as per your General settings under the Appearance tab.
Click the text block and you can view the settings on the left-hand side of the editor.
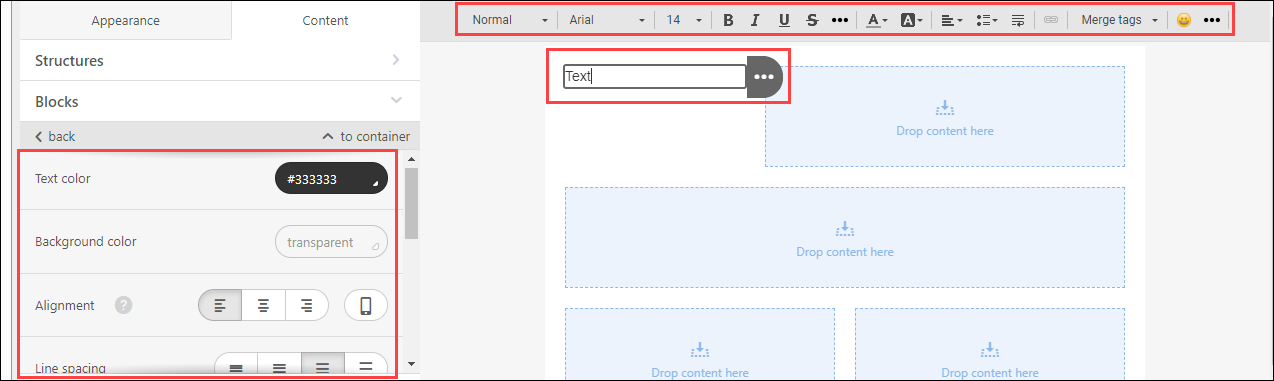
You can change the font, size, and color.
To add macros, click the Merge tags option.
For example, if you use First Name, the recipient name appears in the email.
To add a link to the text, you can highlight the text, and select the link option.
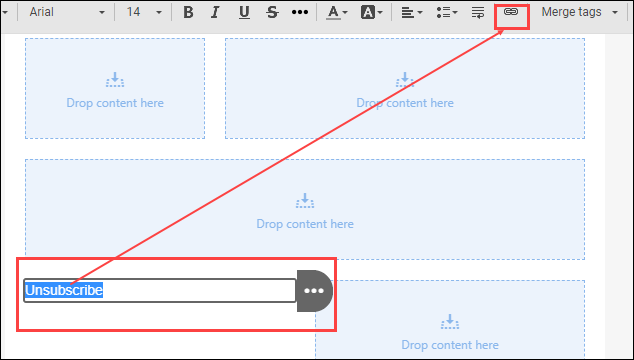
You can also customize link color and appearance.
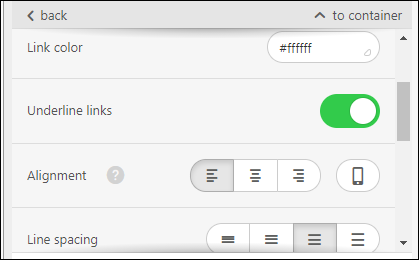
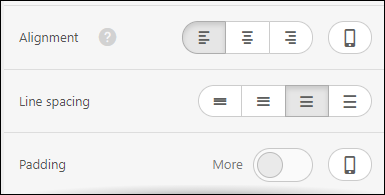
You can specify the alignment for Desktop and Mobile devices, spacing, and padding for both desktop and mobile.
When you are done, click the eye button to preview the changes.
Work with videos in simplified email editor
Videos make it easy for viewers the most amount of information in the shortest amount of time. So, campaigns that contain videos tend to be quite successful.
Note
The video you add using the video block opens in the browser. If you want the video to play within the email, you must embed the video using the HTML block.
Click the Marketing icon.
Navigate to Campaigns > Email/Text Message.
The Email/Text Message Campaigns page appears.
Open the campaign for editing.
Expand the Create the content section.
The options in the editor appear.
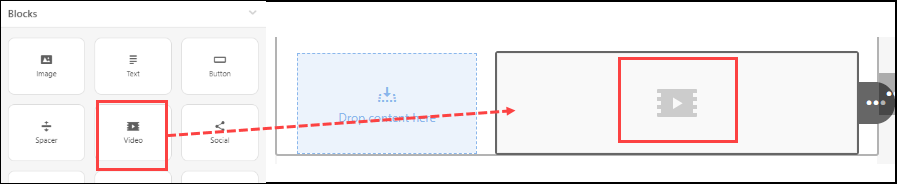
Drag and drop the video block into the container.
Click the video block.
To the left, the options to customize and add link appear.
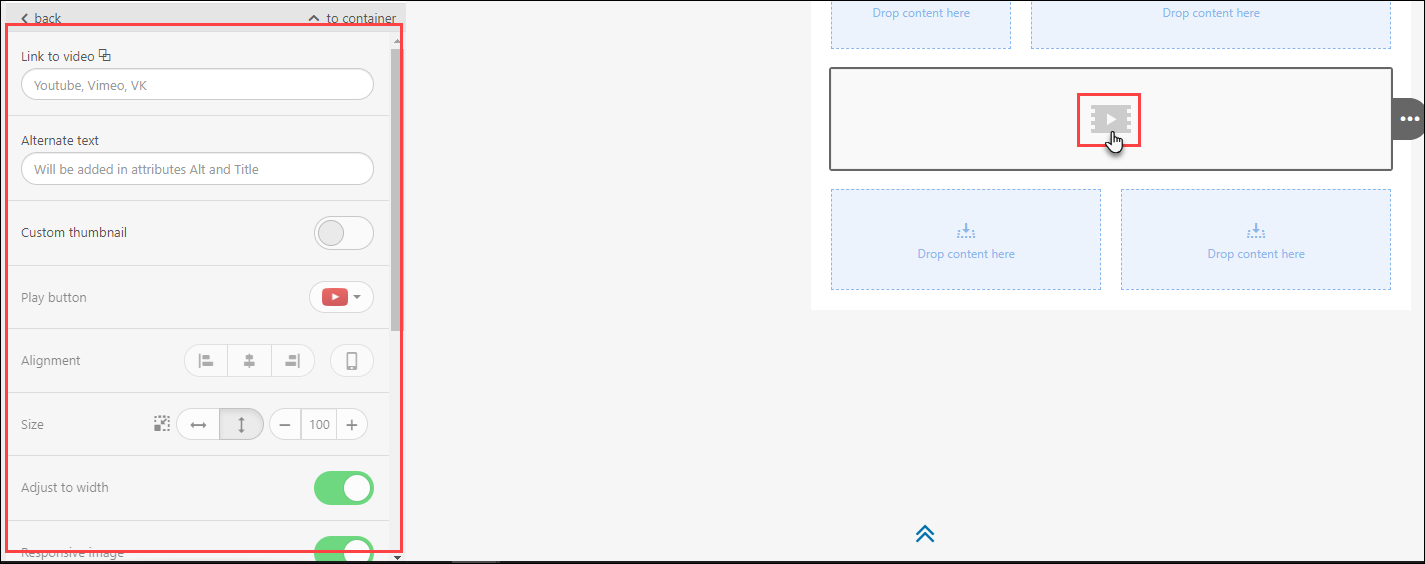
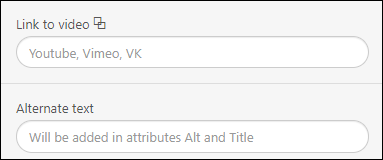
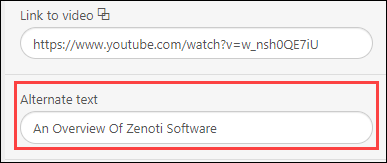
For Link to video, add a link to the video.
For example, https://www.youtube.com/watch?v=w_nsh0QE7iU
The Alternate text automatically populates. You can change it if needed.
Also, the thumbnail is automatically generated. You can change it if needed.
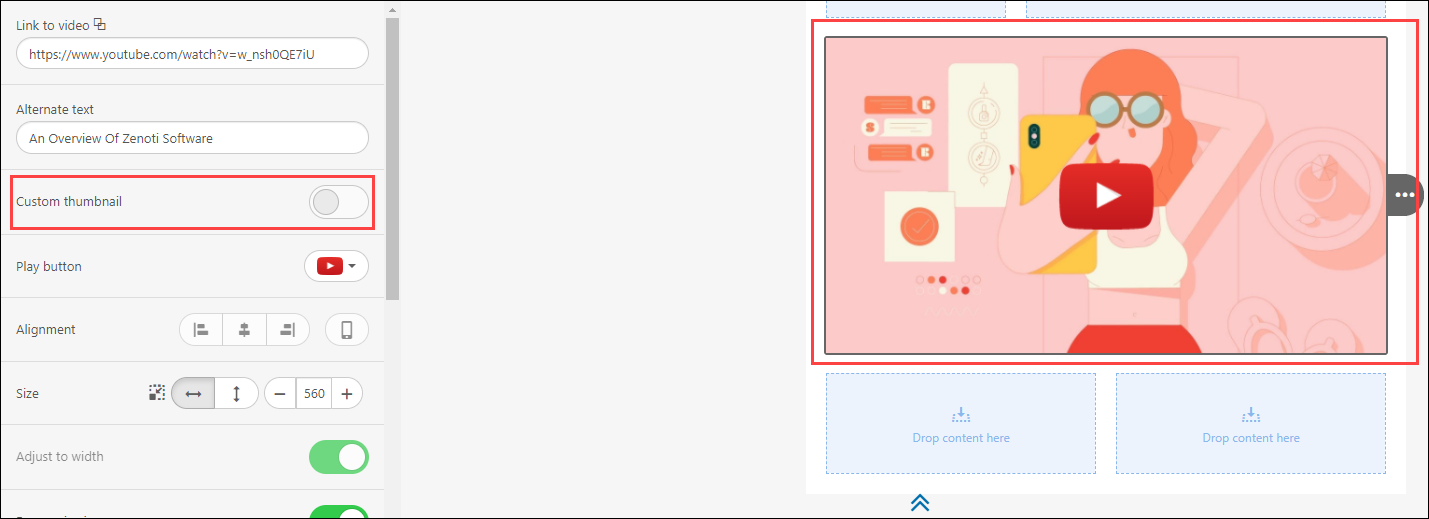
Select a play button, specify alignment on desktop and mobile, and specify if the video should be responsive based on the device it is viewed: mobile or desktop.
Click the eye button to preview the changes.
Insert social media channels in the simplified email editor
You can use the social content block to add social media icons to your email.
You can add the social content block wherever you find it suitable: in the menu, middle of the email, or you can choose to go with the popular option of placing the social media icons in the footer.
Example: Add a social block to the footer.
Click the Marketing icon.
Navigate to Campaigns > Email/Text Message.
The Email/Text Message Campaigns page appears.
Open the campaign for editing.
Expand the Create the content section.
The options in the editor appear.
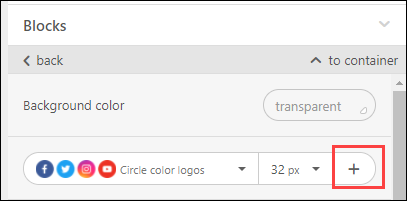
Drag and drop the Social block on the footer structure.
By default, you will see four icons. You can customize the social content block to display only the platforms you use.
To customize the social block, click the social content block. In the left, you will see the settings.
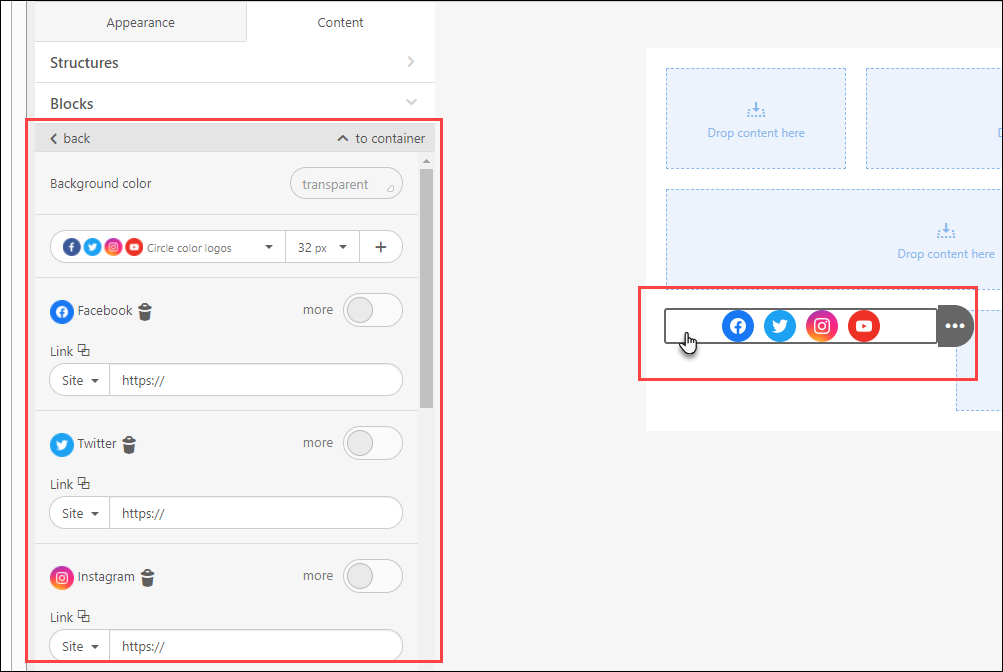
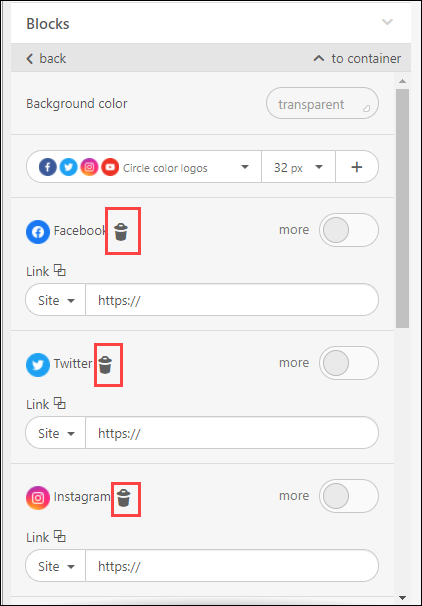
(Optional) Delete any of the social media icons that you do not use.
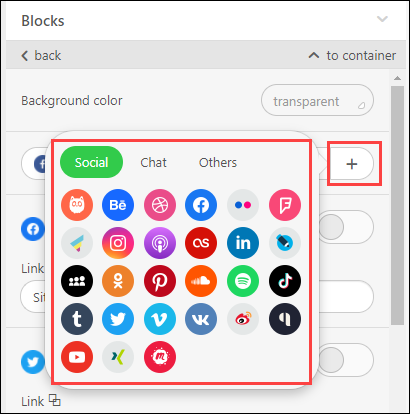
To add a new social media icon, and select the social media, chat, or other options as needed.
For example, you can select mail, and configure it with your email address.
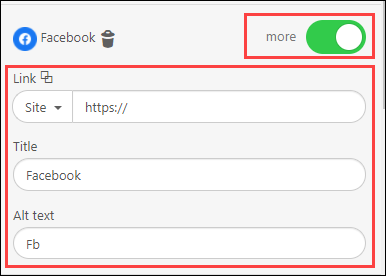
You can add links for the other social icons.
Use the more option to add a title and alt text.
Finally, when you are done, for these icons, you can set style, alignment, size, padding, and indents for these icons.
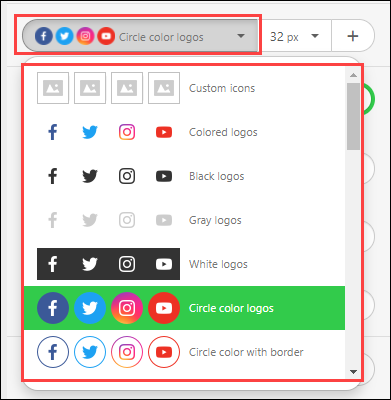
When you are done, you can preview the changes.
If you want to save this block for future use, you can save it as a module.

Simplified email editor FAQ
Is there an added fee to use the simplified editor? / Does this cost extra money or is in included in our current subscription?
No.
Is there any impact on the existing campaigns?
No. The existing campaigns will continue to run as usual as there's no impact on the existing campaigns.
What is the main difference with the editor currently in the Zenoti ?
The current professional editor in Zenoti gives a higher level of granular control; it is powerful enough to create web pages, not just emails. However, this leads to a much higher level of complexity and a much higher learning curve.
The new editor is more intuitive and aligned with usability for the purposes of creating emails. Further, the new editor includes convenient email editing functionality such as social media bars, stock image libraries, and image editing.
Are there the same macros available in the new email editor as the old one?
Yes. You can find macros under Content > Blocks > Text > Merge tags list.
Does Shopify leads get automatically get added to a campaign list? Currently, this happens with our Mailchimp subscription.
If you integrate Shopify with Zenoti using APIs to bring leads onto the Zenoti Sales/Opportunity module, you will be able to target those leads using the Zenoti Marketing.
Refer to our API documentation at - https://docs.zenoti.com/?version=latest
We currently use Mailchimp. We have hundreds of email contacts and we email daily and we only pay some amount on a monthly basis. How much are we looking at paying Zenoti for the same use?
Please contact your CSM to help you with this.
Do we have to have a marketing subscription or does our center subscription allows us to use this?
Depending on your subscription level, you should already have access to use this, though you will need email credits in order to send emails.
Please reach out to Zenoti Support.
Can clients opt-out of receiving campaign emails?
Yes. Using the marketing opt-out in the guest profile or the unsubscribe link in the emails, guests can opt-out of receiving marketing emails.
How other businesses develop campaigns - at the center/location/store level or at the corporate level?
Some businesses are creating templates and saving them at the corporate or district level. While others let stores create their own templates.
Enhanced Email editor allows each user to create campaigns independently.
Can each user choose editor elements such as Stripes, Blocks, and Images, independently?
Each user has the ability to create these as they see fit.
Does the email have to be corporate-approved before sending?
No. Stores can design and send emails independently.
For the social media icons options - how will this work if there is not a child page on each store? Does Zenoti provide this?
The icons are in a library that anyone can choose. If a child page does not have a store, then they will need to link to the parent store. Otherwise, they can opt to not use the social media bar.
Will clients be able to reply to campaign emails?
By default, No.
However, you can reach out to Zenoti Support to enable a different type of "send-as", which allows clients to reply to campaign emails.
Is this editor only for marketing campaigns?
Yes. This editor is currently only available for marketing campaigns.
What are the video capabilities of the email editor?
There is an option to include a video, in a block called Video.
Can we insert gifs?
Yes, .gif is a valid file format.
What kind of edits can we do to images? Can we crop, lighten, change colours, and add filters?
Yes. You can add a filter, text, shapes, stickers, or frame. You can also resize, crop, or transform an image and also add a colored background.
Can we change the background of images?
Yes.
Will the enhanced email editor substitute smart marketing?
No. Smart Marketing is a separate service, with different capabilities. This editor is simply an upgrade to the email content editor.
When will the email campaigns be combined with text so that they can be sent simultaneously?
You can consider to add a URL in the email and then link to that URL in the text message. This is on the roadmap.
How does this integrate with the current Smart Marketing?
Smart Marketing helps you determine how frequently your guests are receiving emails; it will not send an email to a guest that has been receiving emails too frequently.
Can results be seen in analytics?
To track your overreaching campaign results, use the Zenoti Marketing Dashboard (go to Marketing > Campaigns > Dashboard).
You can also refer to the email marketing data source in Analytics.
Can you resize images?
Yes. Click on the image and modify the image by using the left info panel or tools.
Will, there be a webinar for actual training within the new system?
We already have in-context help within the editor and help articles on help.zenoti.com.
We're also planning to have training materials produced at Zenoti University.
My client's Zenoti accounts have the old/legacy email editor. Is this something that will change?
Once the beta is over, all Zenoti Marketing users will be able to opt into this new editor.
If we want to send out marketing mail earlier, is there a way to test or use this new application in some way?
Yes. Use the Send Test Email option where you can specify a test email address.
Can we upload a database? / If I have a database from a social media lead generation advert, can we upload this to email from Zenoti
You can import templates if the HTML and CSS are done separately.
Currently, it takes very long to segment the database, will this be speedy?
We're working on this to improve the segmentation experience, including the performance.
Is there an API that Zenoti can supply us with to get the leads from social media directly into opportunities?