Okta
Okta integration to support Single Sign-On (SSO)
Introduction to Single Sign-On
Single Sign-On (SSO), is a service that allows users to access multiple applications within your organization by using a single username and password.
This eliminates the need for users to remember multiple login credentials for multiple applications. The SSO service authenticates the user and allows the user to access all the applications the user has rights to and eliminates prompts when the user switches applications during a session.
Support for SSO in Zenoti
Zenoti supports integration with Okta (a third-party Identity Management provider) to provide SSO.
You can integrate Zenoti with Okta using the Security Assertion Markup Language (SAML) integration method.
After you integrate Zenoti with Okta, Okta establishes a secure connection with a user's browser and then provides authentication that allows your users to use only one set of credentials to access various applications including Zenoti.
How does the Okta integration with Zenoti work?
If you integrate Zenoti with Okta, your users can login to Okta using their credentials and access Zenoti (you must create an Okta app for Zenoti. Learn how). When the user access the Zenoti app, the user bypasses the login and machine authentication screen of Zenoti and is directly logged in.
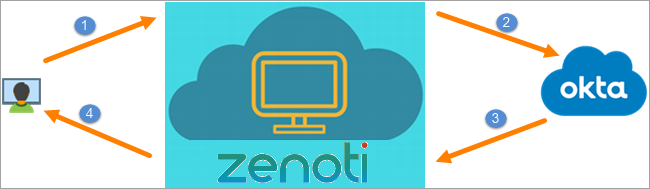
Here is how it works:
A user accesses Zenoti from a web portal or a browser plug-in.
Zenoti identifies the user's origin (by application subdomain) and redirects the user back to Okta, asking for authentication.
Okta builds the authentication response in the form of an XML-document containing the user’s email address, signs it using an X.509 certificate, and posts this information to Zenoti.
Note
The user either has an existing active browser session with Okta or establishes one by logging into Okta.
Zenoti, which already has Okta integrated, has a certificate fingerprint, retrieves the authentication response, and validates it using the certificate fingerprint.
The identity of the user is established and the user is provided access to Zenoti.
Integrate Okta with Zenoti
Zenoti supports integration with Okta and uses its Single Sign-On (SSO) feature to log into Zenoti.
After you integrate Zenoti with Okta, Okta establishes a secure connection with a user's browser and then provides authentication that allows your users to use only one set of credentials to access various applications including Zenoti.
To integrate Zenoti with Okta, you must do the following:
Create Zenoti application in Okta
You must create a Zenoti Application in Okta to allow your users to login to Zenoti. The users click the Zenoti App (on a web portal or a browser plug-in) and directly login to Zenoti without any additional authentication.
To create Zenoti application in Okta:
Log in to Okta with a user account that has Administrator privileges.
Click Admin.

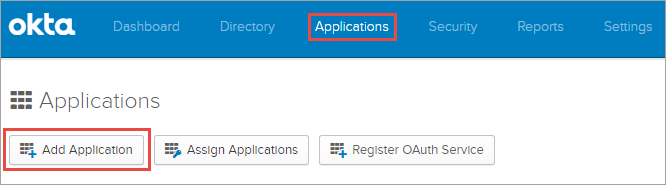
Click the Applications tab, and select Applications from the list.
The Applications page opens.
Click Add Application.
A list of existing applications appears.
Click Create New App.
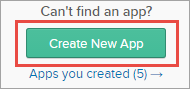
The Create a New Application Integration window opens.
Select the Platform as Web, Sign on method as SAML 2.0, and finally click Create.
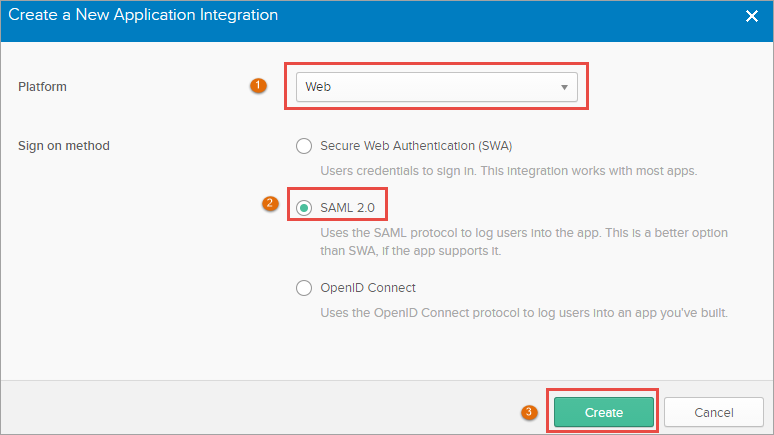
The Create SAML Integration page opens.
In the General Settings page, enter a name for the App and complete the remaining fields, and click Next.
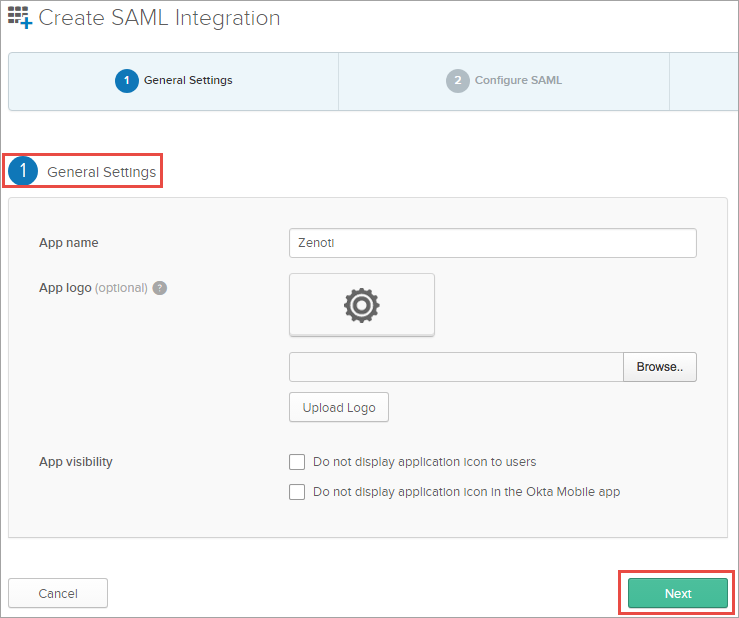
The SAML Settings appear.
Complete the following fields:
Single sign on URL: Enter the URL as https://<your_account_name>.zenoti.com/authenticate/signin
Audience URI (SP Entity ID): Enter the ID as https://<your_account_name>.zenoti.com/authenticate/signin
Application username: Enter the Okta username
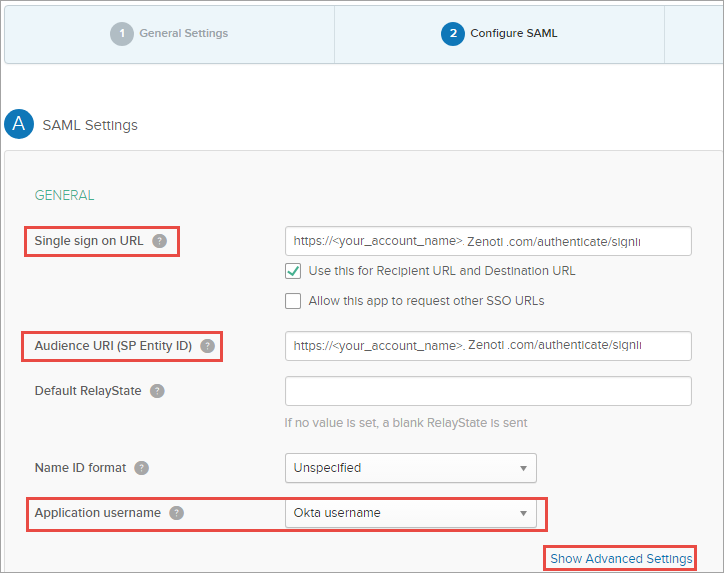
Click Next.
The Feedback screen opens.
In the Feedback screen, make the following selections:
Are you a customer or partner?: Select I'm an Okta customer adding an internal app.
App type: Select the checkbox, This is an internal app that we have created.
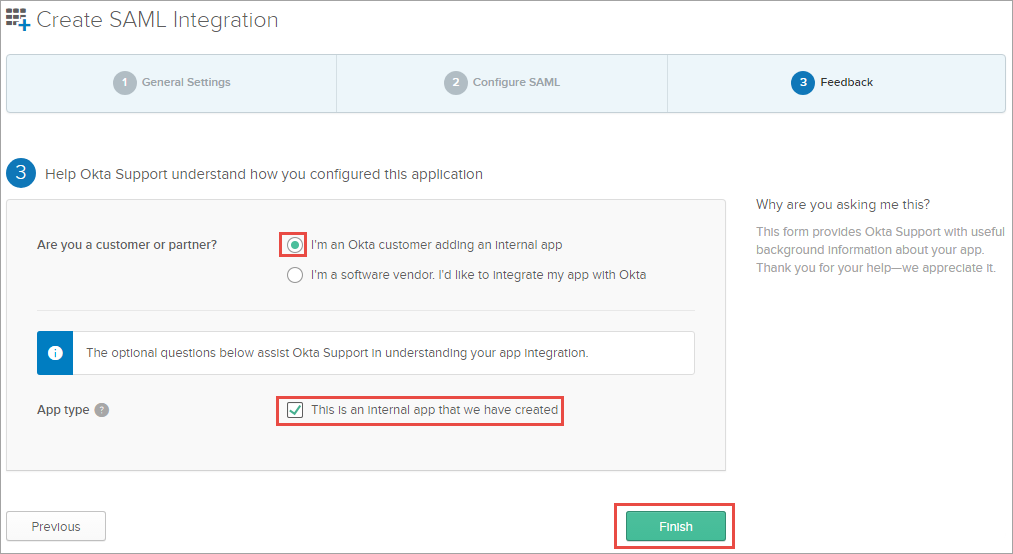
Click Finish.
The Sign On Settings tab opens.
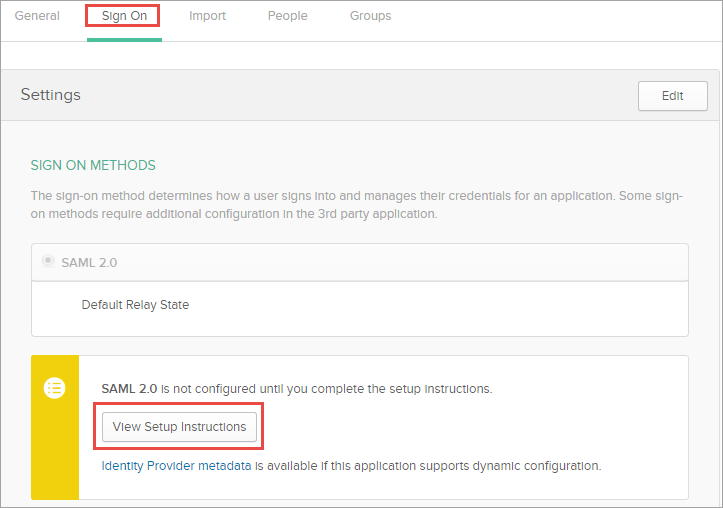
Click View Setup Instructions.
Copy the entries in the following fields on a Notepad:
Identity Provider Single Sign-On URL
X.509 Certificate
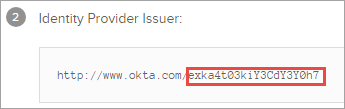
Identity Provider Issuer
Note
You must copy only the string after http://www.okta.com
Complete the following next steps:
Configure Zenoti with Okta application details
After you create Zenoti application in Okta, you can configure Zenoti with the details of the Zenoti application (you created in Okta).
Note
To complete the steps in this article, you will need the following details:
Identity Provider Single Sign-On URL
Identity Provider Issuer
X.509 Certificate
You would have made a note of the above details while creating the Zenoti application in Okta.
To configure Zenoti with Okta application details:
At the organization level, click the Configuration icon.
Search for and select SAML from the Integrations section.
Complete the following fields:
Select the Enable SAML checkbox.
User Identifier: Okta username
Identity Provider Single Sign-On URL: Enter the Identity Provider Single Sign-On URL
Identity Provider Issuer: Enter the Identity Provider Issuer
X.509 Certificate: Enter the X.509 Certificate
Click Save.
You have successfully configured Zenoti with Okta application details.
Complete the following next steps:
Create users in Okta and Zenoti
After you integrate Zenoti with Okta, users can access Zenoti using the Single Sign-on (SSO) feature of Okta.
For the SSO to work, you must have users with identical usernames in both Okta and Zenoti.
In this article, you will learn how to create users in both Okta and Zenoti.
To create users in Okta
If you do not have users created in Okta or wish to add new users, follow these steps:
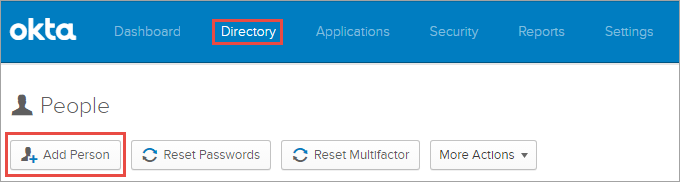
Log in to Okta with Administrator privileges and click the Directory tab.
The People page opens.
Click Add Person.
The Add Person window opens.
Complete the following fields:
First name: Enter user's first name.
Last name: Enter user's last name.
Username: Enter the username that the user will use to login to Okta.
Important! You must create a user with the same username in Zenoti as well. If you do not create a user with the same username, SSO will not work.
Primary email: Enter the primary email address of the user.
Send user activation email now: Select this checkbox.
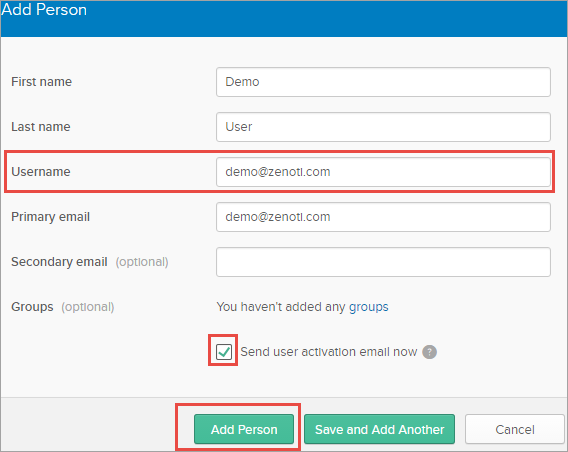
Click Add Person.
A welcome mail is sent to the user's email address indicating that the user creation is successful.
To create users in Zenoti
To create users with identical usernames to that of users in Okta, do the following:
Log in to Zenoti.
Ensure you are at the center level.
From the main menu, click Employee.
The Manage Employee window opens.
Click Add.
The Create New Employee window opens.
Complete the fields.
Important
Ensure that you are entering the same username that you entered in Okta for the user. If you do not create the user with the same username, SSO will not work.
Next step
Assign users to the Zenoti application in Okta
After you create users in Okta and Zenoti, you must assign the Zenoti Application to users within Okta.
Only the users who have the Zenoti Application assigned can access Zenoti using the Single Sign-on (SSO).
To assign users to your Zenoti Application:
Log in to Okta with a user account that has Administrator privileges.
Click Admin.
Click the Applications tab, and select Applications from the list.
The Application page opens.
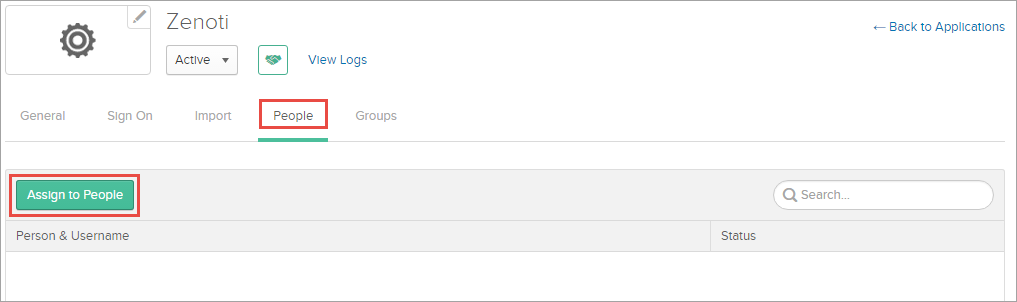
From the list of applications, click Zenoti application.
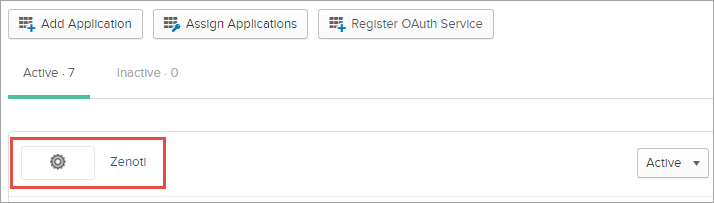
The application details open and displays the People tab.
Click Assign to People.
The Assign <App Name> to People page opens.
Search for the user and click Assign.
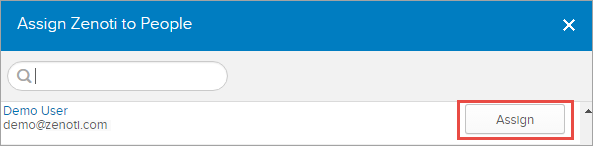
The username is displayed.
Click Save and Go Back.
Repeat steps 5 and 6 until you add all the desired users. Finally, click Done.
You have successfully assigned users to the Zenoti application and they can now Single Sign-on (SSO) to Zenoti.