Create a class
Creating a new class involves several key steps to ensure that all necessary details are defined, and the class is properly configured. From specifying registration settings to assigning rooms and instructors, each tab guides you through the process of setting up your class. This comprehensive flow includes defining pricing, tax details, and forms, along with customizing the class catalog and online booking options.
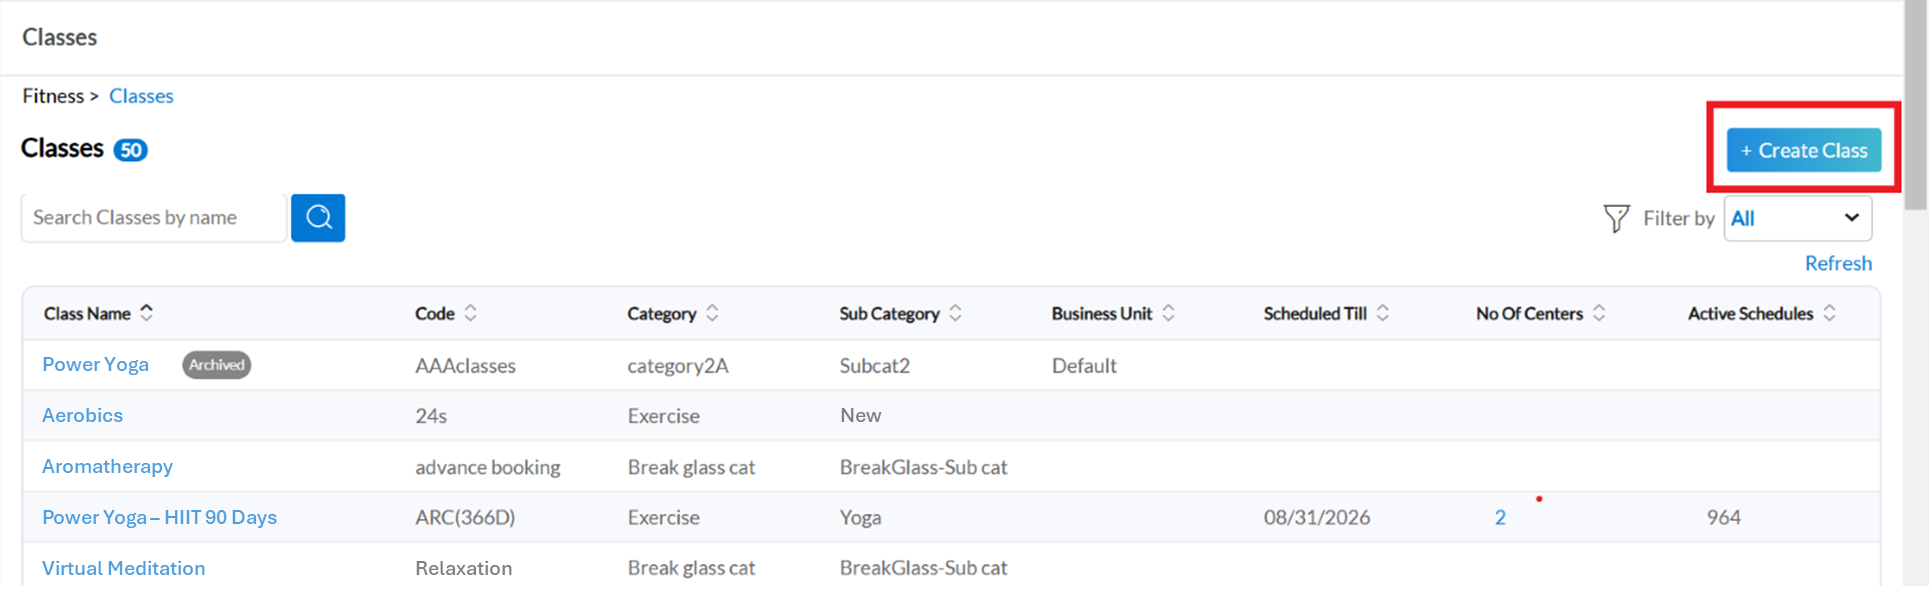
At the organization level, click the Fitness icon and select Classes.
To create a new class, click +Create class.
On the General tab, fill all the fields.
Enter an HTML description of the class that you want to display on your Webstore. You can add images and format text in various styles in this field. To preview the description, click Preview.
Associate a business unit to your class. The options that you see in this list are predefined by your admin.
To avoid any last-minute registrations from students, provide a value for the Registration lock window field. Enter the number of hours before the class starts, during which the students are not allowed to make any registrations.
For example, if a class starts at 10:00 am and if you do not have any registrations two hours before the class starts, enter 2 in this box. This way, the students will be allowed to register only till 8:00 am. However, the front desk staff can still make any last-minute registrations from the appointment book.
Define a duration for the Auto-Confirmation Lock Window field to save the front-desk staff’s time. Enter a value in hours, before the class starts, to allow moving the guests from the waitlist to the registered list automatically.
To allow guests to register for this class only if they have a membership or package to which the class belongs, select the Sell as part of a package or membership option. For webstore and mobile apps, if a guest does not have a membership or package and the guest is registering for the class, the guest is required to first buy a membership or package.
To make class-level forms compulsory for students while enrolling for this class, select the Do you require a class-level form option.
To levy a penalty or fee for students who don't attend the class, enable the Allow no show fee checkbox.
You can define cancellation fees for the class by enabling the Allow cancellation fee checkbox. Select the appropriate cancellation profile from the list below. For more information, refer to the Set up cancellation profiles article.
To allow class registrations for studio staff only after their managers’ approval, select the Requires approval of registration option.
In the Registration notes field, enter the notes for this class. These notes will appear in the instructor app's Appointment book as a description.
Select the Teacher pay rate for the class from the available options. The pay rates are configured at multiple levels. For more information refer to the Create pay rate for instructors article.
Select the age brackets from the Age Category dropdown. This field is accessible only when Age Buckets are enabled for your organization.
To allow prebookings for the class, enable the Advanced Properties checkbox. In the Advance Booking fields, define the days and time range for bookings before the class begins.
Click Next.
Edit class details
At the organization level, click the Fitness icon and select Classes.
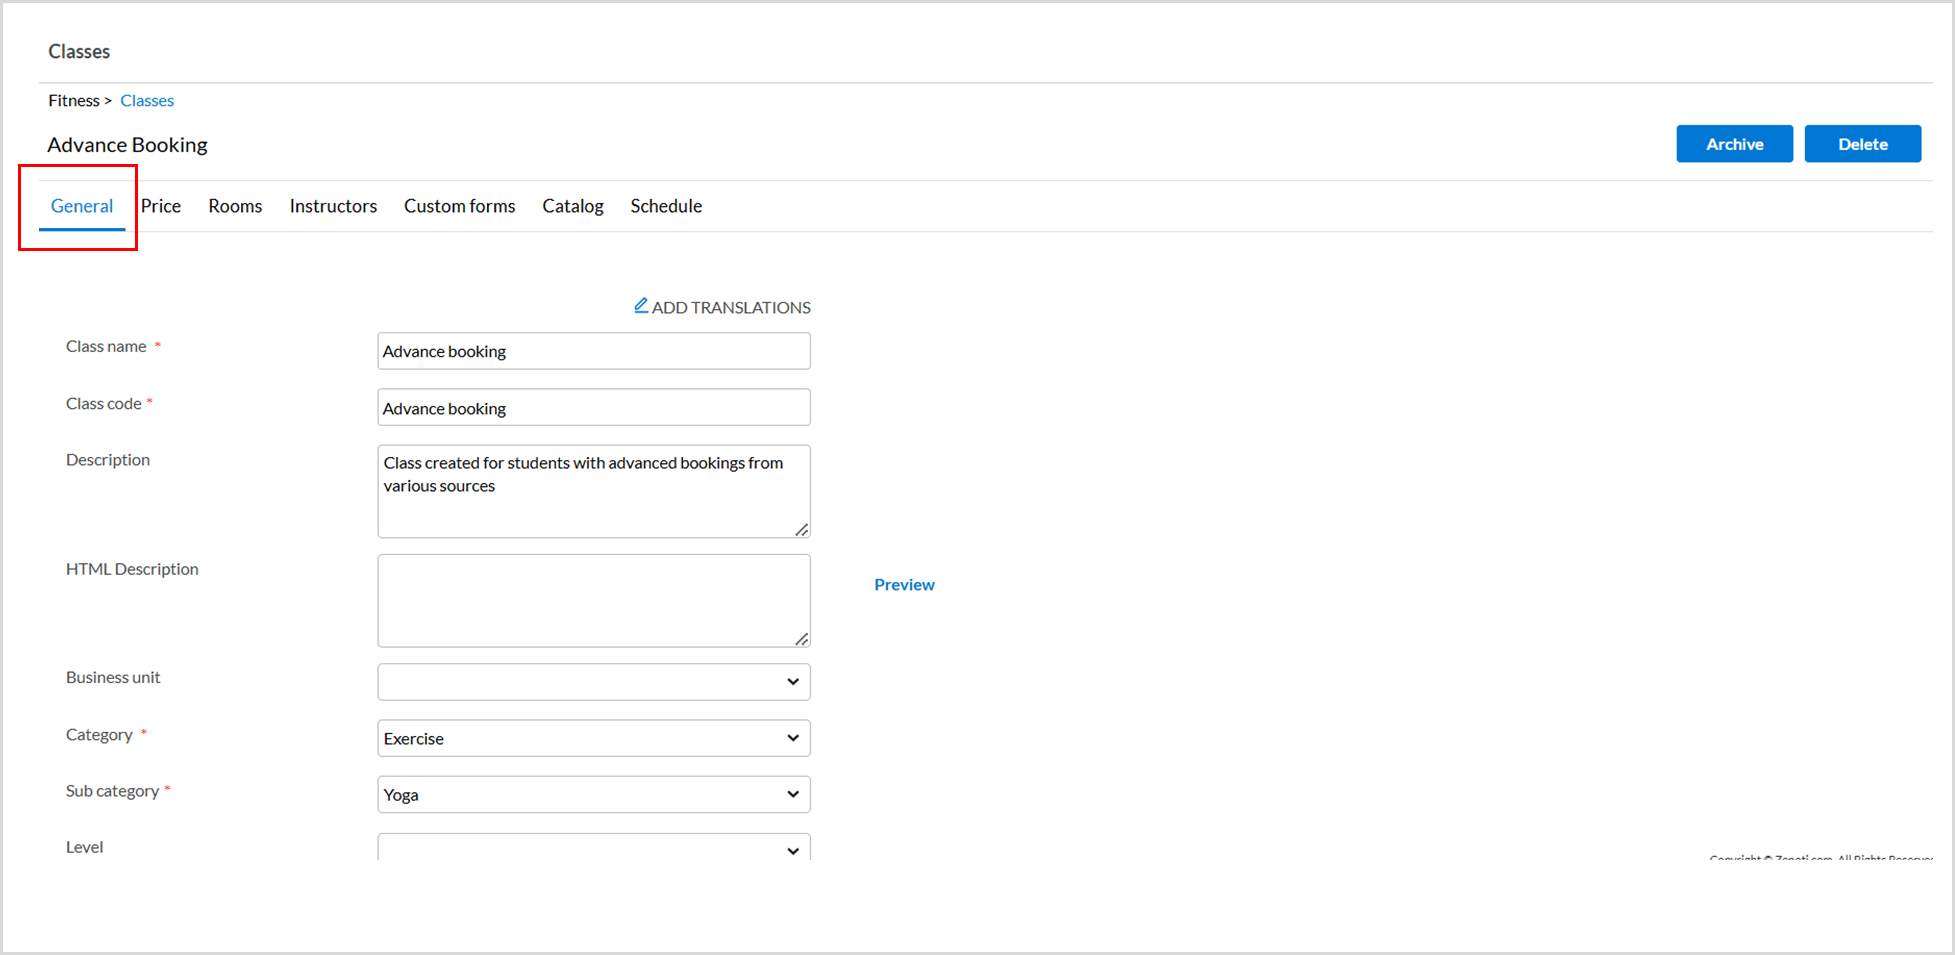
Select the class from the Classes page and navigate to the required tab.
Make changes to the required fields and click Save.
Impacts and considerations
You can't modify the class category after sessions are scheduled for the class. As categories are mapped to classes, changing the category impacts the credits or balance for sessions, membership, and packages.
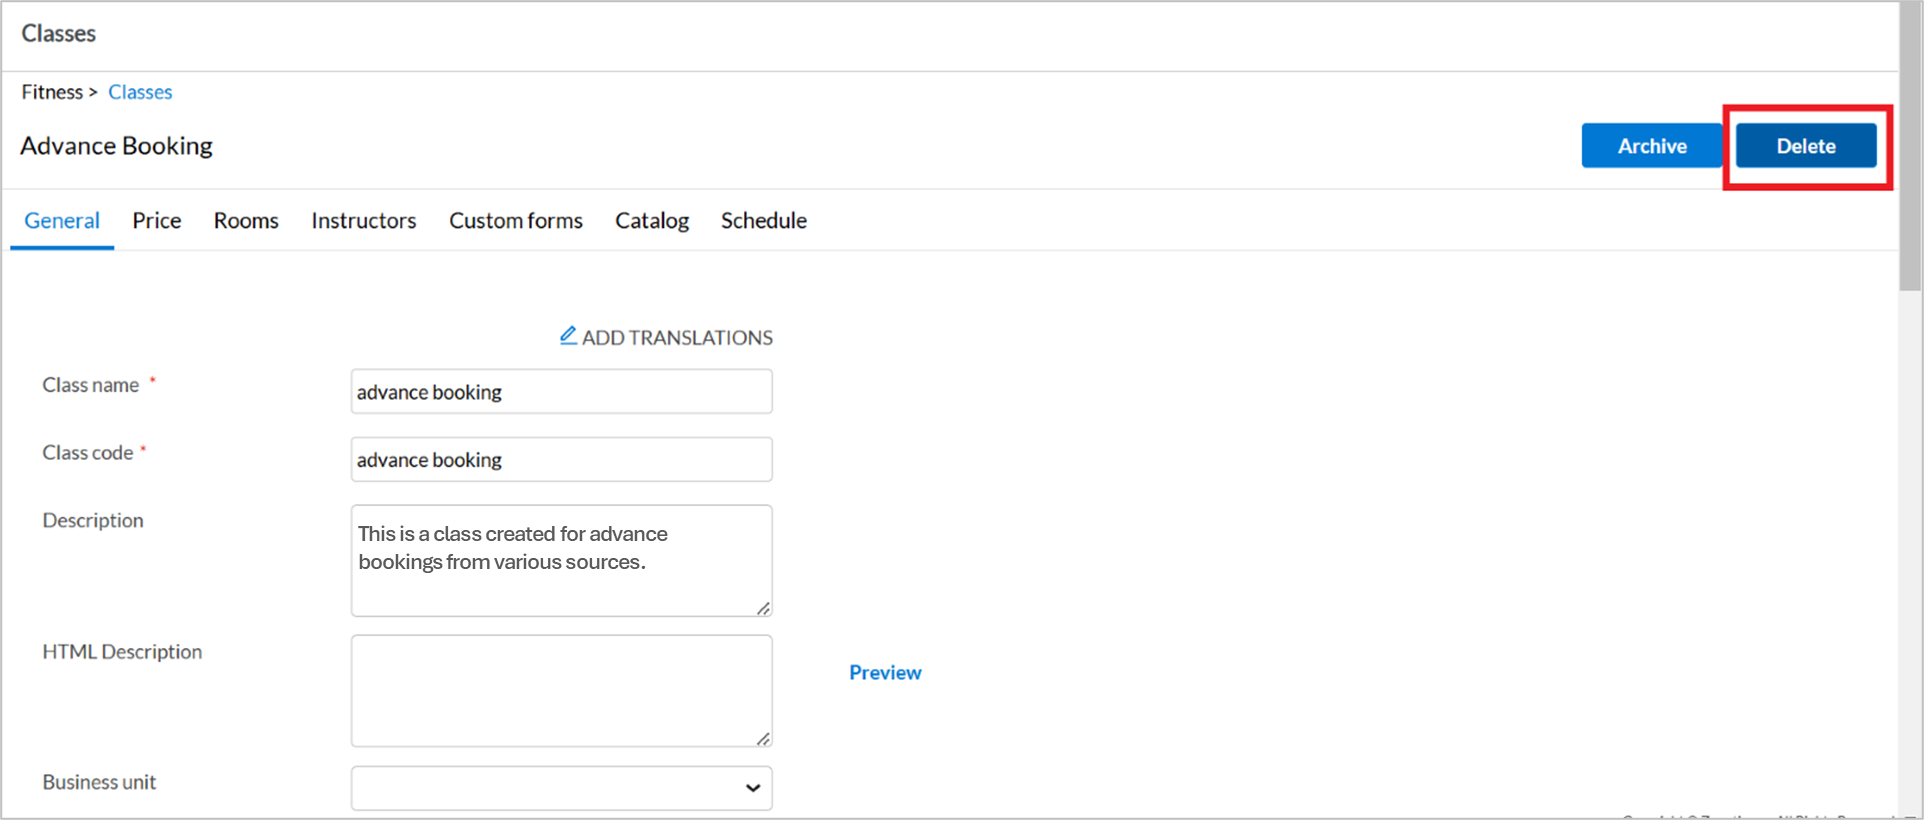
To delete a class permanently, click on the Delete button on the top right corner of the class page. A class can't be deleted if it has scheduled sessions for a future date.