Enable translation of content across all Zenoti screens | To enable this, talk to a person at Zenoti support. |
Choose preferred languages for Admin and front-desk staff, Webstore, CMA, Queue & Kiosk | At the organization level, click the Configuration icon. Search for and select Manage languages from under Business details. Select Manage languages, and enable preferred languages for Admin and front-desk staff, Webstore, CMA, Queue & Kiosk respectively. Click Save.
|
To ignore the accent marks while searching for guests and employees across all FDO screens (POS, Appointment book & Booking wizard) When you enable this, the search results will include both accented and non-accented characters when you search using non-accented characters This is only applicable for guest and employee searches on the POS, Appointment book & Booking wizard screens | To enable this, talk to a person at Zenoti support. |
To exclude the accent marks while searching for services and other resources | To enable this, talk to a person at Zenoti support. |
Display Webstore in the 24-hour format | Raise an internal JIRA ticket to display Webstore in 24-hour format. |
Send the receipt-related notifications in the preferred language | At the center level, click the Configuration icon. Search for and select Receipt culture from Business details. From the Receipt culture list, select None. If receipt culture is set to None, the receipt will be printed in the guest's preferred language. Receipt language is prioritized in guest settings (guest's preferred language), followed by center settings, and then organization settings. If no preference of language is set at any level, the receipt will be printed in English. If the guest language is present, it takes precedence over the center and organization settings. If the guest language is absent, the center language takes precedence over the organization settings. Click Save.
|
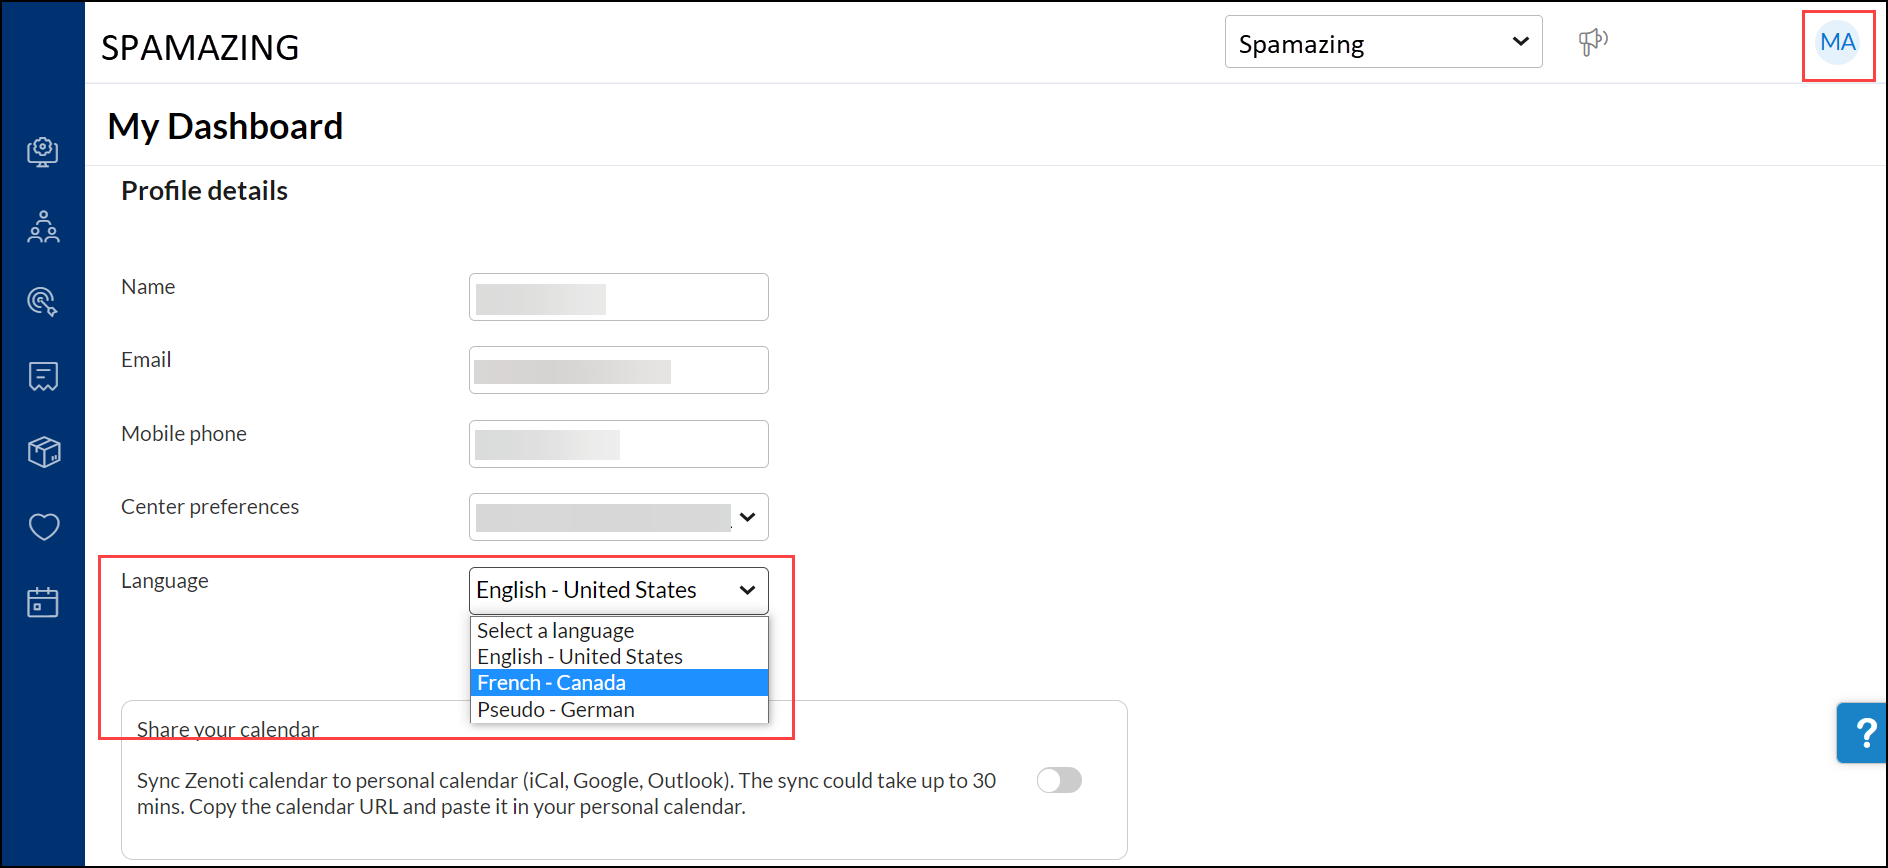
Set employee preferred language All communication you send your employees will be sent in their preferred language | |
Set guest's preferred language All communication you send your guests will be sent in their preferred language | NoticeIf the guest profile is created from the Appointment book, the preferred language selection is only available in the guest profile. Until the guest's preferred language is set, the center's preferred language will be assigned the guest's preferred language. If a guest creates their profile through Webstore. they can set their preferred language on Webstore. |
Set up all commonly used labels in your preferred language Example: Guest, Appointment, Postal code | All labels on the following screens (with translation icon  ) must be set up in your preferred languages. ) must be set up in your preferred languages. On some screens, you might find the Add translations option instead of the translation icon . You must be at the organization level to set up the translated versions of labels. Configuration > Online booking > CX V3 > Labels Configuration > Online booking > Webstore v2 > Expand all sections and enter all applicable labels. Configuration > Search for "Labels" and set up all labels that appear in the search results.
NoticeTranslations are not auto-saved. To save the translations, on the translation pop-up after providing all required translations, you must click Save. |
Display currencies according to the selected culture settings | At the organization level, click the Configurations icon. Search for and select Culture from under Business details. From the Culture list, select the relevant cultural norm that you want your organization to follow. For example, if you select English - United States, the currency symbol $ appears before the amount ($100) and if you select English - Canada, the currency identifier CAD appears after the amount(100CAD). Click Save.
|
Configure email templates in your preferred language | At the organization level, click the Configuration icon. Search for and select Templates for email and text from under Notifications. For your desired notification templates, click Edit. Under Select content language, select your preferred language. Select the Use this language template checkbox and enter the translated content. Click Save.
|
Set up block-out time types in your preferred language | At the organization level, click the Configuration icon. Search for and select Block out time types from under Employee. Select a block-out time type and click the Translation icon . Expand your preferred language, and enter the name and description for the block-out time type in that language. Click Save.
|
Set up leave types in your preferred language | At the organization level, click the Configuration icon. Search for and select Leave types from under Employee. Add or select a leave type and click the Translation icon. Expand your preferred language, and enter the name and description for the leave type in that language. Click Save.
|
Set up tags in your preferred language | At the organization level, click the Configuration icon. Search for "Tag", and set up all tags and their translations that appear in the search results.
|
Set up jobs in your preferred language | At the organization level, click the Employee icon. Select Jobs. Add or select a job and click the Translation icon. Expand your preferred language, and enter the name and description for the job name in that language. Click Save.
|
Set up reasons in your preferred language | At the organization level, click the Configuration icon. Search for "Reason", and set up all reasons and their translations that appear in the search results.
|
Set up resource names in your preferred language | Set up translated names for all the following resources in the organization. |