Work with leads
List view
The All Leads page provides a centralized view of all leads captured across your organization. From this page, users can:
Search and filter leads
Add new leads
Customize the table view
Track lead stages and priorities
Monitor assignment and engagement
This page helps sales teams and managers track inquiries and convert prospects efficiently.
At the organizational level, go to Lead Management > AI lead manager > All leads.
The All Leads page is displayed. The default columns in the listing include:
Lead name
Email ID
Lead type
Lead source
Lead stage
Priority
Date
Center
Notes
Assigned to
Click Advanced filters to narrow down the results by:
Assigned to
Status
Priority
Lead type
Source
Call outcomes
Gender
Follow-up range
Expected close date
Select the checkbox next to any listing.
Click Bulk update to update the Assigned employee, Lead status, Priority, and Lead source.
Click Detailed view to open detailed information for the selected lead(s).
Use saved views
Saved views let you store a combination of filters and reload them quickly, so you don't have to reapply the same filter settings each time.
To load a saved view:
Click the Saved Views dropdown at the top of the All Leads page.
Search by view name or scroll through the list.
Click a view name to apply its filters to the lead listing.
To manage saved views:
Click the Saved Views dropdown.
Click Manage views.
The Saved views panel opens on the right, listing all your views under Other views.
Click any view to preview the filters saved inside it and update them if needed.
Note
To create a new saved view, apply your desired filters on the All Leads page and use the Save filter option in the Advanced filters panel.
Manage columns
You can control which columns appear on the All Leads page and reorder them to match your workflow.
Click the Manage Columns icon (grid icon) at the top right of the lead listing.
The Manage Columns panel opens with two sections:
Selected Columns (left) — toggle each column on or off using the switches. Columns with a blue toggle are visible in the listing; grey toggles are hidden. Click Remove all to deselect all columns at once.
Re-order selected (right) — drag columns up or down using the handle icon to change their display order. Click the delete icon next to any column to remove it.
Click Save to apply your changes, or Cancel to discard them.
The available columns are: Lead name, Email ID, Lead type, Lead source, Lead stage, Priority, Date, Center, Notes, Assigned to, Guest name, and Guest code.
View lead details
At the center or organization levels, navigate to Lead Management > AI Lead Manager > All Leads.
Click any lead name to open the Lead Details page.
The page is divided into three areas: the lead list on the left, the activity timeline in the center, and the details panel on the right.
Timeline
The timeline displays all interactions and system events for the lead in chronological order. Use the All events dropdown to filter the timeline by a specific event type: Task, Note, Call, or Email.
The timeline shows the following event types:
Outbound and inbound calls, including duration, sentiment, intent, and the center associated with the call. For AI-assisted calls, a summary of the outcome is shown below the call entry. Click View insights and transcript to review the full call transcript.
SMS and email messages sent to or received from the lead.
System-generated events such as AI lead score updates.
AI lead score
When an AI lead score is available, it appears as a card in the timeline and is also shown in the details panel. The score card displays:
The overall score out of 100 and a priority label (Low, Medium, High).
AI Reasoning — a plain-language explanation of why the lead was scored this way, including the trigger that generated the score.
Intent, Confidence, and Priority values.
A Signal Breakdown section showing the percentage contribution of individual signals: Explicit intent, Booking flow, Time references, Engagement depth, Contact signals, Source context, and Deferred negative.
The date and time the score was last updated.
If the score requires human review, a Needs Human Review banner is shown on the card.
Details panel
The details panel on the right contains three tabs: Details, Notes, and Tasks.
The Details tab shows:
User details — name, phone, email, and gender.
Lead assessment — sales stage, priority, assigned employee, creation date, last contacted date, centre, lead type, and source.
Pricing and transaction — listed price, offered price, and a link to View Point of Sale (PoS).
Follow-ups — follow-up date, expected close date, last contacted date, and a Book appointment shortcut.
Additional lead details — alternate phone number and email address.
Lead consent message — gender consent options (Male, Female, Other).
The Notes tab displays all notes logged against the lead. Click Add note to create a new note.
The Tasks tab shows all tasks associated with the lead's conversion. Click Add task (or use the + button at the top right of the panel and select Add Task) to create a new task. When adding a task, fill in the task type, description, due date, due time, assigned employee, and priority.
Initiate contact from the Lead Details page
To contact a lead directly from this page:
Click Call in the top bar of the timeline to initiate a call.
Click Call or Email in the action buttons at the top of the details panel.
Use the Reply box at the bottom of the timeline to send an SMS or Whatsapp message.
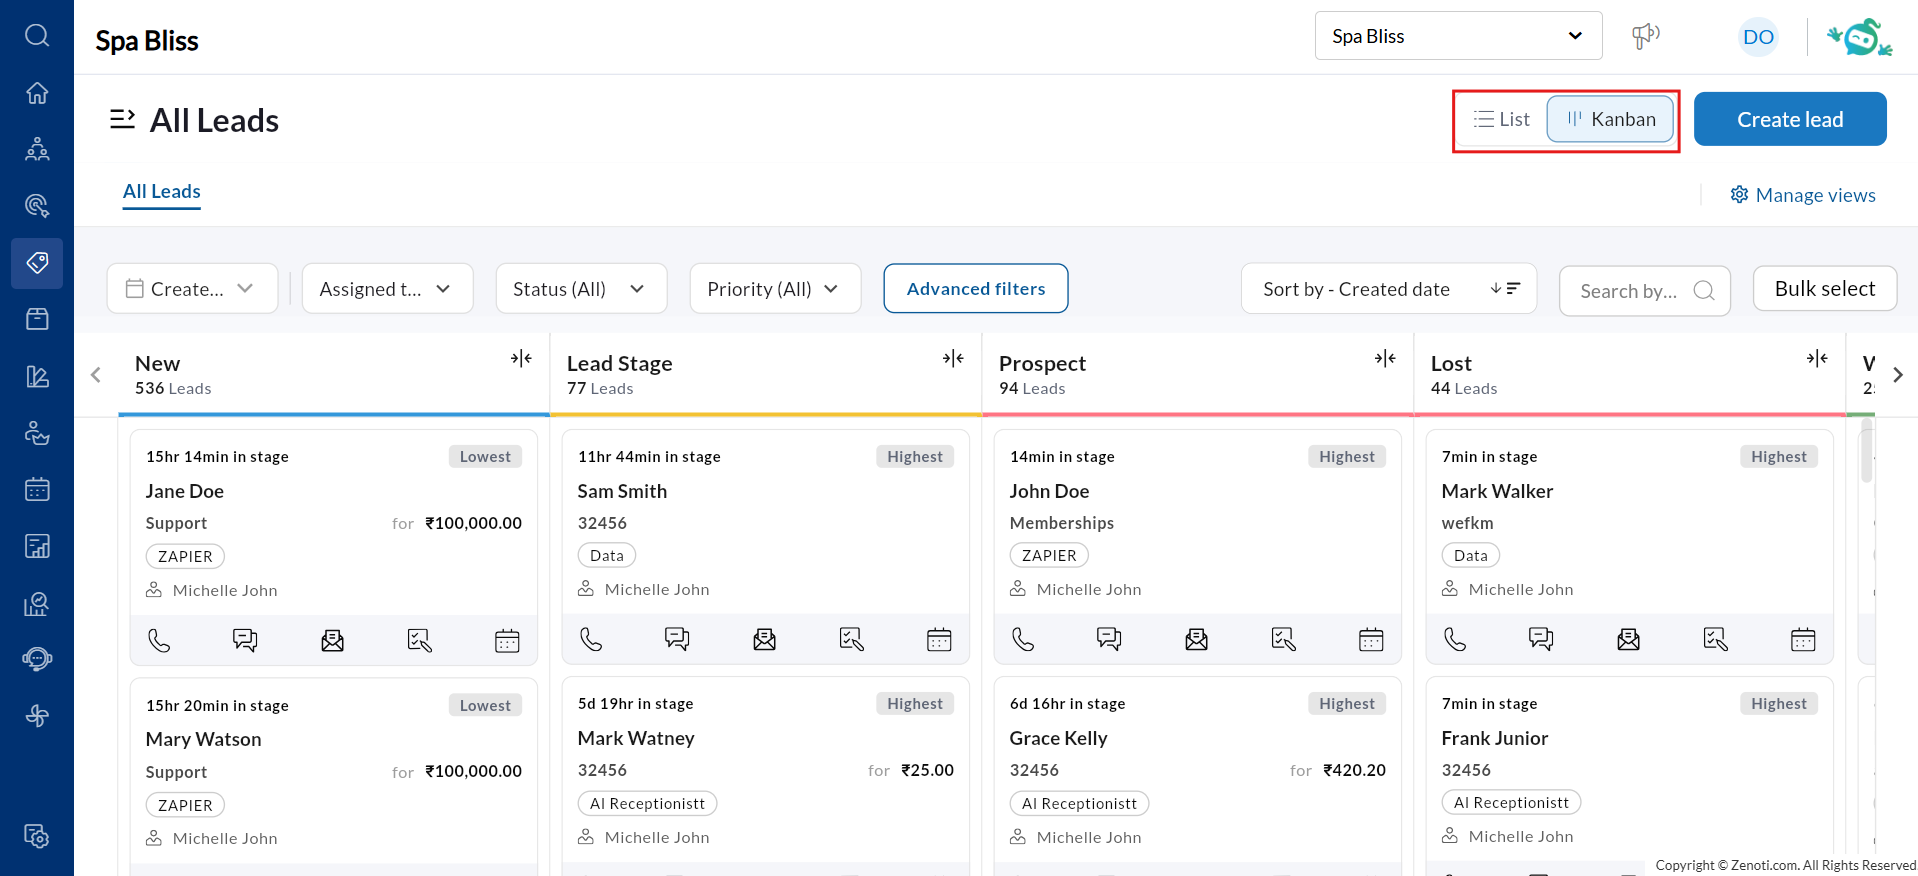
Kanban view
The Kanban view of the all leads page displays leads as cards organized by lead stage, ideal for tracking progression and taking quick actions. It organizes leads as cards grouped into columns by lead stage. Each column header shows the stage name and the total number of leads in that stage. Use this view to visualize your pipeline and move leads through stages efficiently.
Each lead card displays the following information at a glance:
Time in stage
Lead name
Guest code
Lead source
Assigned employee
Priority label
Pricing
Use the List and Kanban toggle buttons at the top right of the All Leads page to switch between views. The selected view is highlighted.
Filter and search leads
Use the Created date, Assigned to, Status, and Priority dropdowns to narrow down results.
Click Advanced filters to apply additional criteria such as lead type, source, call outcomes, gender, follow-up range, and expected close date.
To search by lead name, use the Search by lead name field at the top right of the page.
Use saved views in Kanban
Click Saved views at the top of the page to load a previously saved combination of filters, or click Manage views to update or review existing views.
To create a new saved view, apply your desired filters and use the Save filter option in the Advanced filters panel.
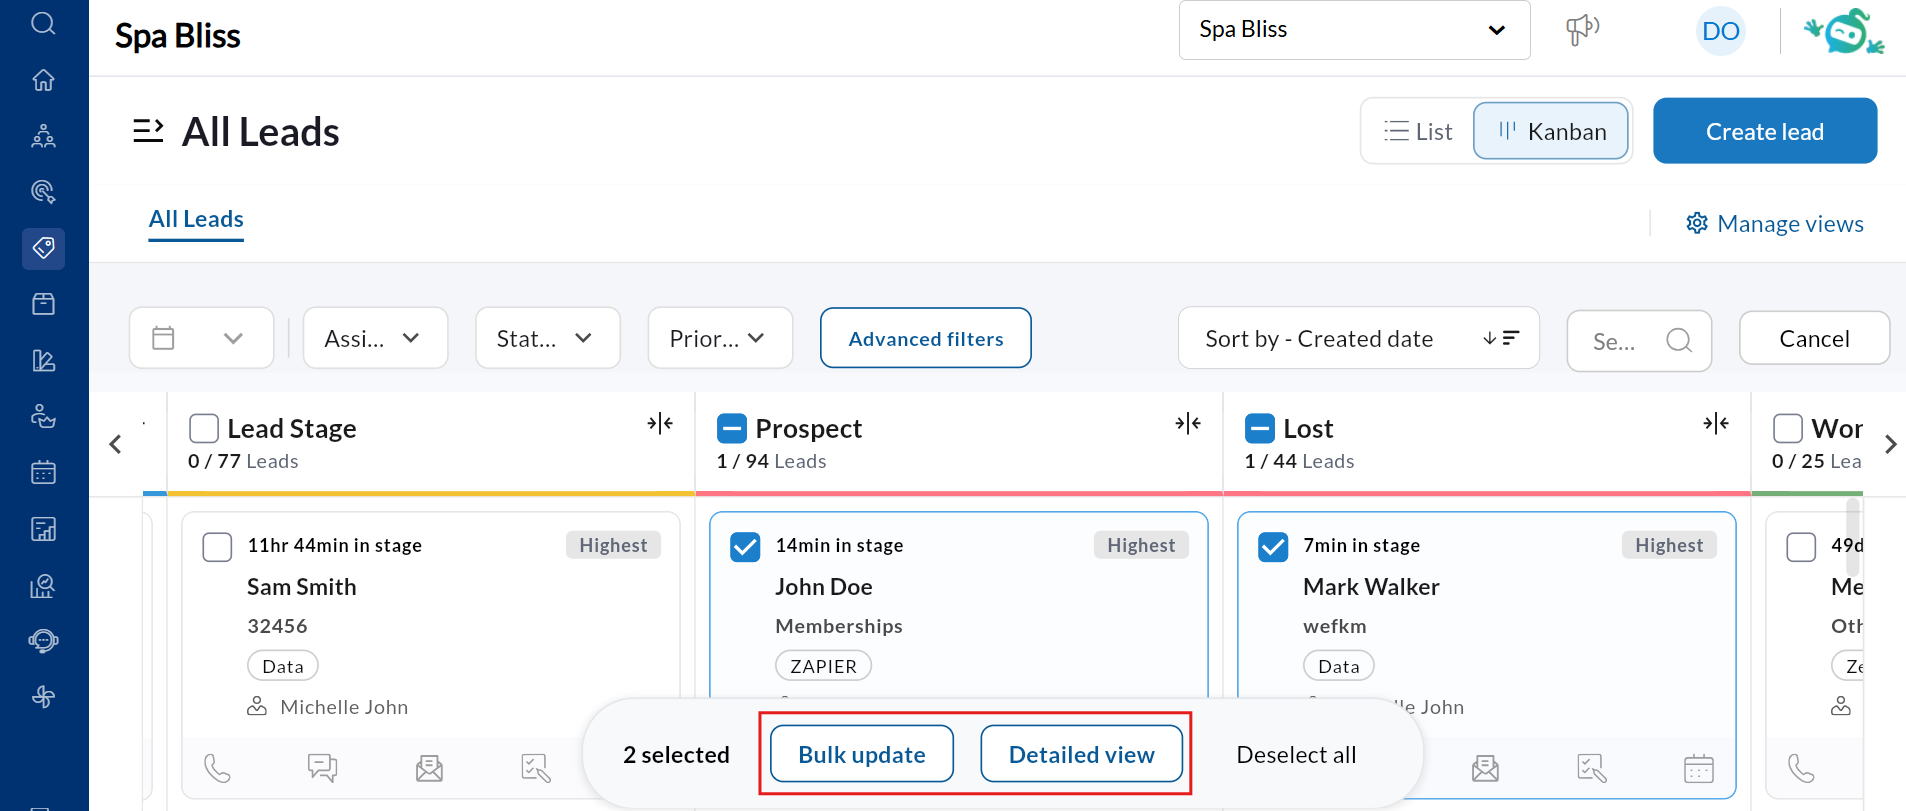
Bulk select and bulk update
Click Bulk select at the top right to enter selection mode.
Once you have selected one or more leads, a toolbar appears at the bottom of the page with the following options
Bulk update — Update the assigned employee, lead status, priority, lead source, or lead type for all selected leads at once. A confirmation alert is shown before changes are applied, as actions are irreversible.
Detailed view — Open the Lead Details page for the selected leads.
Deselect all — Clear all current selections.
Note
Bulk update actions are irreversible. Review your selections before updating.
Quick actions from a lead card
Book an appointment
Click the Appointment icon (calendar icon) on the lead card.
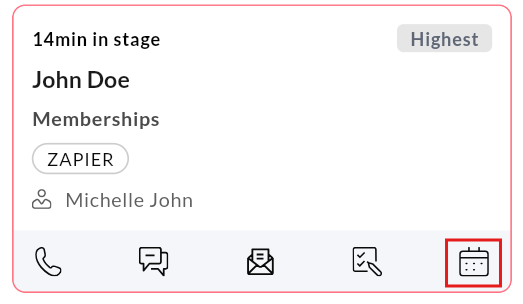
The Booking Wizard opens with the lead's guest profile pre-filled.
Select a service, therapist, and time slot.
Click Review and Book.
Add a task
Click the tasks icon.
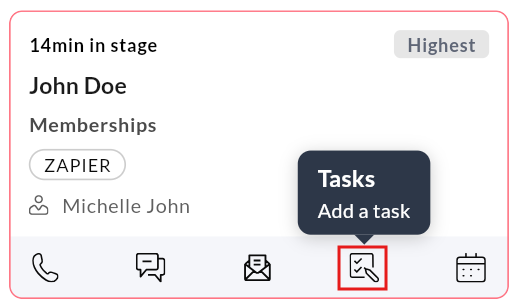
Enter the Task type, Description, Due date, Due time, Assigned to, and Priority fields.
Click Save.
Send an SMS or WhatsApp message
Click the SMS icon.
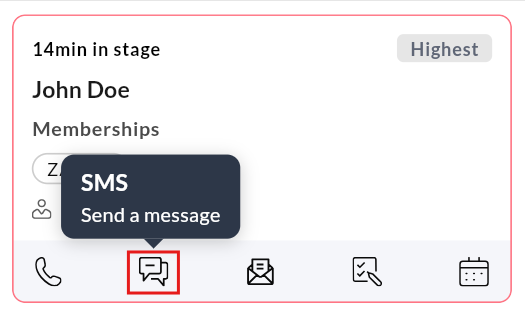
Type your message in the Send message panel.
Send via SMS or WhatsApp.
Log a call
Click the call icon.
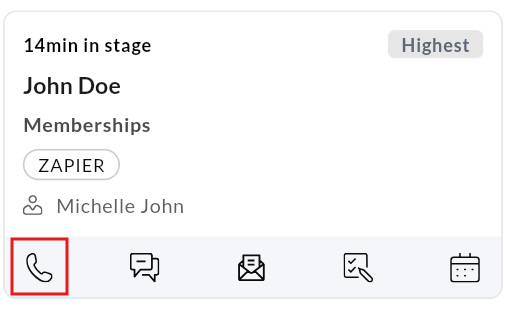
Select a Call outcome, enter the Date of call, Call time, and Call summary.
Click Save.
Log an email
Click the email icon.
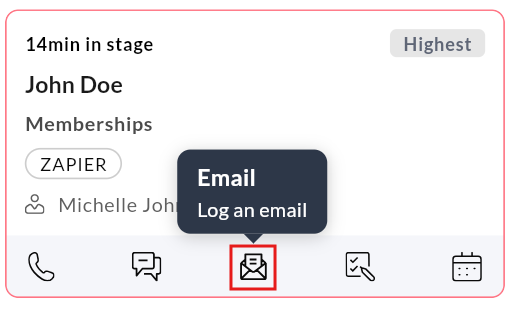
Select Inbound or Outbound, enter the Email date, Timing, and Email summary.
Click Save.